 DirtTwister takes a lap around "Sugar Ridge MX" DirtTwister takes a lap around "Sugar Ridge MX"
|
|
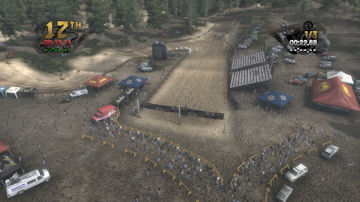
Sugar Ridge MX is the second round in Reflex's MotoCareer National Series 1. The first series consists of 3 National tracks (Lost Meadow MX, Sugar Ridge MX, and Moto 448).
This is a tough but fun track. This is your introduction to sand. Hang on, no two laps will be the same. This is a very fun track to race on, but can get very frustrating when you get taken out by wild online racers. Because of the nature of this track it is tough to get your momentum back in several places.
This is a natural terrain track and makes great use of the terrain. It has off camber turns and there is hardly a straight on it.
This track will rut up but in a different way then the other tracks. This thing builds mountains of sand. Deep sand that will kick you around and spit you out. Look for the undisturbed terrain and don't get cross rutted.
|
|
The Start
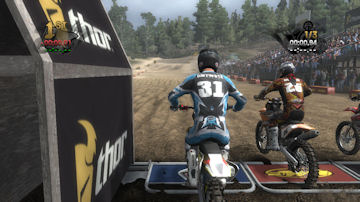
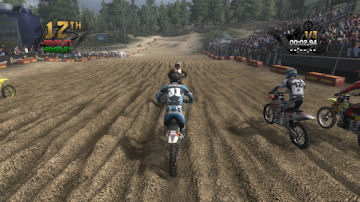
While waiting for the start, you look out down the starting lane and see the ruts that you will have to deal with on the first lap. It will only get worse as each lap goes by. You need to be on your toes, because a slight misstep will turn you or bring you to the edge of falling. You need to be ever ready to use your Reflex to correct mistakes as soon as they happen.
As you launch from the line and head for the first turn, you might want to look around. Those ruts are worse then you actually thought.
|
|
|
|
|
Turn 1
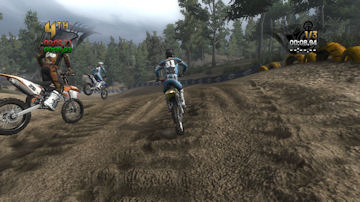
Turn 1 is an easy left hander at the start, about a 45 degree turn if you stay in the middle of the track. The next time by it will be more like a long 90 degree left hand turn that tightens up at the end, especially if you are staying tight to the inside.
|
|
|
|
|
Turn 2
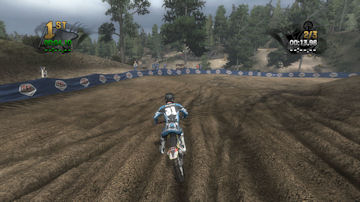
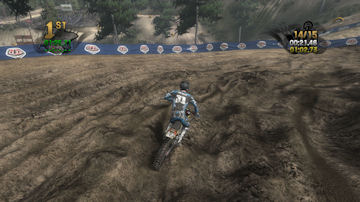
Turn 2 is about 135 degree turn to the right, but if you are coming from tight on the inside of 1 it is more like a 90 degree. Going down the hill into it, be careful because it is easy to cross rut and pivot losing your momentum. I like to carry my momentum up the hill, so I usually look for unruffled dirt to the far outside of 2 and either cut across the mess in the middle at a shallower arc or stay to the far outside if there is a lot of carnage in the middle of the turn, especially at the start.
I have included a picture of this turn after 14 laps so you can see how messy it gets in the inner part of the turn. The outside is still pretty
Once of out the turn you have an uphill climb to turn 3. This is the hill that makes turn 2 so important that you keep your speed up.
clean.
|
|
|
|
|
Turn 3
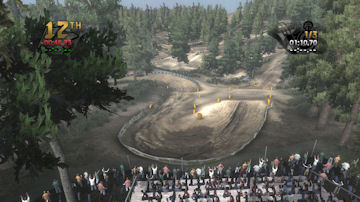
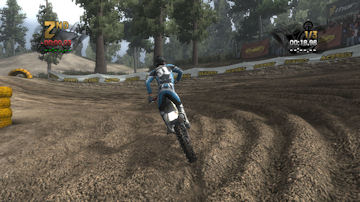
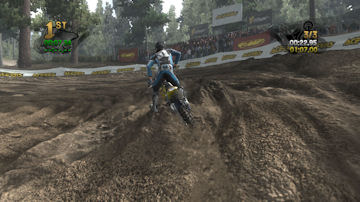
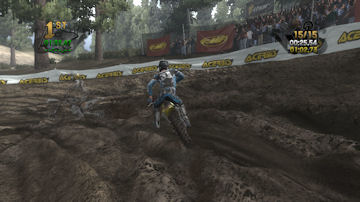
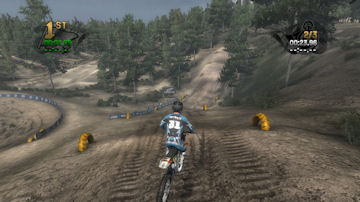
I believe a lot of people forget that turn 3 is a 180 degree left hand turn. As you go up the hill you can see the tires lining the downhill section that is immediately after the turn, so prepare for a tight turn. It is sometimes better to charge around the outside to get around others that are tangled up, but I believe the fast line is to always stay tight to the inside, even if it costs you a little momentum. If you do go inside then be sure to stay in control and not slide across the track into others.
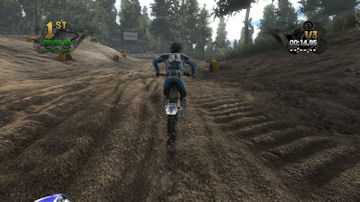
I have pictures of this turn after 1, 3, and 14 laps. Even after 3 it is quite the mess. ON the 1st lap there are several ruts to cross run in and mess up your day. That is why this track keeps you on your toes.
When exiting turn 3 you have a small takeoff to jump downhill. It's good to try to have enough momentum to clear the bump/ridge on the downhill, by the first set of tires.
While in the air you can take a quick look around at the scenery, but don't take too much time. You are about to be in the sand again.
|
|
|
|
|
Turn 4
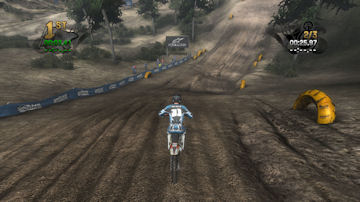
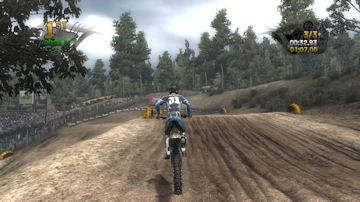
Turn 4 is just a kink to the right, but it is in a tricky place. You need to be sure that you are far enough on the left as you go downhill that you don't clip the tires on the right. It is very easy to do, especially if you get channeled in certain directions by these sizeable ruts and uneven terrain. It's important to remember that it is a turn to the right, because shorty after going uphill you will be launching over the top. You want to make sure that you have plenty of speed and are pointing down the center of the track. I've seen many a rider launching off to the left, where there will be no happy ending.
|
|
|
|
|
Turn 5
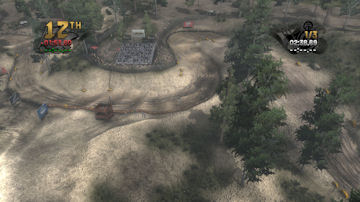
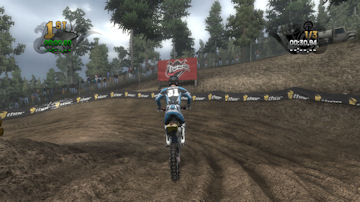
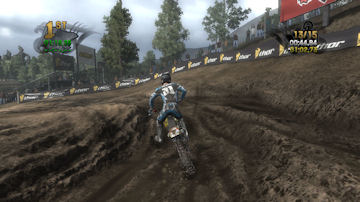
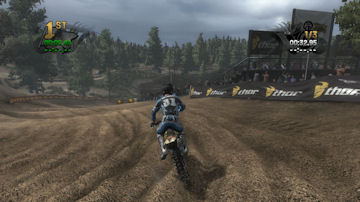
On to turn 5 which is a 180 degree left hander that sweeps downhill to the left.
It doesn't look it on the track map, but because of how you enter the turn it is a tighter turn on entry that opens up as you exit. If you remember that, you can actually enter it a little differently and be more gradual in your turn. It is easy to go too wide here or to kick out sideways. Be smooth.
|
|
|
|
|
Turn 6
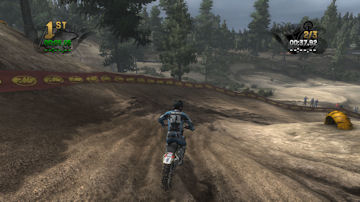
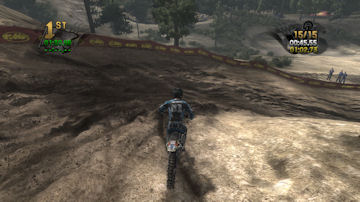
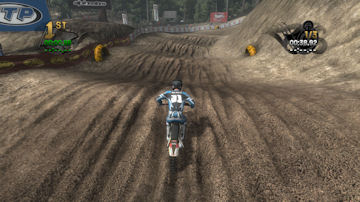
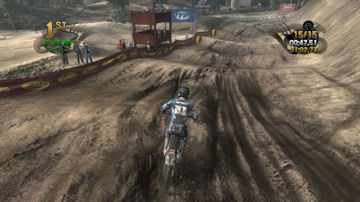
Turn 6 is a right hand more than 90 degree turn. It is also going downhill as it fades to the right. This turn is critical for the next straight which is a washed out whooped up rhythm section. Of course it has ruts and the sand here will seem to suck the power out of your bike. If you can keep your speed up and skip across the sand you will be in much better shape. So be smooth through 6 build up your speed from 5 and skip/jump your way through this section.
If you don't do that then you will be watching people fly by you, or watch your lead quickly evaporate if you are in front.
I have a picture of the turn and straight after 15 laps. It becomes tougher and tougher to find a smooth place to ride each lap. This kind of stuff is what makes Reflex so great.
|
|
|
|
|
Turn 7
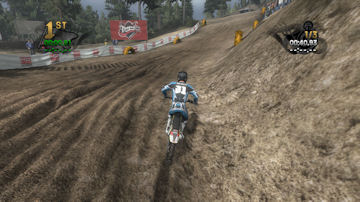
Turn 7 is like a 35 degree kink to the right in the straight. It sets up the jump into turn 8-9. As it gets rougher it is tempting to keep getting tighter to the right. If you over do it, you will find yourself getting sucked into the side of the hill and maybe kissing a big tire tractor. Precision and smoothness is required here.
|
|
|
|
|
Turn 8
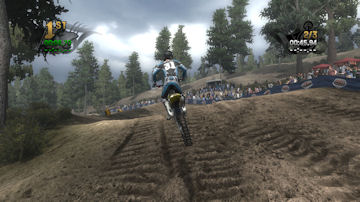
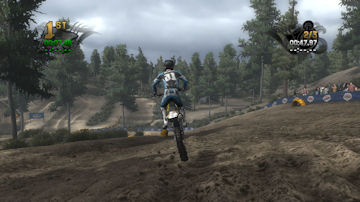
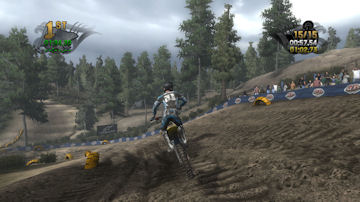
Turn 8 is a left hand turn over a hill into a small straight that becomes turn 9. Depending on your rhytm and speed you may never touch that. straight. Turn 8 is about a 45 degree left hander and the main thing is to say to the left as you go through it. It is easy to not turn as much as you need to and end up too far to the outside or to end up just out of control being thrown around by the track. What ever you situation you want to get it in control for turn 9.
|
|
|
|
|
Turn 9
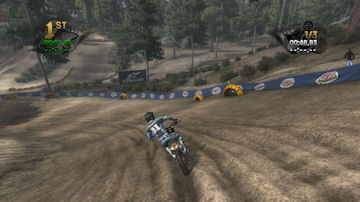
Turn 9 is one of those turns that how you enter it changes it a lot. It is an almost 180 degree turn that starts out gradual, Falls downhll to the left and tights up on the exit. It is the tightest turn since turn 5 so you need to be careful, those tires on the outside come up awfully quck especially if you start skipping over ruts.
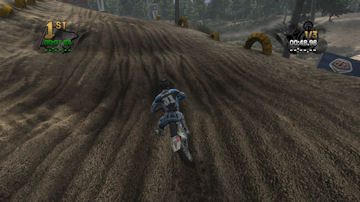
Wait! Is that a track over there on the hillside? Seems odd. Maybe it's pieces and parts of Sandwick.
As you exit turn 9 it switches from a downhill to an uphill, just in time to let you hop over into turn 10.
|
|
|
|
|
Turn 10
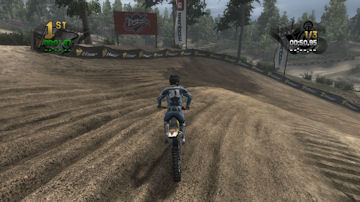
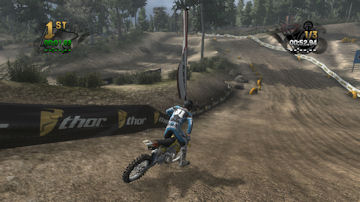
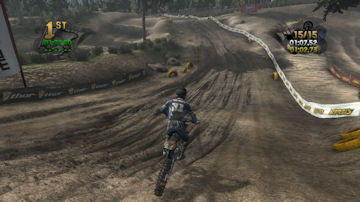
Turn 10 is another one of those falling away downhill turns, this time to the right. It is slightly more then 90 degrees and at certain points it is either highly banked or slightly off camber. This opens up onto the finish line straight so you better keep your speed up.
As you exit turn 10 and head for turn 11 you will be met with ruts and you want to stay to the left, just as you enter turn 11 ther is a patch of tires,you need to make sure you don't get caught up in them.
|
|
|
|
|
Turn 11
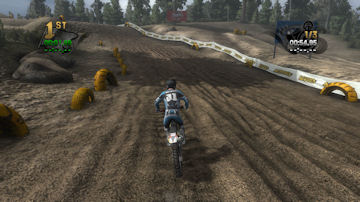
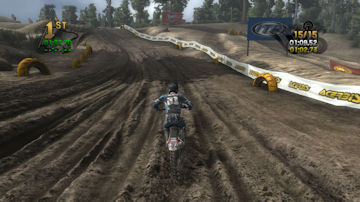
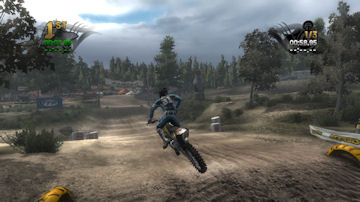
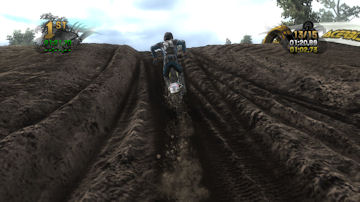
Turn 11 is about a 45 degree turn to the left that is immediately following by a launch over a jump that puts you in the air through a kink to the left. I consider turn 11 the turn, the launch, the kink, and the landing. YOu need to say to the left and angle to the left on the takeoff so that you land in good position for the final spurt to the finish.
It is very easy to land too far to the right and lose valuable time even if you don't crash.
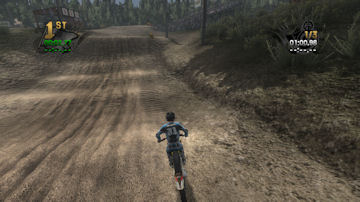
I included a picture of the face of this jump rutted after 13 laps.
|
|
|
|
|
Finish Line
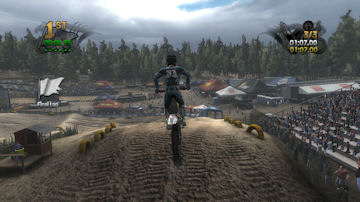
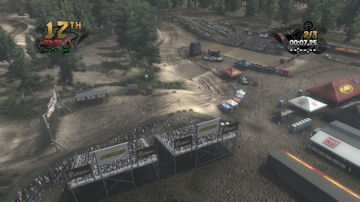
The finish line jump is a double. The takeoff lip is lower then the top of the landing area. If you swing wide to the right you may be focused on the landing area and not notice that there is a tire on the right side that is easy to clip, especially when racing others bar to bar and trying to give them room. If you find yourself on the outside here you may be better off letting off a little and jumping the finish line jump from behind the riders to your left. This could be to your advantage in avoiding the carnage in turn 12. Of course if this is for the finish then just go for it.
|
|
|
|
|
Turn 12
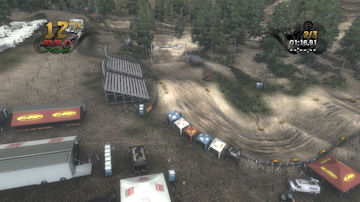
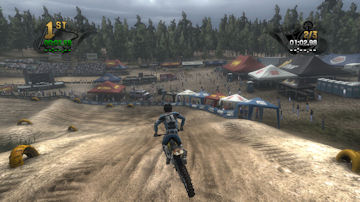
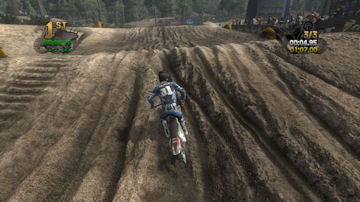
Turn 12 sort of a 90 degree turn, but you land in it already turning and you exit it angling to the right. It seems like it should be an easy simple turn, but it will bite you in a second. Try not to overjump, you want your bike to be settled as you turn through it. As you come across a double that you need to angle to the right as you jump into 13.
As the race progresses turn 12 will get quite thrashed and will require care each time you come to it. How you land the finish line jump and make it through turn 12 is going to affect how you go down the next stretch all the way to turn 2..
|
|
|
|
|
Turn 13
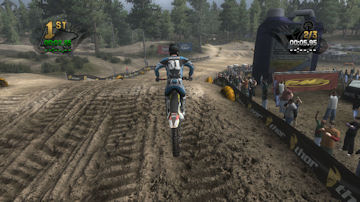
Turn 13 is a gradual right hand turn of about 25-30 degrees. It will bounce you around and spit you out as you try to find the shortest and smoothest path from the far right hand side of 13 to the far left hand side of 1.
|
|

|
|
|
Turn 1 Again
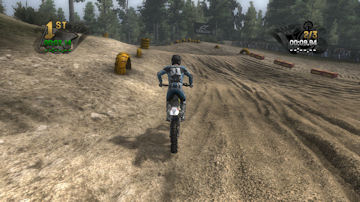
This time by this is a 90 degree left hand turn. About a fourth of the way into the turn is a takeoff that will launch you into the turn. You need to setup for the takeoff so that you will land towards the middle or inside of 1, especially if you have others to your right.
|
|
|


