 DirtTwister takes a lap around "Prairie Valley" DirtTwister takes a lap around "Prairie Valley"
|
|
|
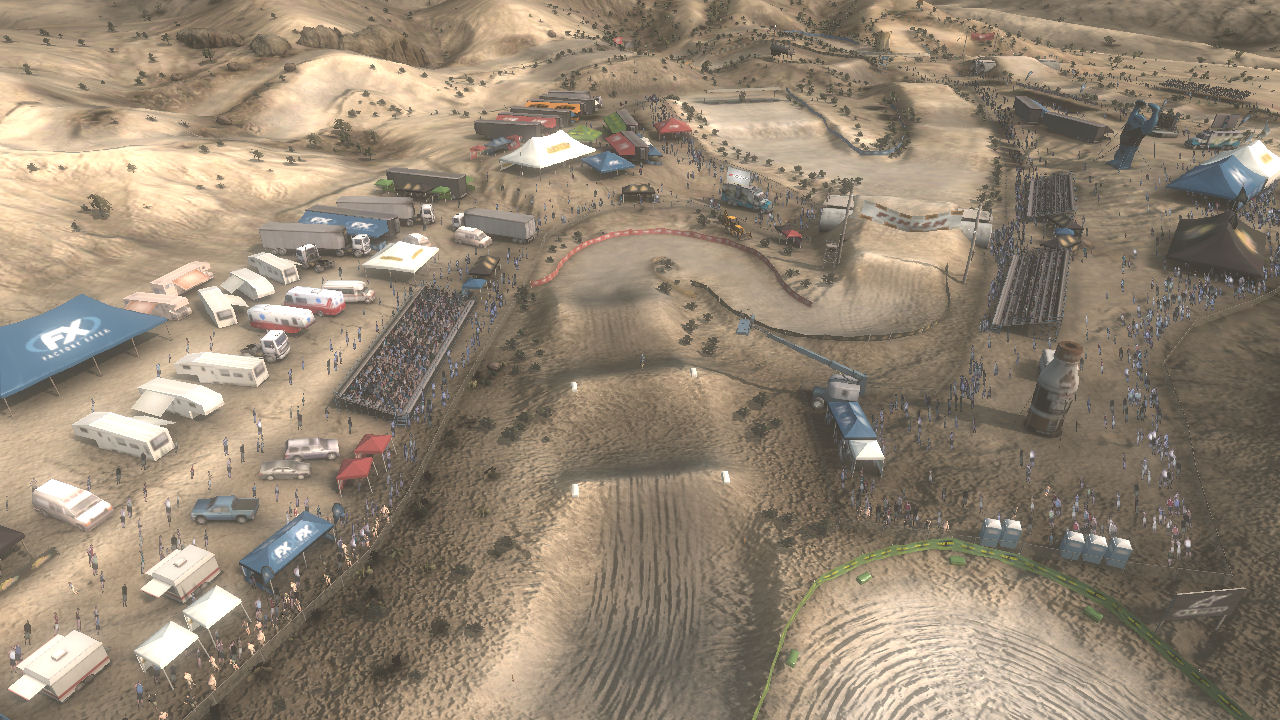
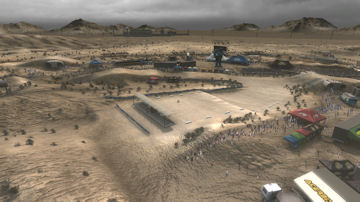
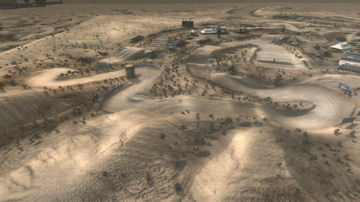
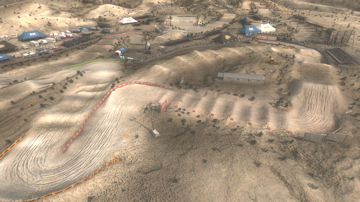
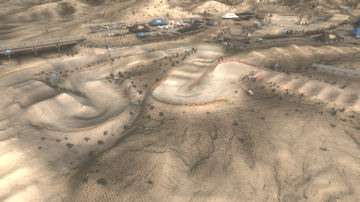
Prairie Valley is the 1st round in Reflex's MotoCareer National Series 2. The second National series consists of 3 National tracks (Prairie Valley, Sandwick, and Pinetop). This is another track by RBW_Checkerz448 and this is what he told me about it:
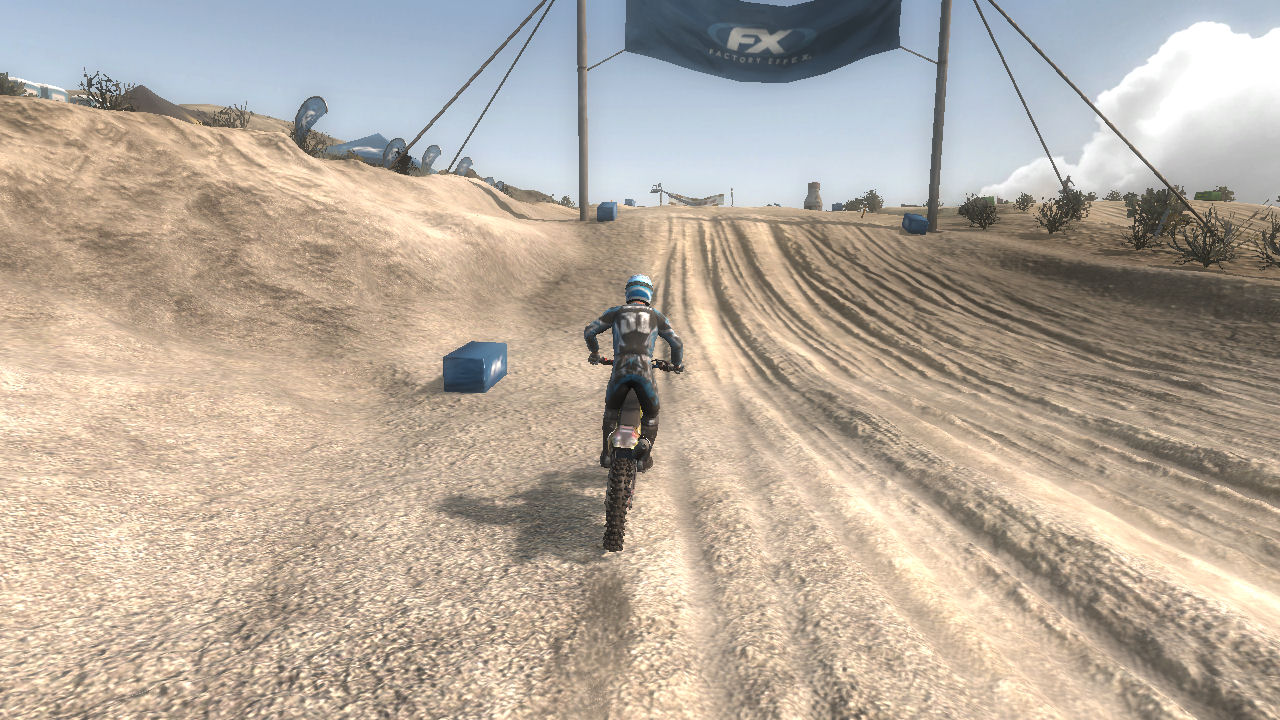
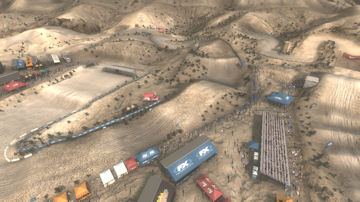
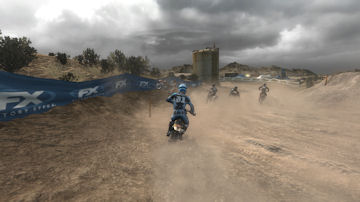
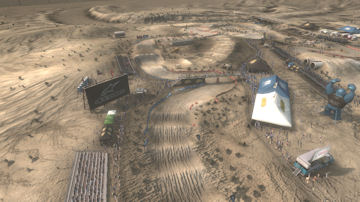
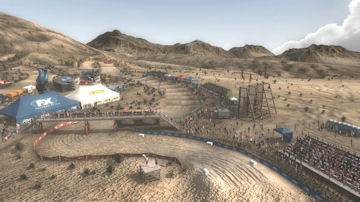
Prairie Valley... It's set on the side of a mountain in the desert. I actually got the idea from a few golf courses I play out here where the tee box sits on the side of the mountain and you rocket your ball down to a fairway that is at the base of the mountain. The track is very similar to what you'll find in Arizona with a lot of jumps built on top of terrain and then jumps built into the side of any hills or desert mountains that exist. The dirt has a silty, sandy top that blows off and berms up pretty fast and has a rock hard base underneith. This is also the first time we've ever gotten the blue groove look into the game. The last thing you'll notice, just like our tracks here in Arizona, is the lack of berms.
I lived in California for two years and I was amazed by the sun baked hard dirt that ended up with fine silt on top. It could have great traction or it could be insanely slippery. You might even be able to squeal your tire on it. This was totally foreign to me having grown up riding in the woods of New Hampshire. This track captures that sun baked hardness and the choking silty dirt that seems to end up on top and floating in the air. In fact it does such a good job of it that I can not ride this track without smelling that dusty dirt smell.
|
|
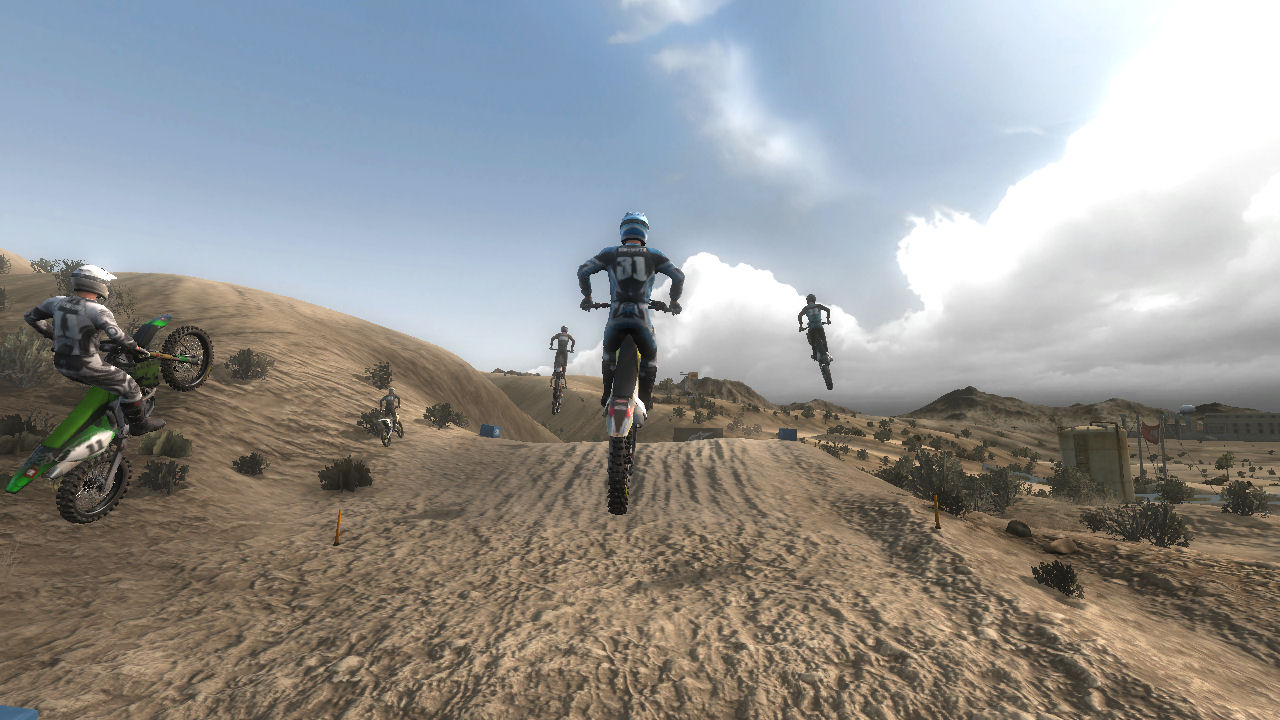
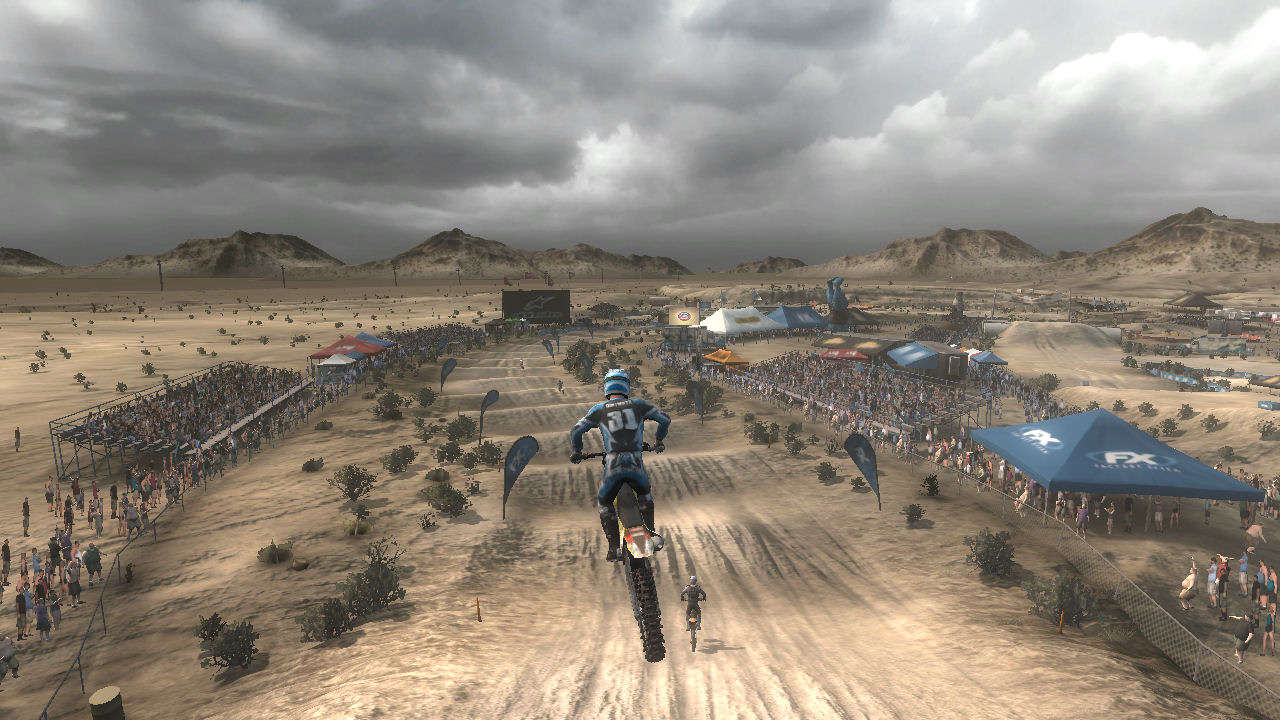
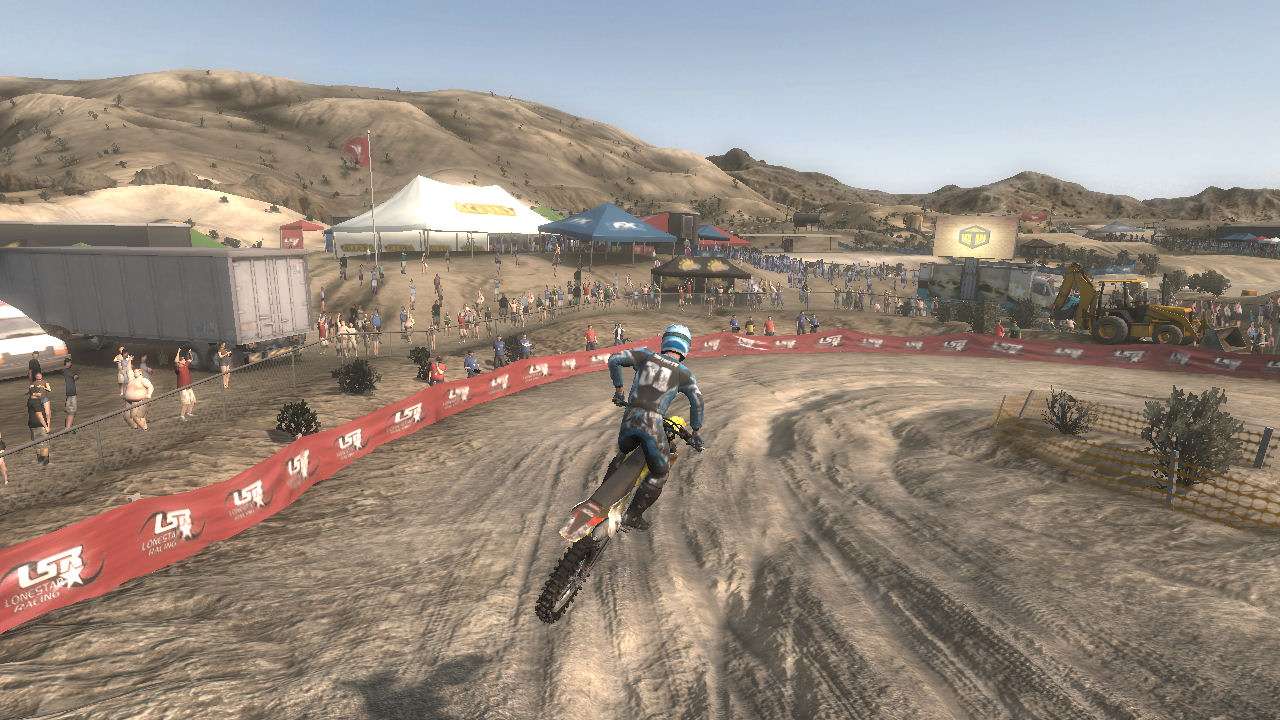
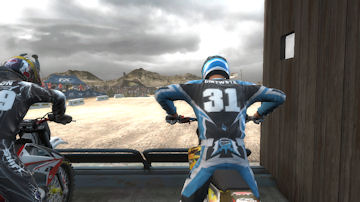
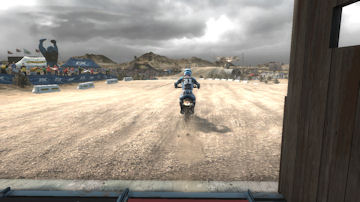
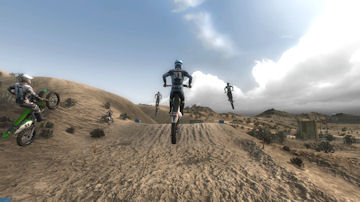
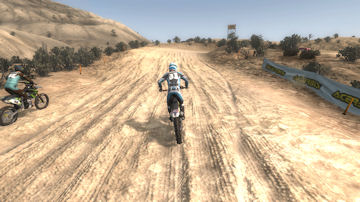
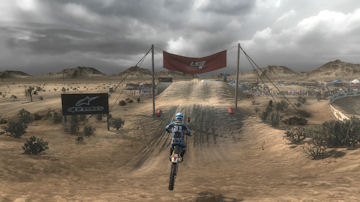
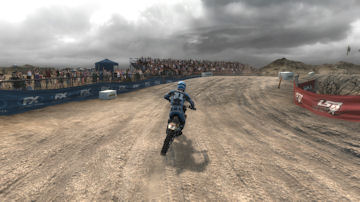
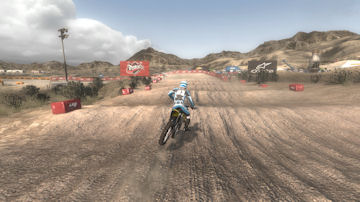
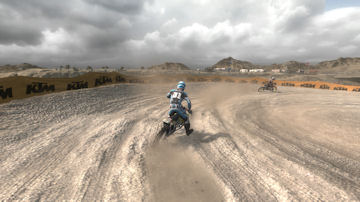
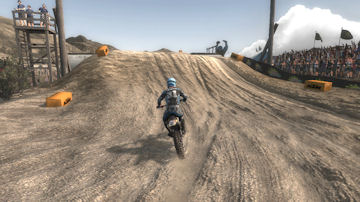
The Start
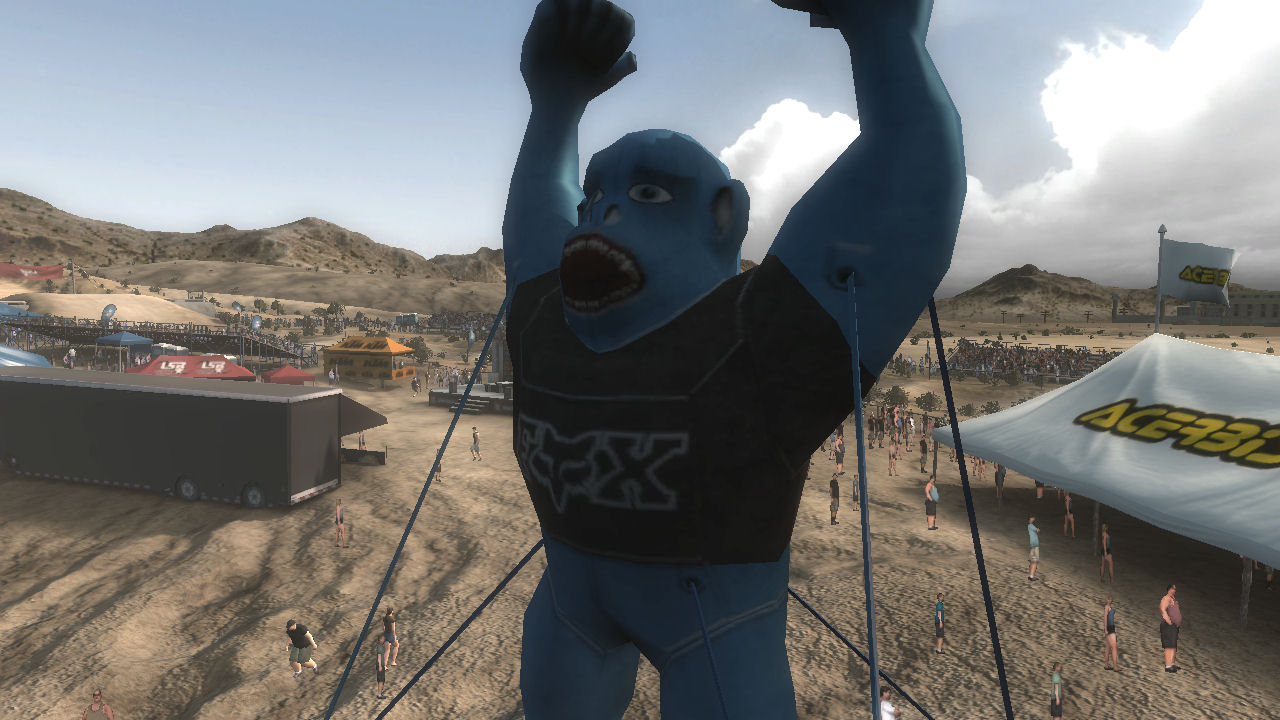
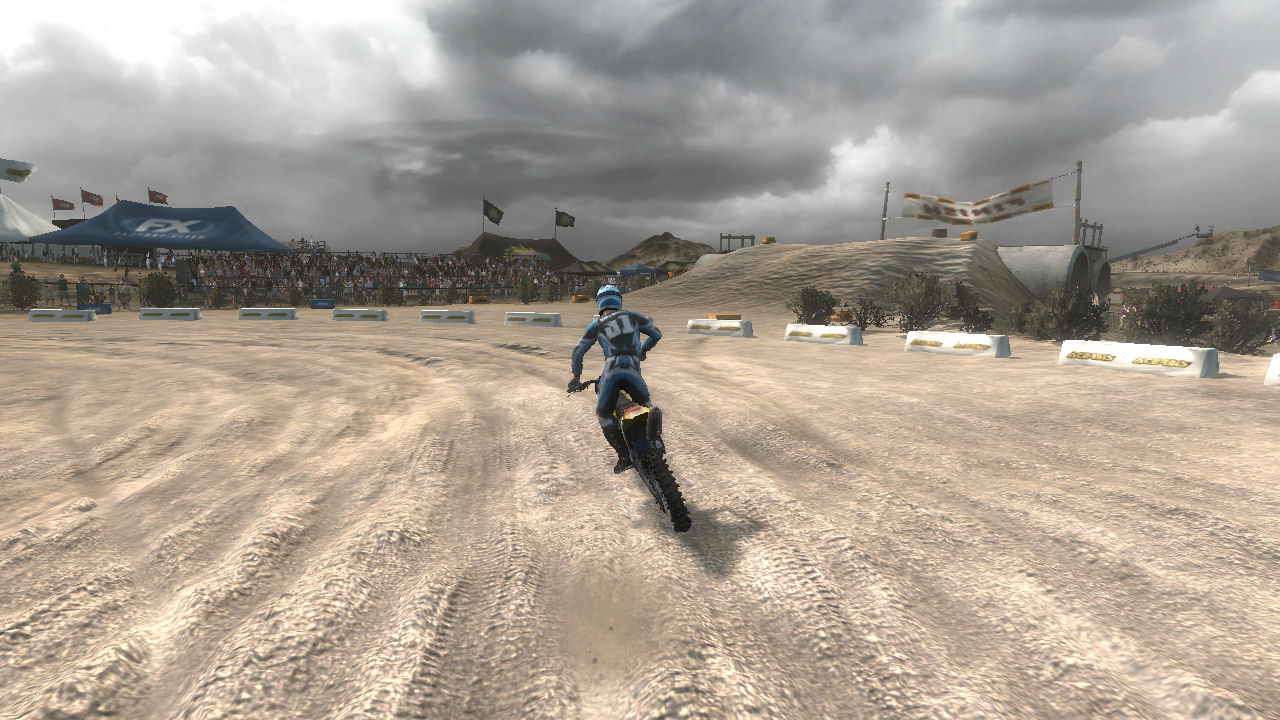
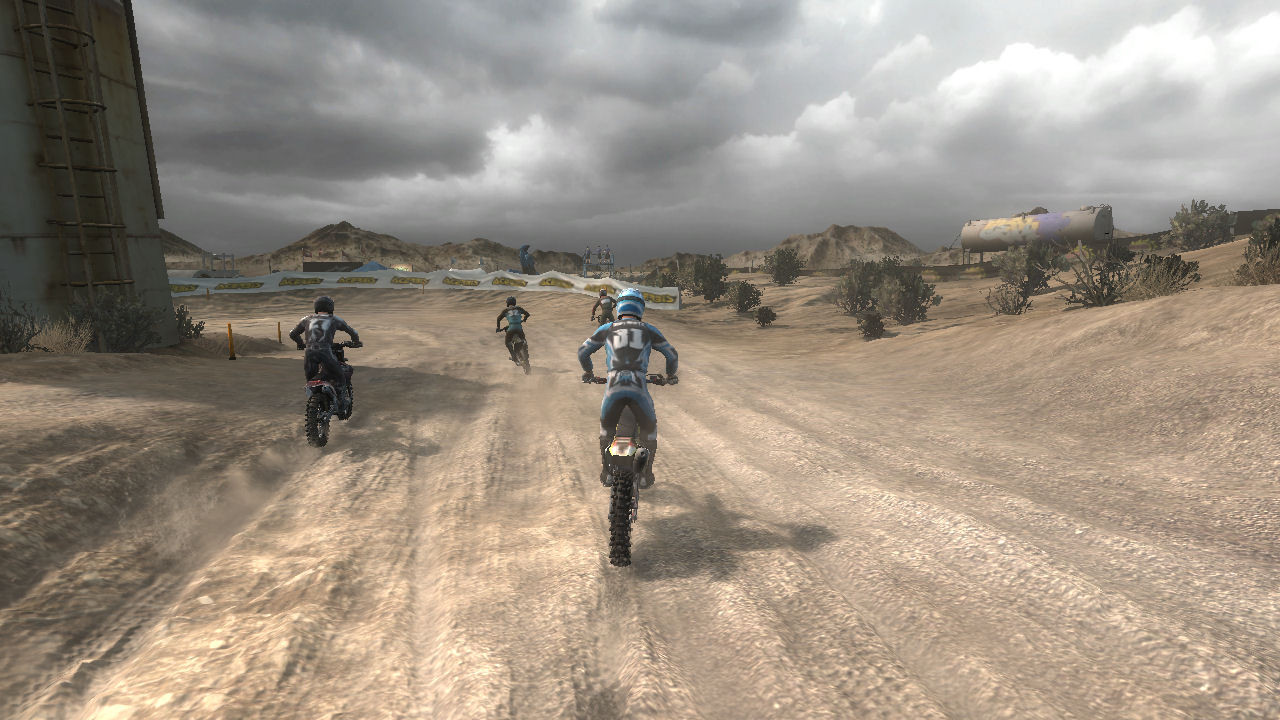
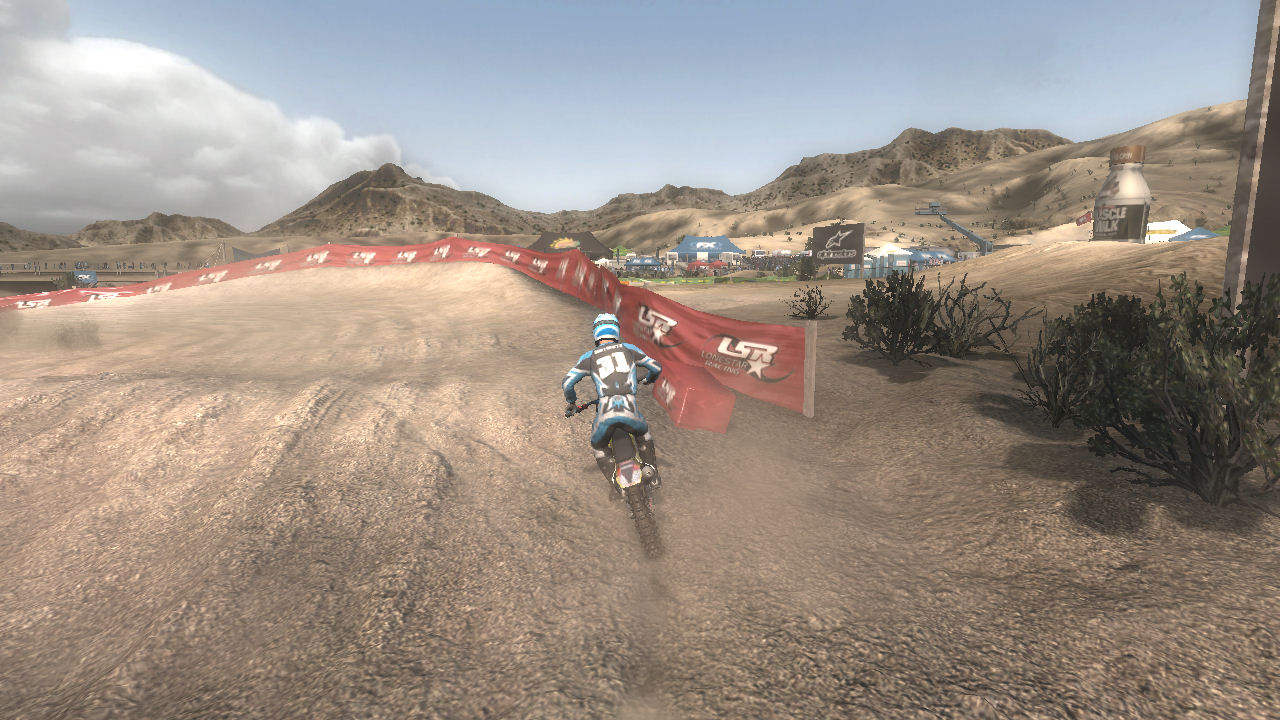
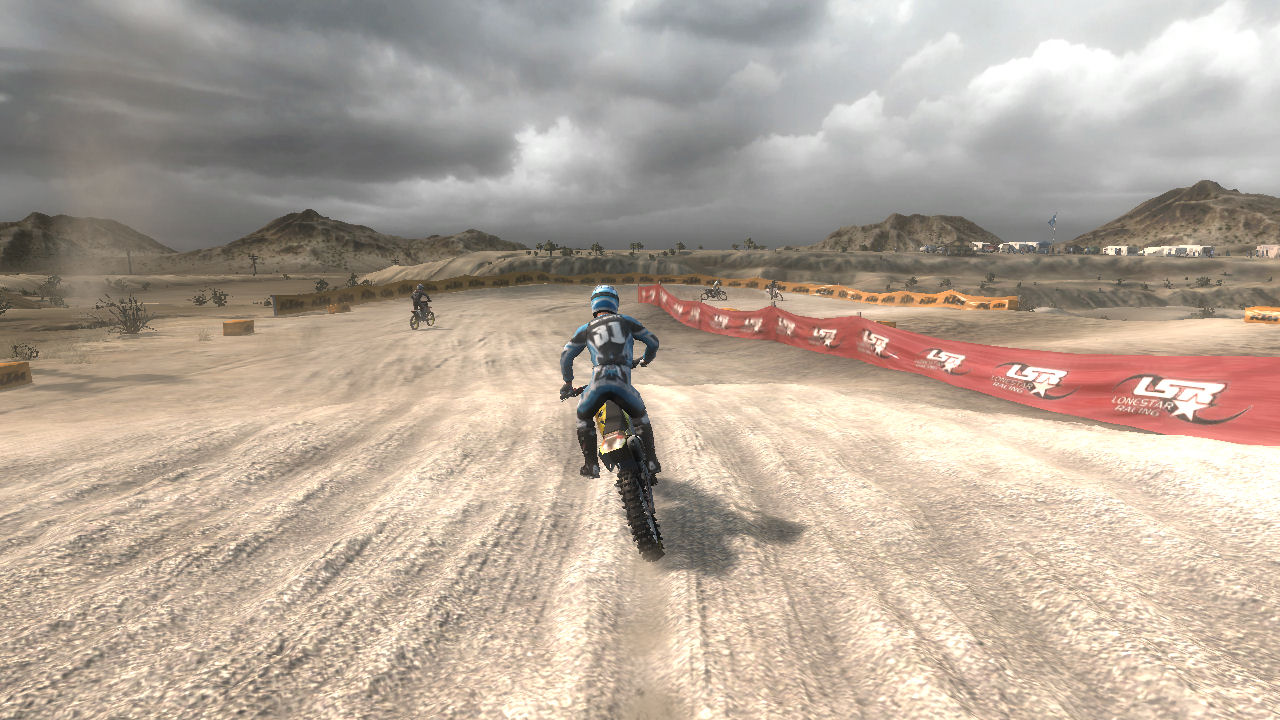
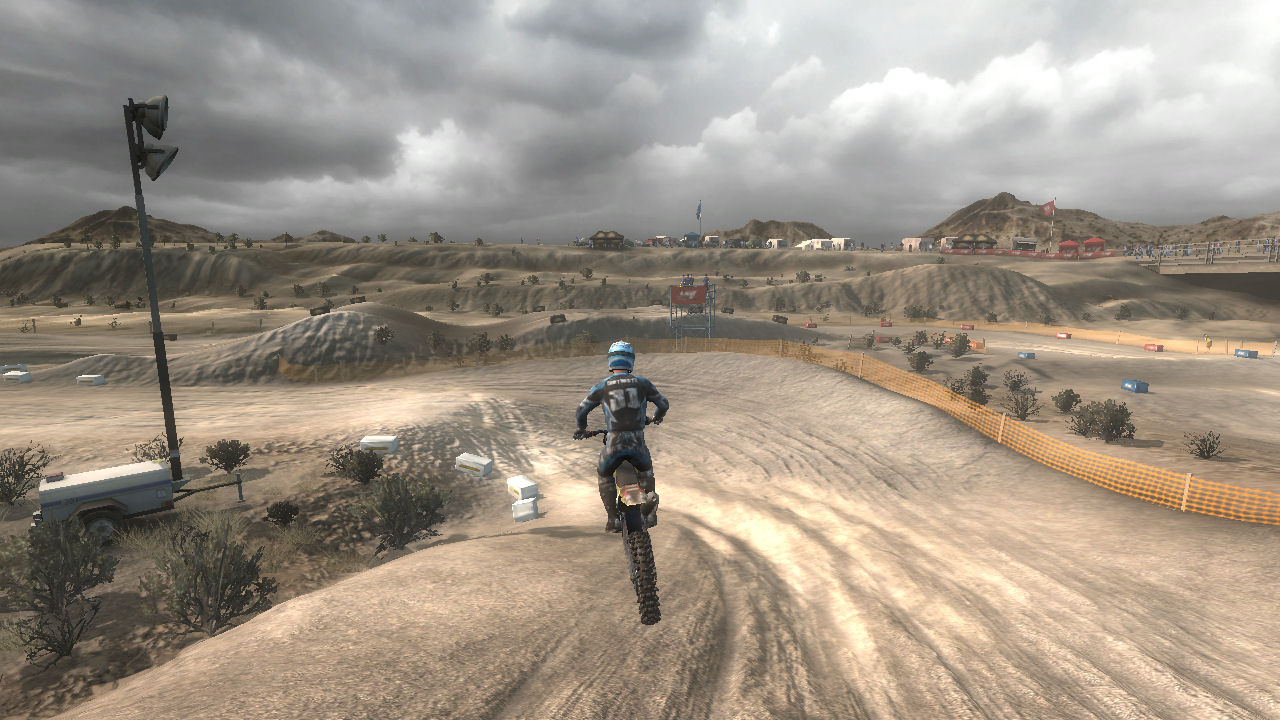
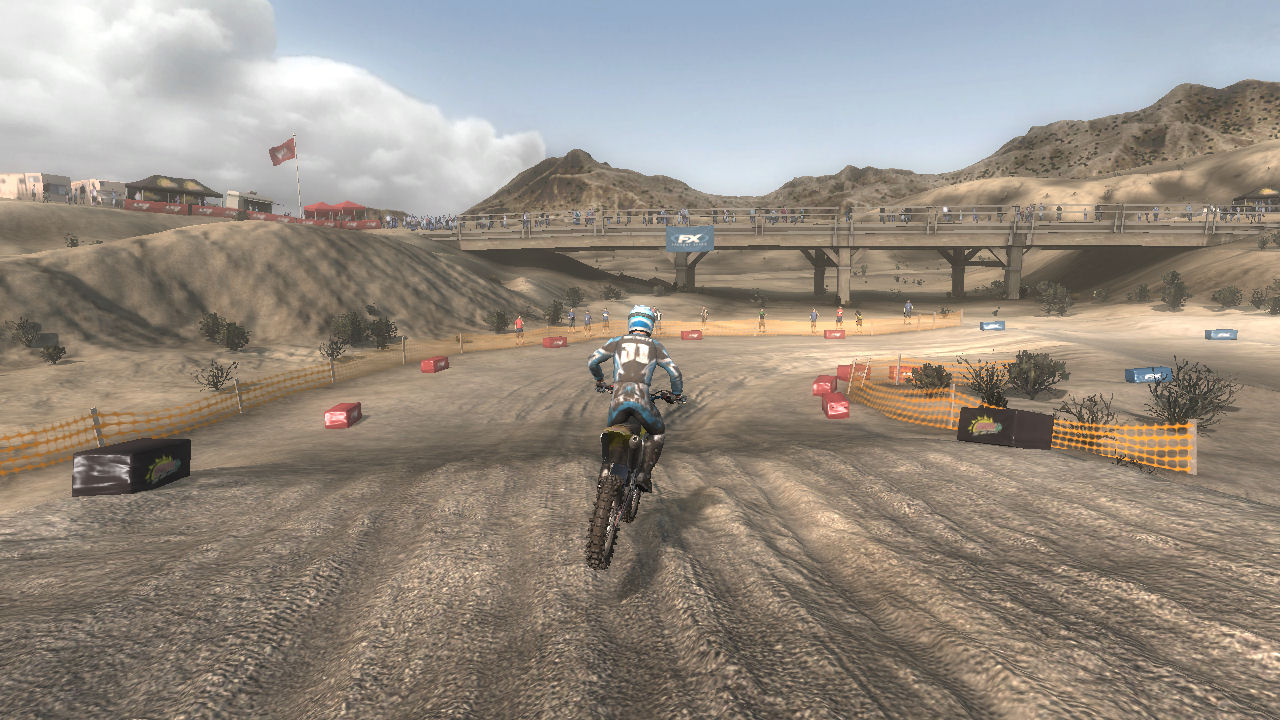
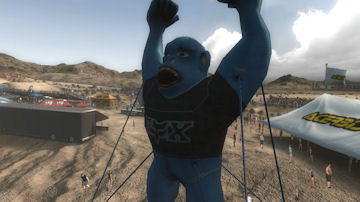
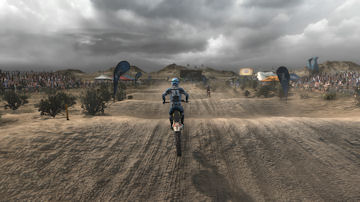
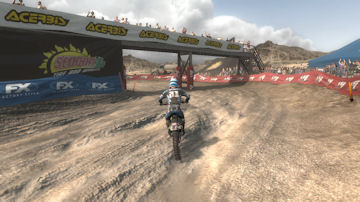
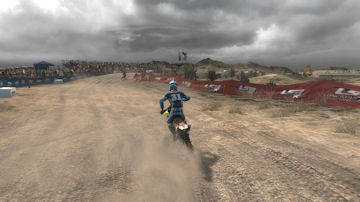
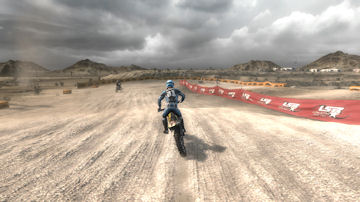
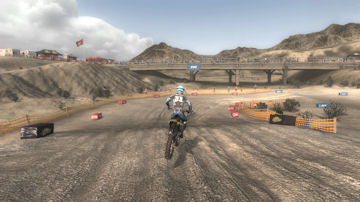
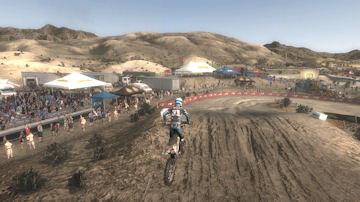
As you sit on the start line you see what looks like a storm brewing. You can only hope that some rain will fall on this track. You worry it will rain also because it would turn the track into a greasy mess until the water could soak in. A brief shower would be good just to knock down the choking dust.
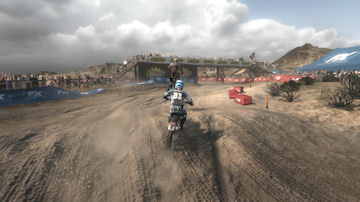
Off to the left is a giant Gorilla ballon and that is what you will turning towards for turn 1. When the gate drops head out go over the drop off and prepare to take the left hand turn 1.
|
|
|
|
|
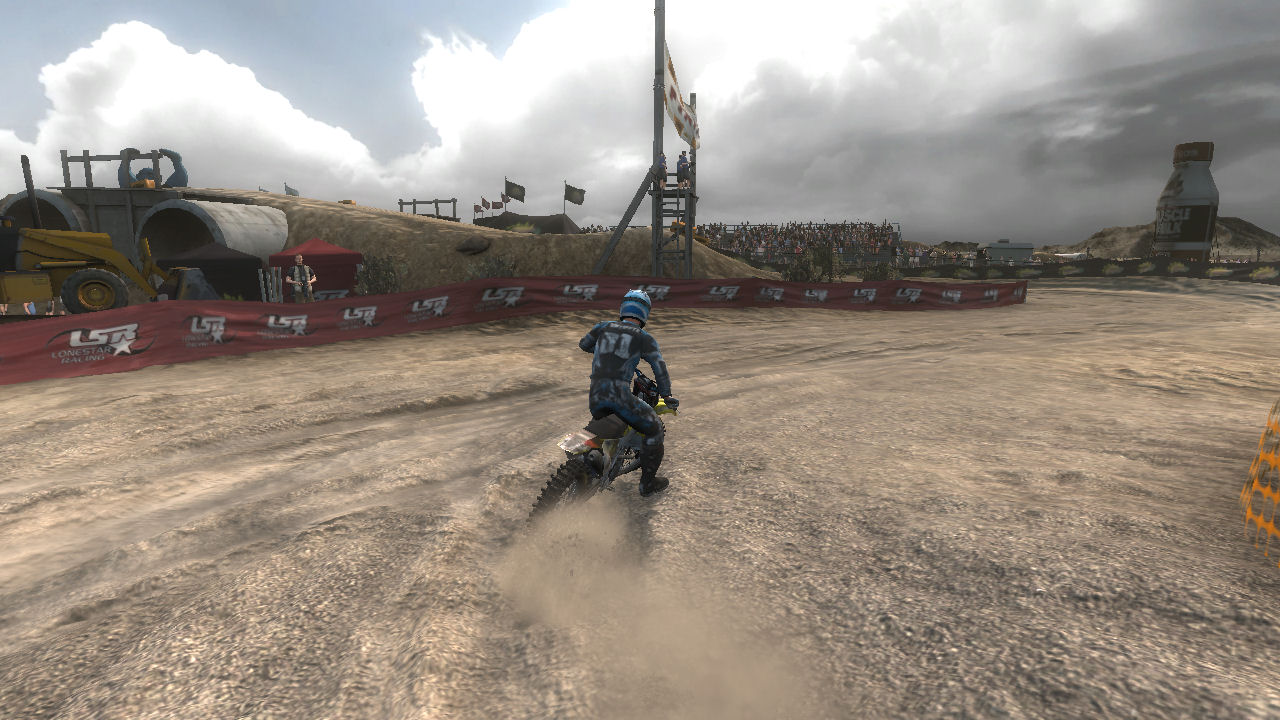
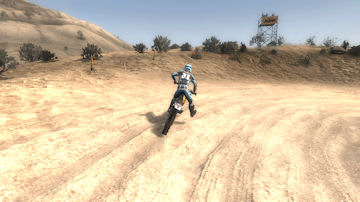
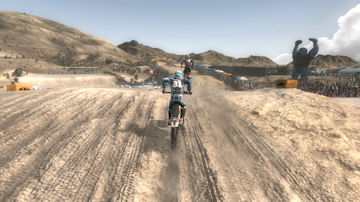
Turn 1
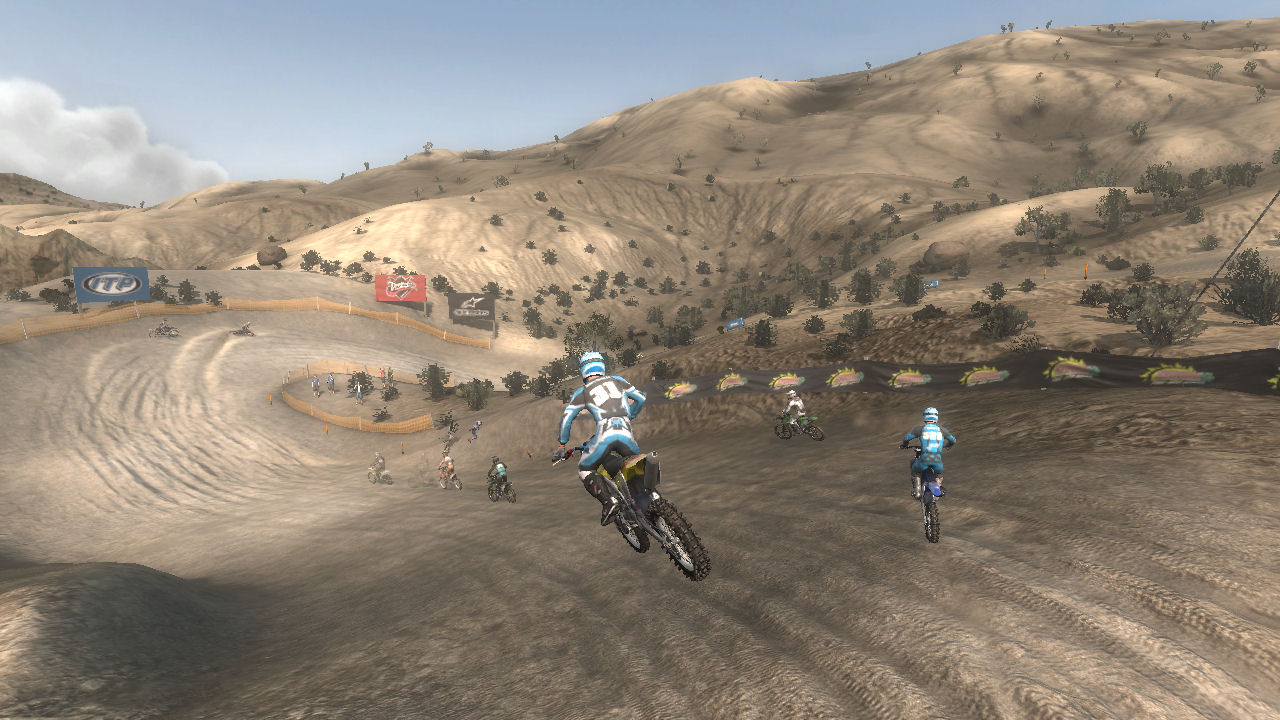
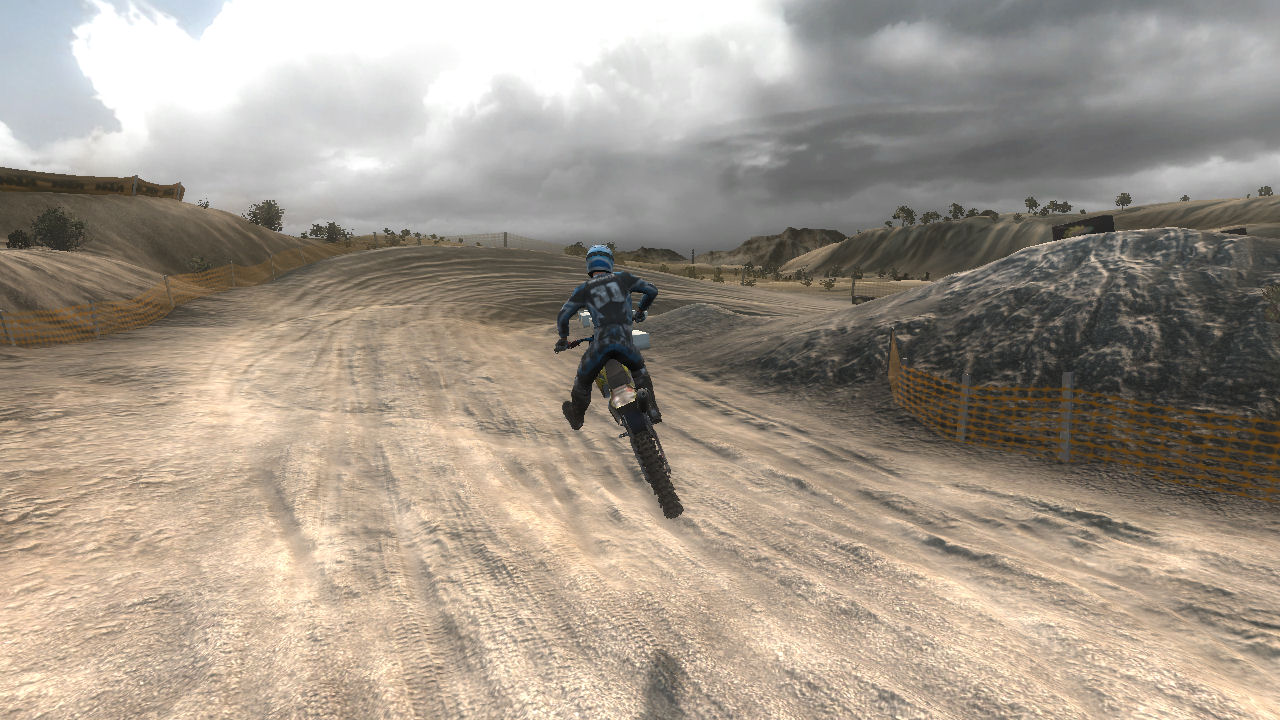
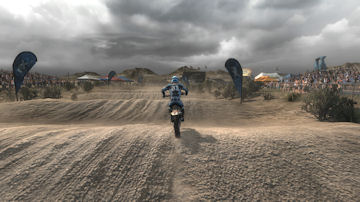
If you started on the far left turn 1 is going to be tough to turn on the inside and stay on the side, prepare to slow down just a little and turn a little tigher then it looks like you should. It is almost a 180 degree left hand turn and very easy to swing wide and bump into the other races that started on the outside of you.
|
|

|
|
|
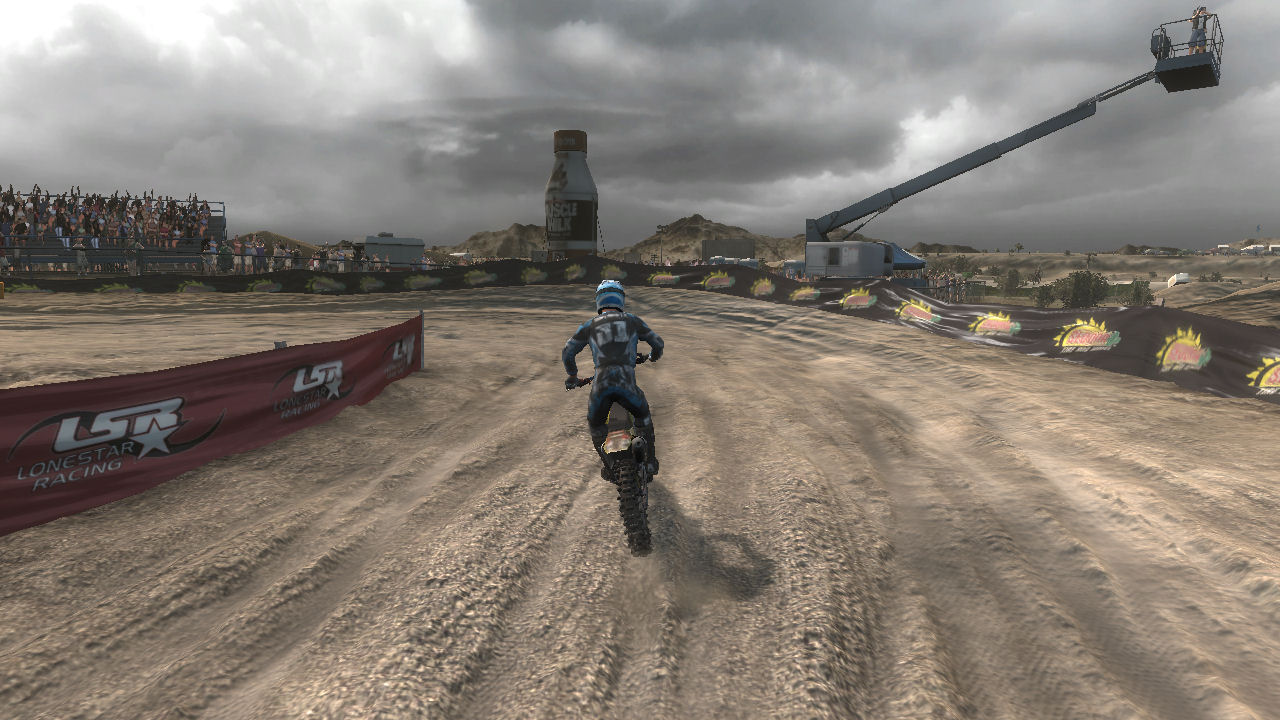
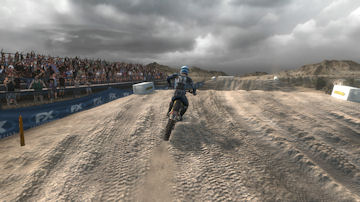
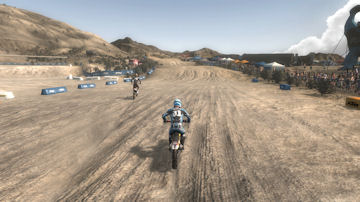
Turn 2
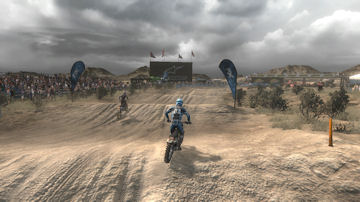
Turn 2 is slightly more then a 90 degree left hand turn that is stretched out across two jumps with the turn getting increasingly tighter on each jump. You actually need to angle over to the left on the takeoff to the second jump so that you can land on the track and head in the correct direction.
|
|

|
|
|
Turn 3
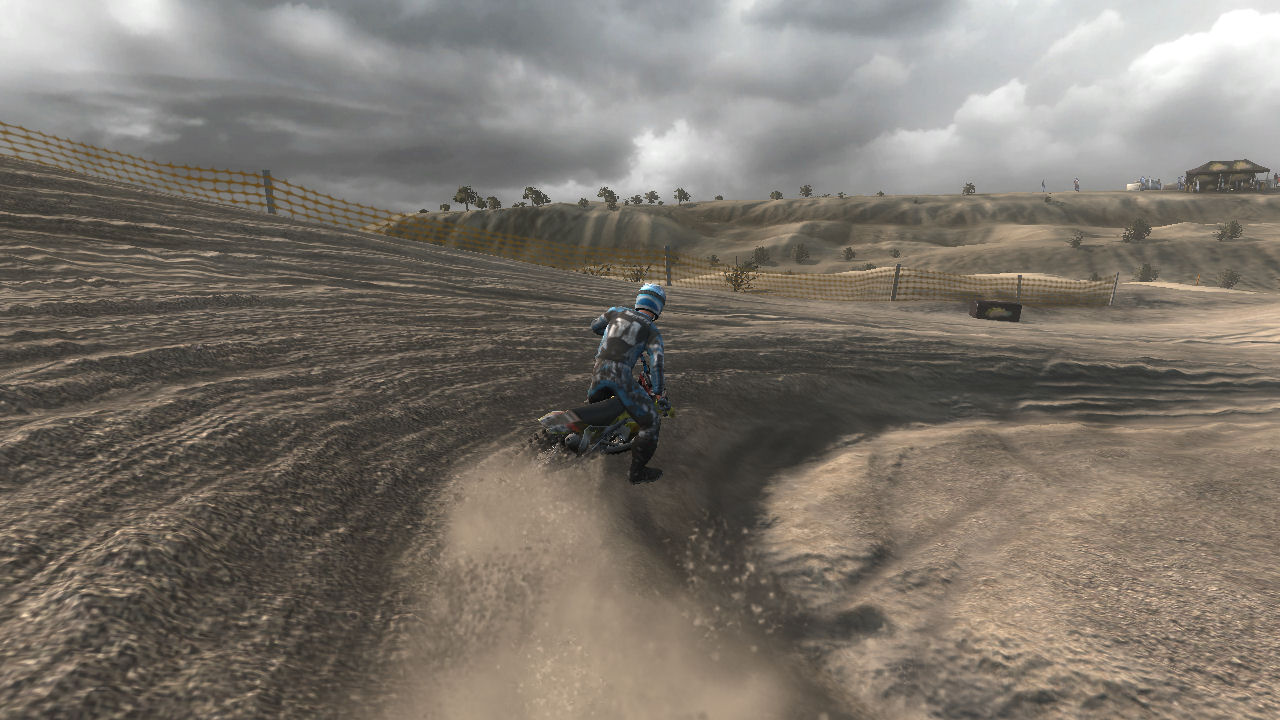
Turn 3 is a 180 degree right hander that is dusty and slippery. You kind of bounce on entrance to the turn so be careful. It's easy to go higher then you intend. You want to keep your speed up as you head for an uphill jump.
|
|
|
|
|
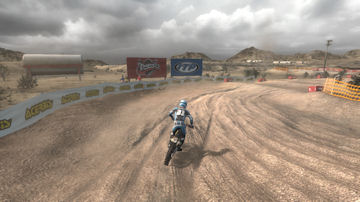
Turn 4
Turn 4 is a 90 degree right hander that is fairly straight forward. You want to keep your speed up and get read to arc gently through turn 5 and 6 to keep your speed up. This whole series of turns is dusty, hard, and slippery.
|
|
|
|
|
Turn 5
Turn 5 is a 180 degree left hander. I like to enter wide cut to the inside and keep my radius as gentle as possible. I want to maintain my speed as best I can because the uphill to turn 6 is a little softer then the terrain that we have been riding on so far.
|
|

|
|
|
Turn 6
Turn 6 is a slightly banked 180 degree turn to the right. A good line through this turn with no slipping is key to staying ahead of your competition. Depending on who is around you, you need to decide how you are going to take the stretch from this turn to turn 9. You may want to be to the far right when you get to the table top jump, so get setup early.
Exiting turn 6 you go downhill and hit th etakeoff that takes you across the (for lack of a better description) two level camel backed table top jump.
|
|

|
|
|
Turn 7
As you land the jump the track angles to the right. You really tend to not thing of this as a turn, but it is easy to end up off the track to the right. Remember that it is a left hand turn of about 25 to 30 degrees. Remembering that will help get you lined up to go through the whooped out rhytm section. The tough part of this section is the slight uneven spacing and strength of the jumps. Then throw in that it is turning to the right about half way through. It's a great section. To the right of the first jump is flat so if you take the jump on the right you will skip the first jump in the rhythm section.
|
|

|
|
|
Turn 8
Turn 8 is an arcing 20-25 degree turn to the right all the while jumping the rhythm section. It's important to pace your self and stay in control. You really want to seup your exit because turn 9/10 can be a challenge if you aren't in control.
|
|


|
|
|
Turn 9
As you exit the rhythm section it tightens up and becomes a 45 degree turn to the right. If you have been going fast through the rhytm and you are on the left side this turn will be tough to make and you will be hurting your turn 10, so work your way to the right so that you can go through turn 9 on the inside.
|
|

|
|
|
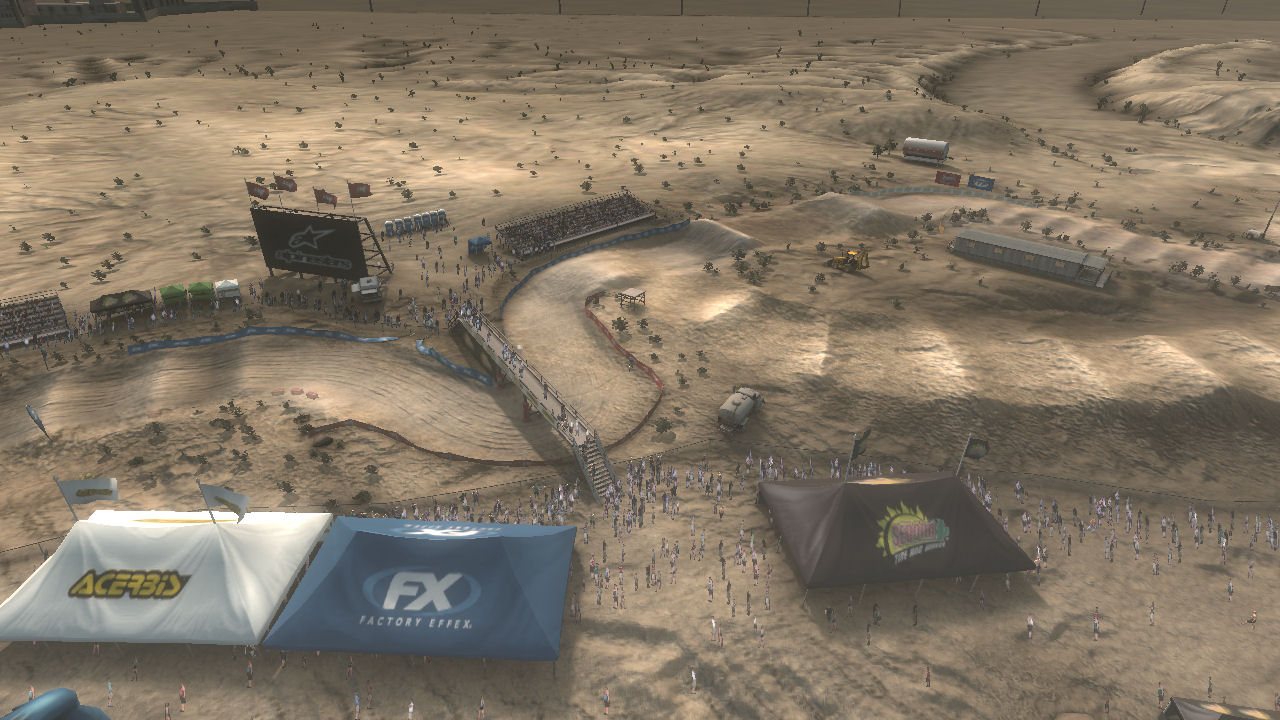
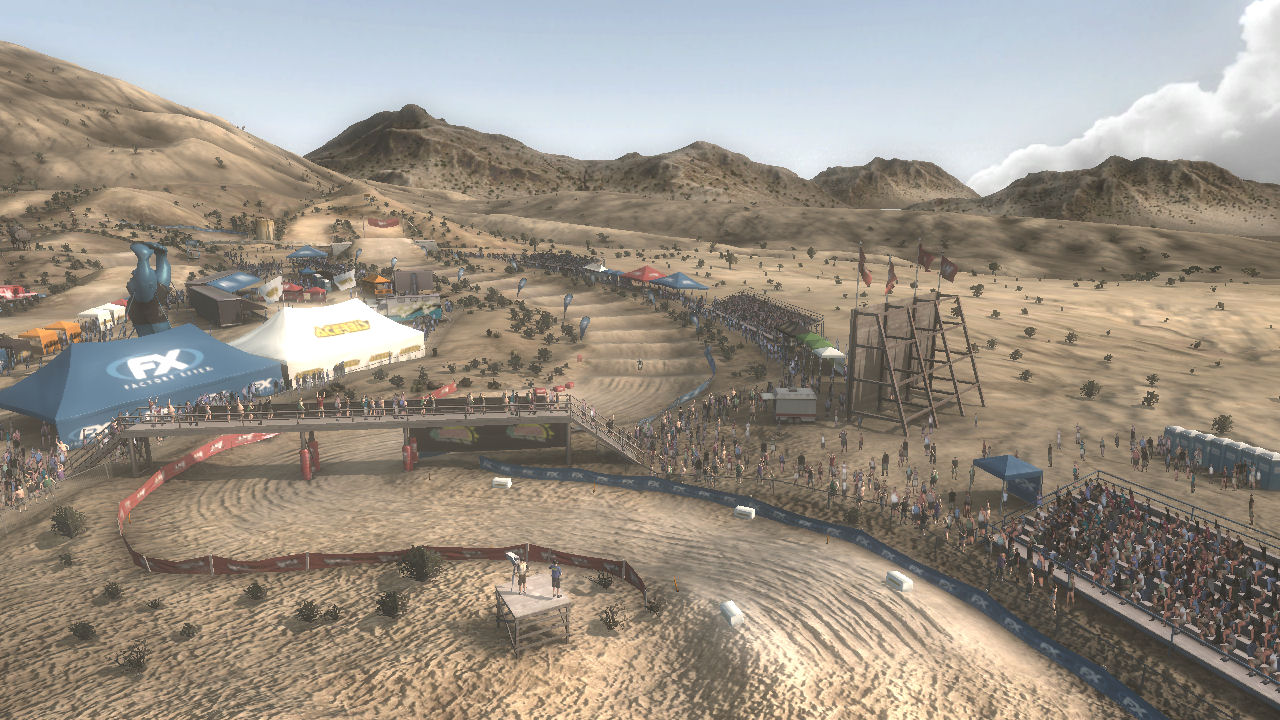
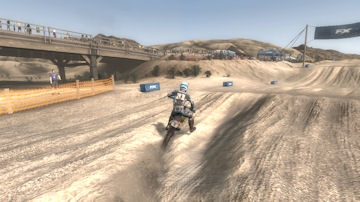
Turn 10
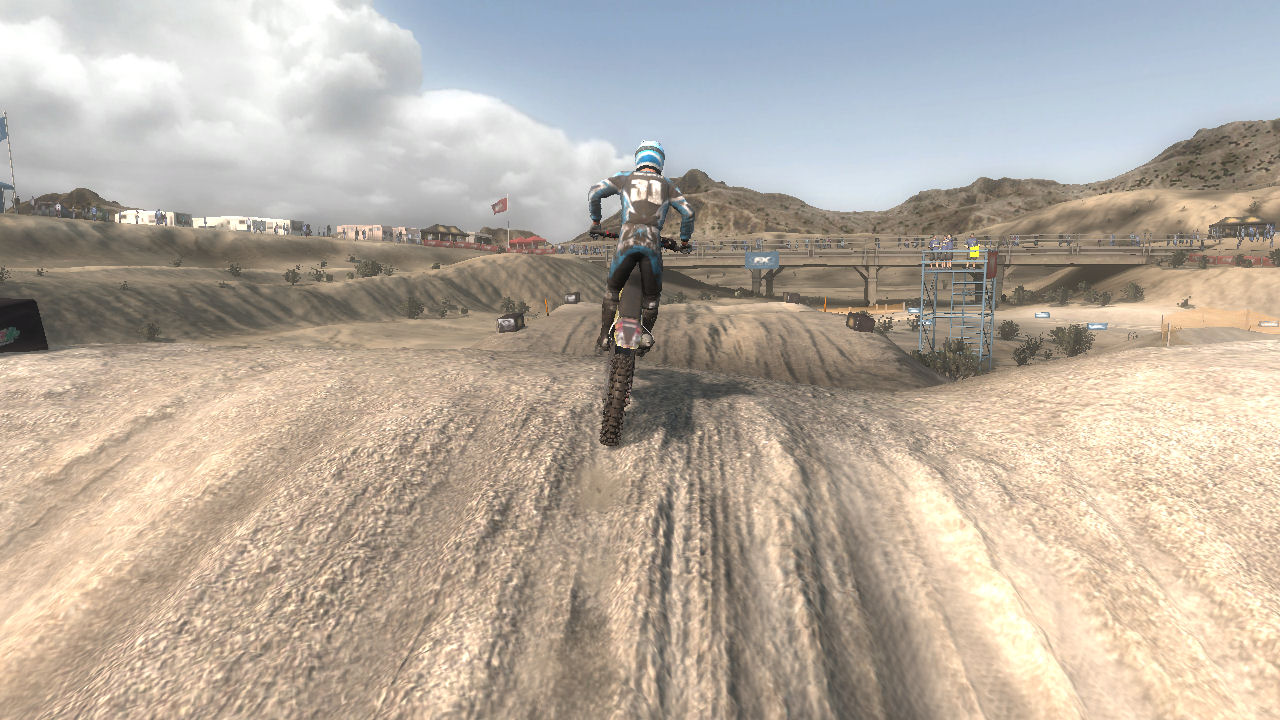
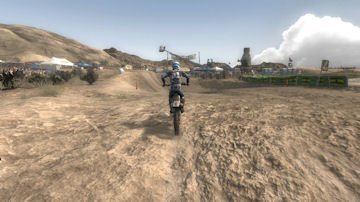
Turn 10 is an almost 180 degree turn to the left that takes you under a pedestrian bridge. There are two paths under the bridge. The left one is the best and requires you to be in complete control as you get to it. Stay smooth keep your speed up and you'll come out charging for turn 11.
|
|
|
|
|
Turn 11
Turn 11 is a 90 degree turn to the right and you can't lose any speed so you can make a clean double into turn 12. As you exit turn 11 you drop into a small dip before heading up the takeoff for the double.
|
|
|
|
|
Turn 12
Turn 12 is a not quite 90 degree turn to the right. The next straight is a small stretch of whoops and I like to work to the right so that I can turn early for turn 13.
|
|
|
|
|
Turn 13
Turn 13 is an easy 90 degree turn to the left. You can be coming pretty fast if you have a good run. I like to be on the right, turn slightly early so I can stay to the left on the next short chute and setup for turn 14.
|
|
|
|
|
Turn 14
Turn 14 is a tight 180 degree right hander. There is a small inner berm and I like to take that line. This turn is softer on the outside, but keeping your speed up with the faster outside line will help you over the flattened whoops on the way to turn 15.
|
|


|
|
|
Turn 15
Turn 15 is deceiving. At first glance it is very similar to turn 13, but there is a major difference. Turn 13 is a 90 degree left hander and turn 15 is almost 180. It's about 140 or so degrees to the left. If you take it like a left hander you will be in the bales.
Exiting turn 15 gets you over a small jump and takes you down into turn 16.
|
|
|
|
|
Turn 16
Turn 16 is a 90 degree turn to the left. You want to take this turn tight and stay to the left so that you setup for turn 17. There is a small bump in the middle of the turn, so complete your turn before hitting it.
|
|

|
|
|
Turn 17
Turn 17 is similar to turn 14. It's a 180 degree right hand turn with a small inner berm. Take it the same, but this time the exit has a bigger jump that is tough to clean. Try to find the best takeoff spot and clean as much as you can going into turn 18.
|
|


|
|
|
Turn 18
Turn 18 is a 100 degree turn to the right. It looks like a 90, but getting on the gas too soon will carry you out to the bales on the left. The surface after the turn is uneven and hard to get any speed over. Do the best you can as you head for turn 19.
|
|
|
|
|
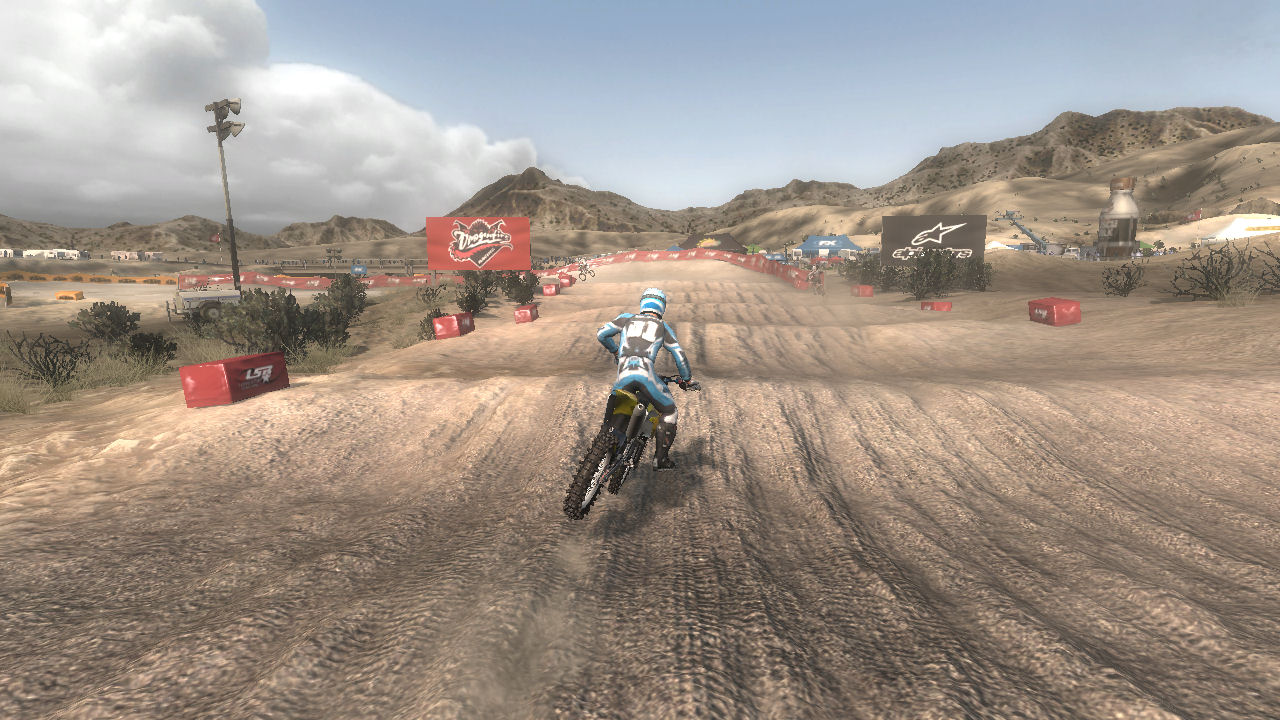
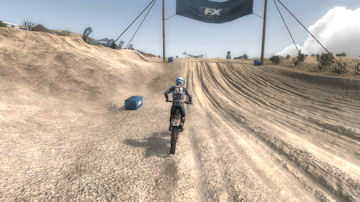
Turn 19
Turn 19 is a small left hand turn that is the setup for the takeoff that triples you into turn 20. It's important to get setup so that you are on the ground most of the time as you go into the dip that turns into the takeoff. It's easy to be out of sync with this and get too much air before the takeoff, so you don't have the momentum you need for the triple.
|
|

|
|
|
Turn 20
Hopefully you cleared the triple and are angled to the right a little. This is a key section especially if you are coming to the finish with other competitors. Turn 20 is a 180 degree turn to the right followed immediately by a 135 degree turn to the left over the finish. A good clean landing over the triple and staying tight to the inside is what you should be shooting for.
|
|


|
|
|
Turn 21
This is the turn to the finish. It's about a 135 degree turn to the left. On all laps prior to the finish I take this tight to the inside and let my momentum carry me to the outside of the track as I jump over the finish. On the last lap I will stay tighter and take the shorter route, because the long stretch after the finish doesn't matter.
|
|
|
|
|
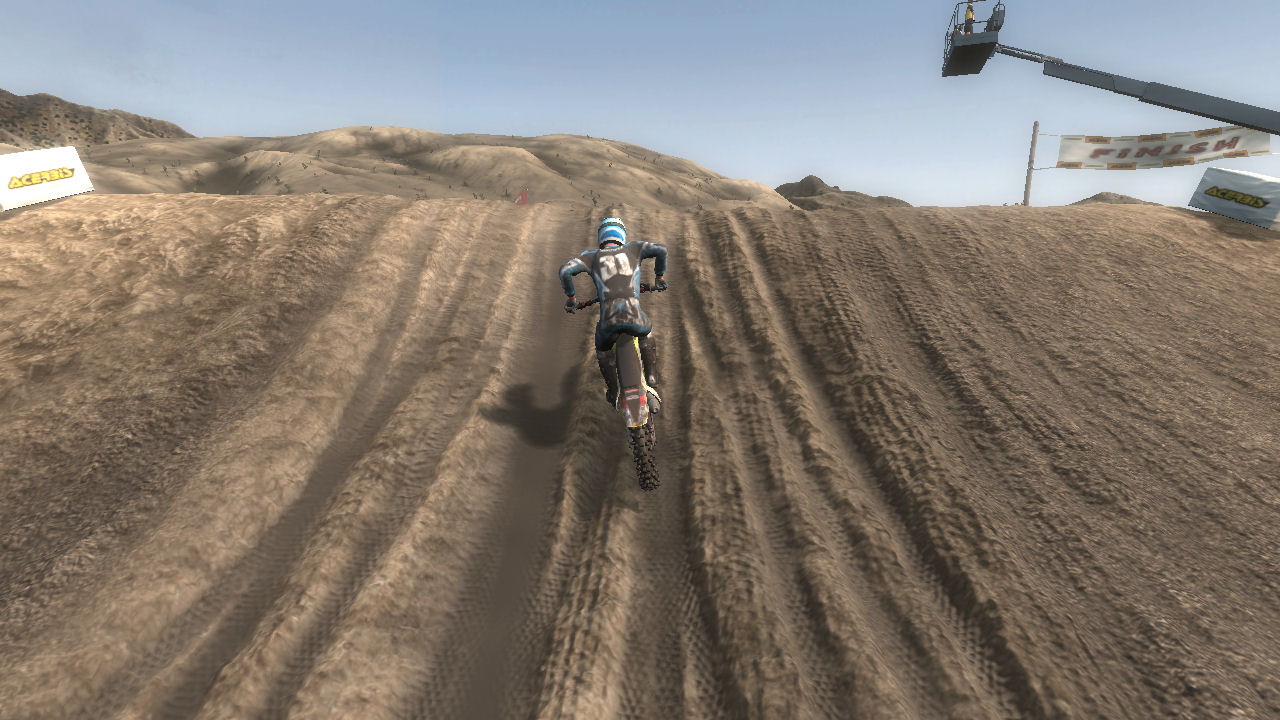
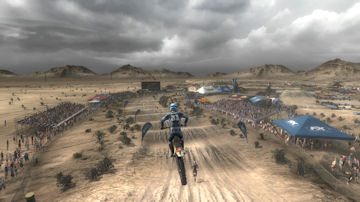
Finish
The finish line jump is a table top. As I said above during race laps it's important to keep your speed up because of the long stretch after, but on the last lap all that matters is getting across the line as soon as you can.
|
|
|
|
|
Turn 1 Again
After the finish line you cross the starting area with the Gorilla on the right. This time when you get to the jumps that make up turn 2 you will have a little more speed and it may actually be a little harder to time them properly. Try not to over jump them.
|
|
|