Moto 448 is the third round in Reflex's MotoCareer National Series 1. The first series consists of 3 National tracks (Lost Meadow, Sugar Ridge MX, and Moto 448).
I really like this track. I love the dirt, I love the mud, and I love the fact that it winds up and down hills and through water. This is a good introduction to tight turns, momentum killing uphill whoops, and bumpy decents into water. All require you to pay attention to the path you are taking and timing your moves so that you don't lose your momentum or lose control. Right after riding on this for the first time, I contacted RBW_Checkerz448 to see if this was his track. The 448 seemed like a big clue. This is what he told me:
Moto448 was based off a handful of Oklahoma and north Texas tracks. In the winter when I was racing Arenacross, we got too much snow to ride up north in Iowa, so my mechanic and I would load up for the week between Christmas and New Years every year and stay in Oklahoma/North Texas and ride everyday and just hang out. It was by far the most fun either of us have ever had, so re-creating some of the memories from the sick tracks in that area were key. There are clips with Guy Cooper and Jeremy McGrath in Steel Roots at a few of the places that inspired Moto448.
The track was meant to be in a dried up riverbed area where years ago it was a full flowing river system. This caused a 2 layer of elevation approach, in the valley (old water level) and on top where the flat plains were. The sharp elevation changes are short but steep and made great for jumping.
The signature area definitely became the massive roller whoop section up and over the back hill. It actually was set out to be a step on step off at the top of the hill, or a massive quad over the whole thing if you carried enough speed... very similar to a few WFO MCM2 tracks. When that wasn't really that entertaining with the Reflex physics, it evolved into the roller whoops monster that it is now.
The name quite obviously comes from my number 448, and it marks the first National track I've shipped as a developer.
I want to thank RBW_Checkerz448 for the back story on this track. After riding all the tracks in Reflex, this continues to be one of my favorite tracks. It actually comes in #2 to my favorite which shares the same environment and that track is Razorback.
The Start
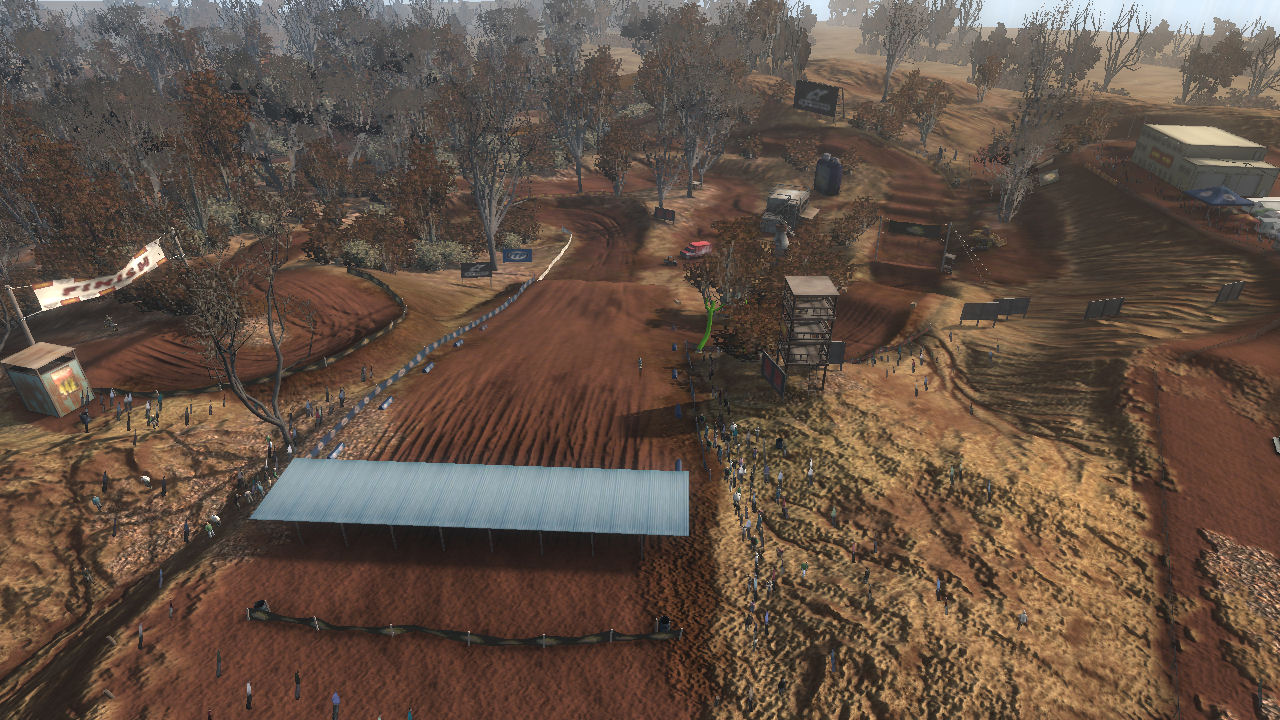
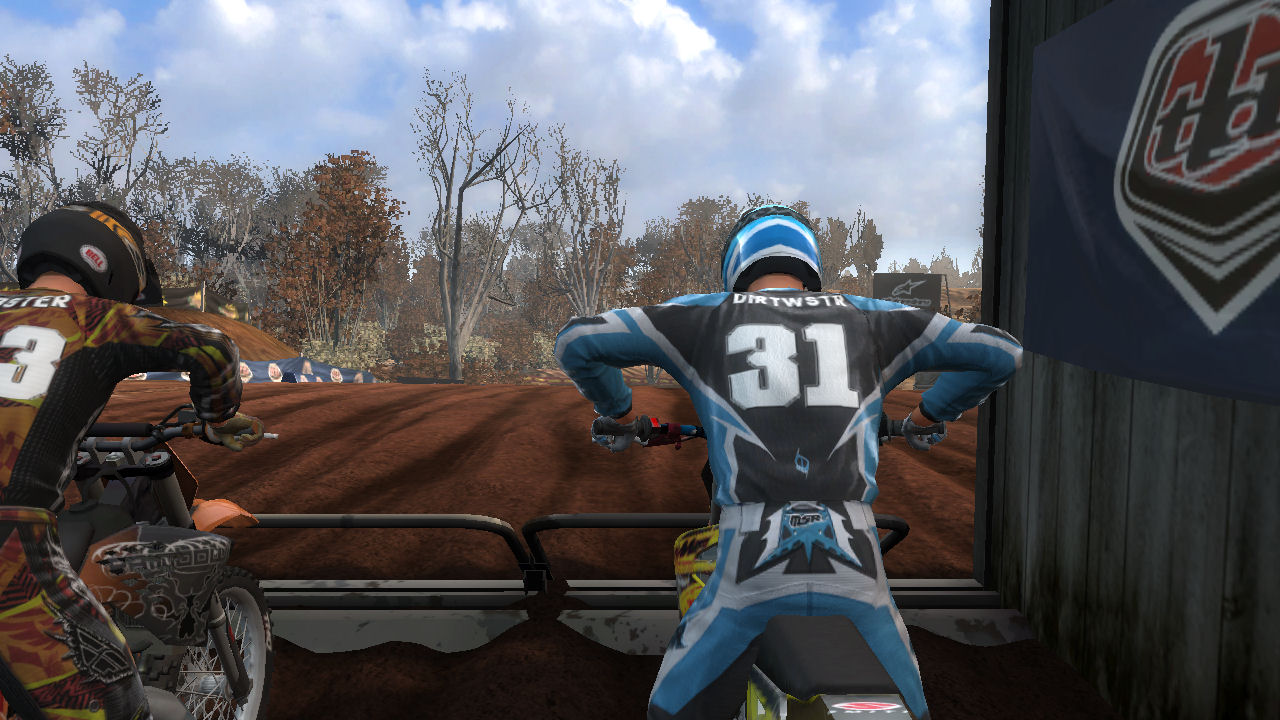
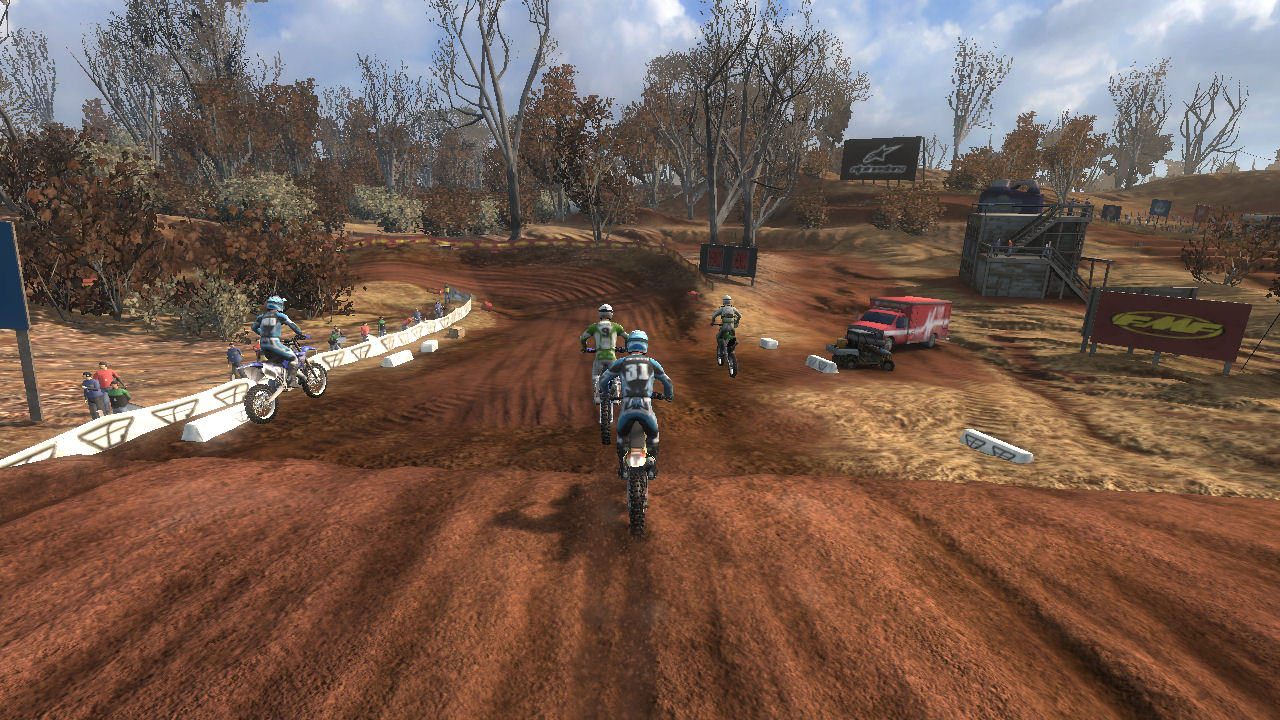
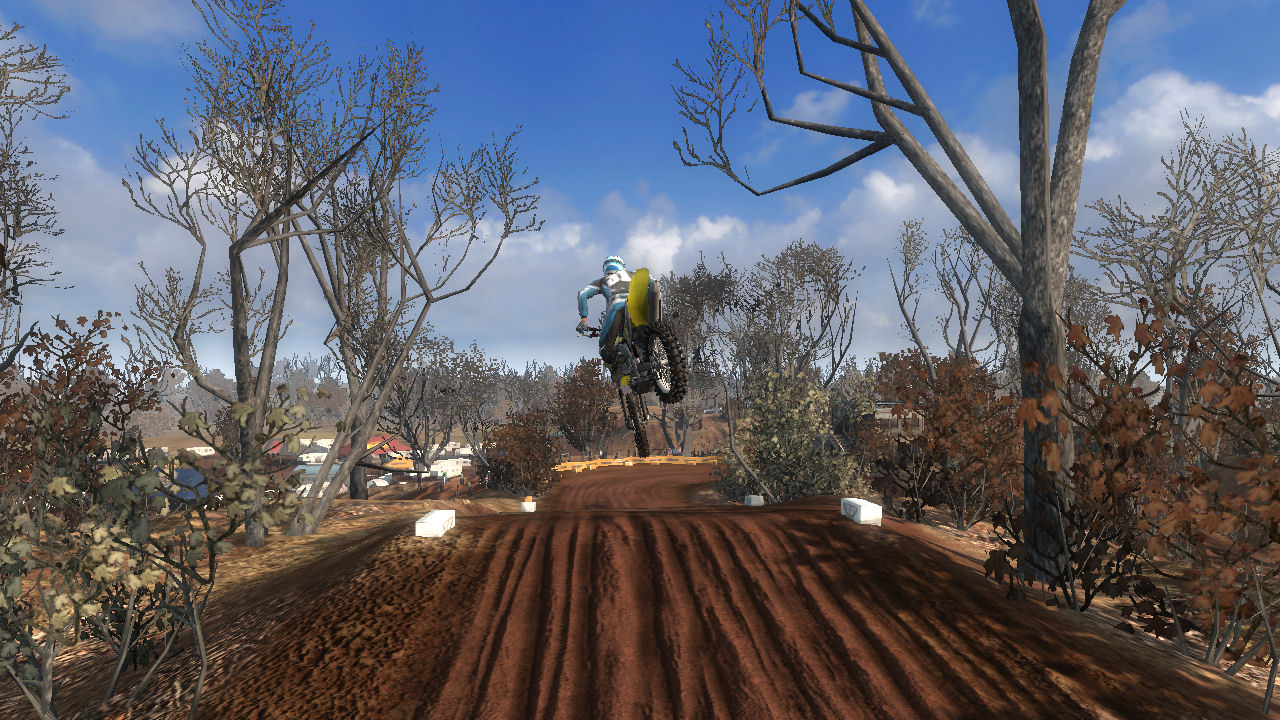
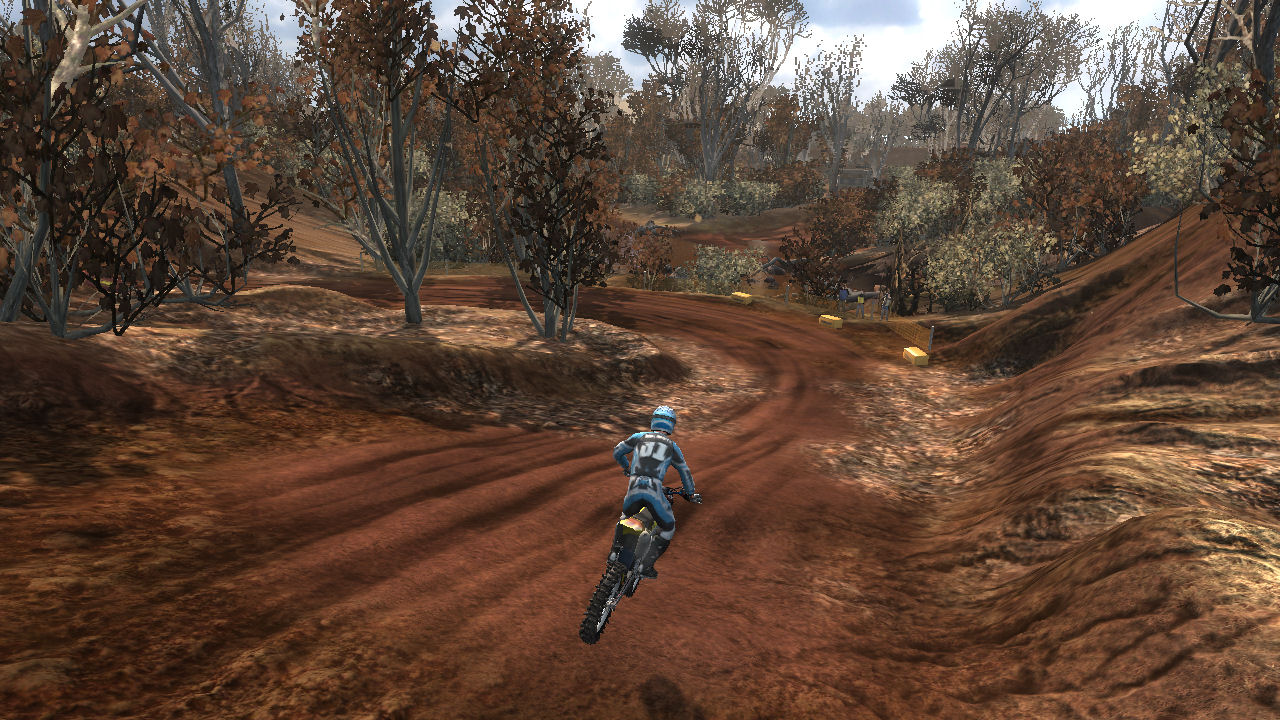
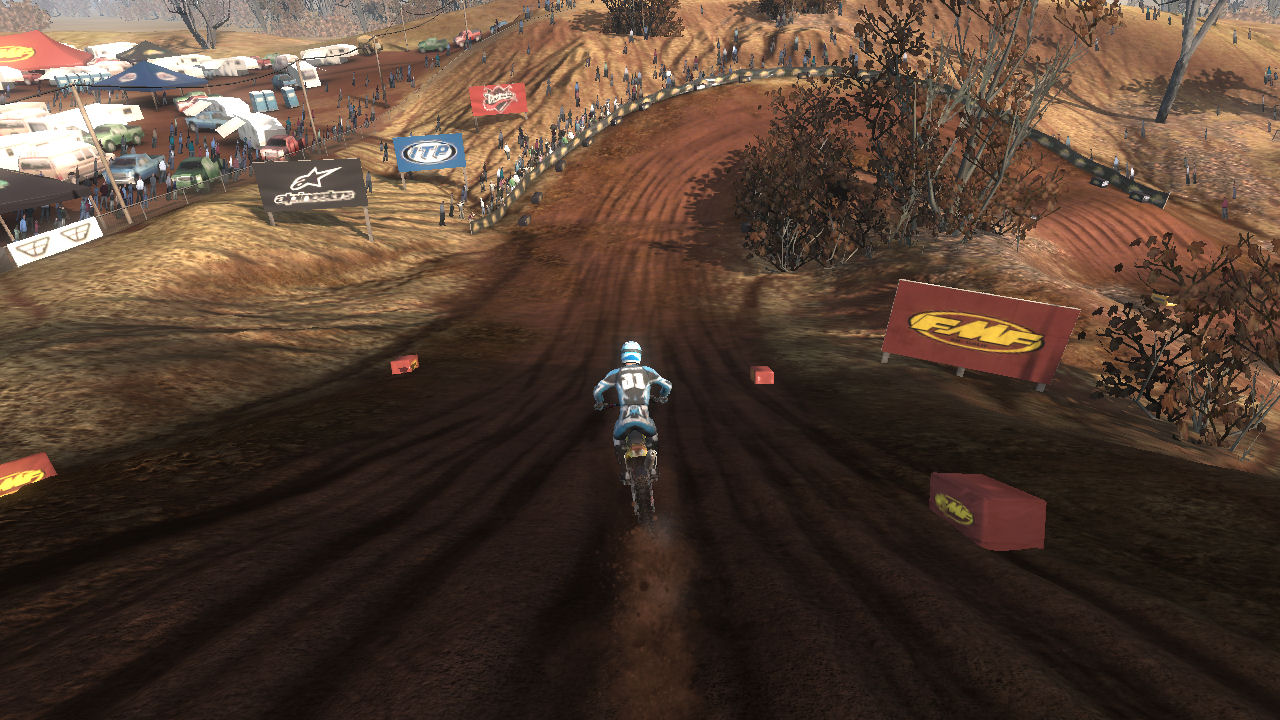
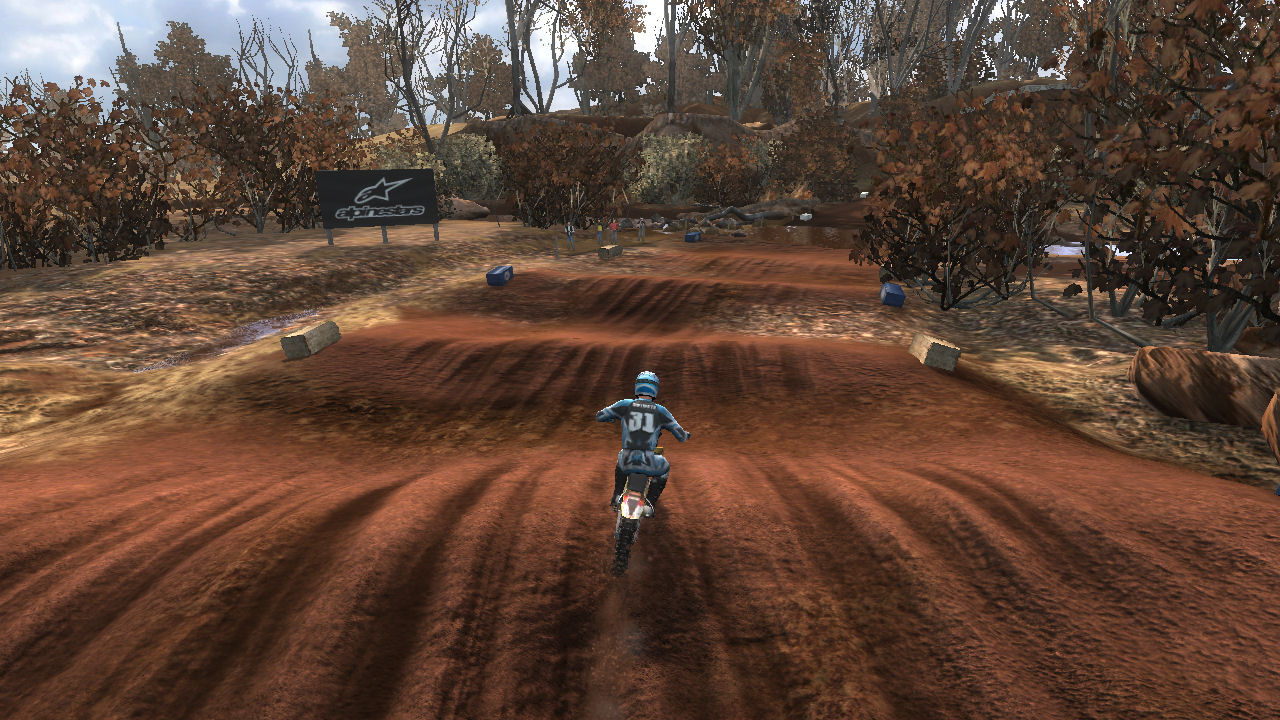
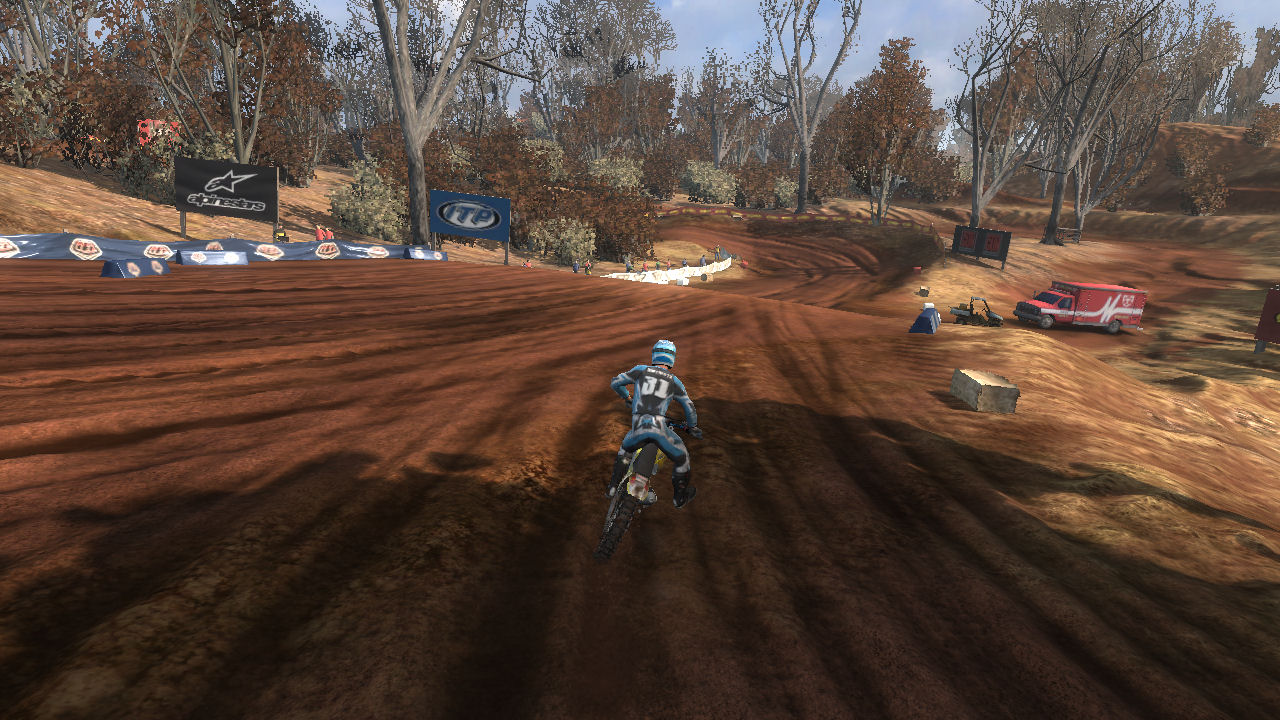
The first time I saw this track, staring out from the starting gate, I knew I would like it. I could tell right away there were hills and wonderful dirt.
As you sit waiting for the start you can see that the start straight falls away, but you don't realize how much it falls away.
Right at the start you race over the edge of the hill and you see that the track has a drop off. Once you land and get settled on the ground it's a drag race to the left hand turn 1.
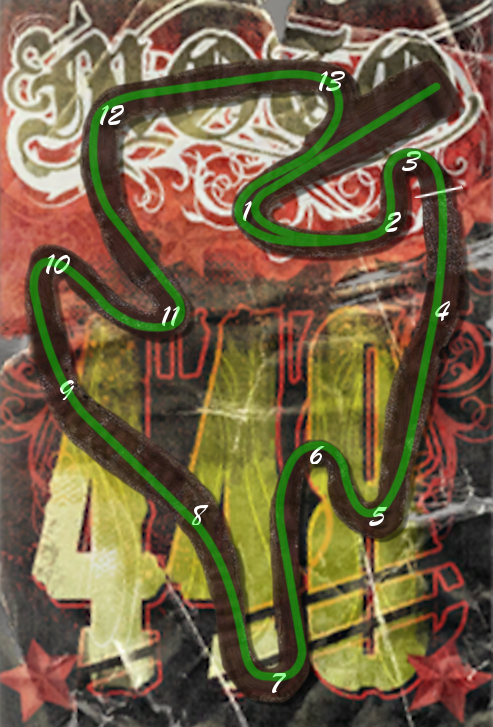
From the overhead picture you can see a good shot of the start funneling to the drop off and then into the tight turn 1. You can see the finish line on the left and how the track comes back to the start straight on the right.
Turn 1
As you approach turn 1 it looks like a 90 degree turn, but it isn't.
Because of that it is very easy to go wide or lose momentum by sliding sideways as you try to make the turn. The turn is really about a 135 degree turn that continues to arc up hill into turn 2.
Whether it's the start or lap 2 you need to not slide in this turn and keep your momentum up. It's important to jump all the way tup to turn 2 all the while turning and getting ready for turn 3.
Turn 2
Leaving turn 1 you jump up the hill and start turning in the air for turn 2. Turn 2 is tighter then it seems because you are already turning as you enter it and you angle across for turn 3.
So even though it is almost a 90 degree left hand turn it is more like a 45 degree left hand turn. You need to decide if you are going to rail around turn 3 or keep it tight. This will be dictated by the traffic you are in, but you should be deciding this before you even land jumping into turn 2.
Turn 3/Finish Line
Turn 3 is a 180 degree right hand turn. This is also the last turn. The finish line jump is immediately after the turn.
When coming up for the finish I think a middle of the turn approach is probably the best option. Turning tight to the inside can be costly just as railing the outside can be. On all other laps it probably doesn't matter. Wherever there aren't other riders is the best line.
Once you jump over the finish line jump you land on the downhill towards turn 4. There are going to be several uphill and downhill journeys around this track.
Turn 4
Turn 4 is just about a 20 degree kink to the right at the bottom of the hill as you cross over the culverts. This straight is actually a slight S turn as shortly aver turn 4 you veer to the left as you go up over the hill into 5.
The track from the start line to here is shared with Razorback with just subtle terrain changes. You can see on the left the downhill from the U turn in Razorback.
The track is soft here in spots and will rut up. The same with the uphill. Some of these ruts are there from the start and don't really change much. The ruts will mainly appear in the extreme middle of the track on the dowhill and then branch out on the flat and the uphill.
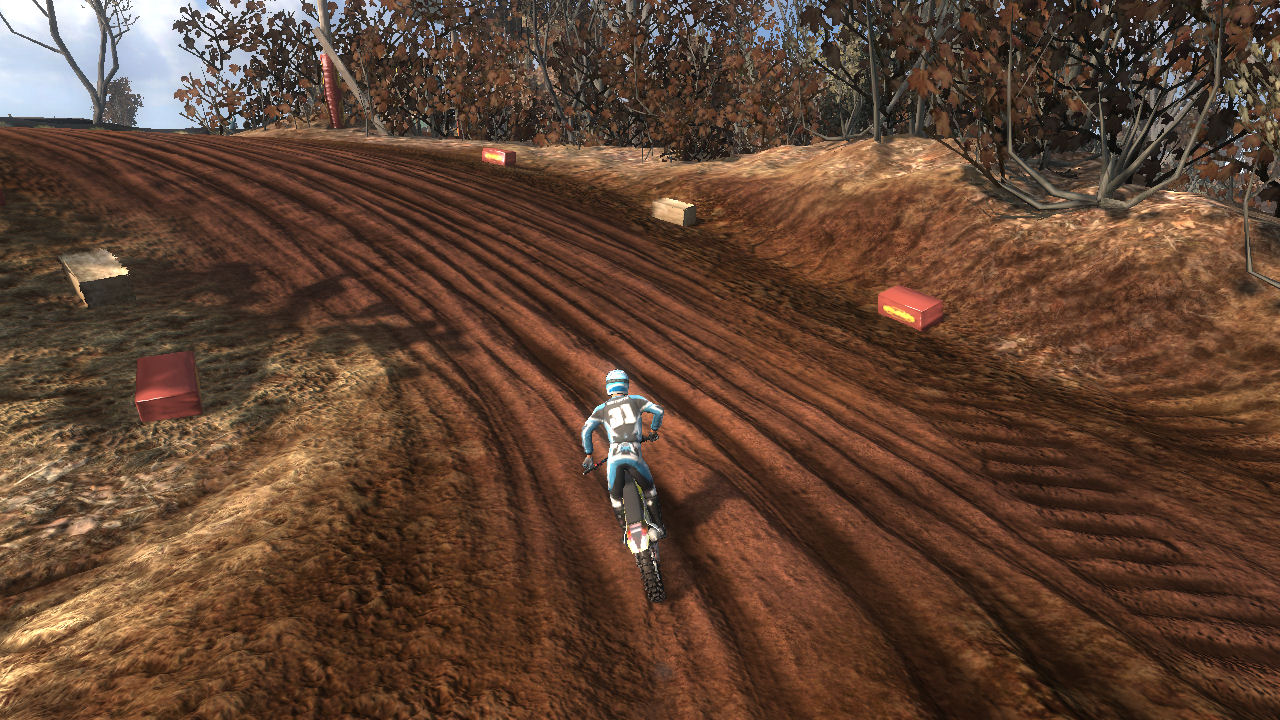
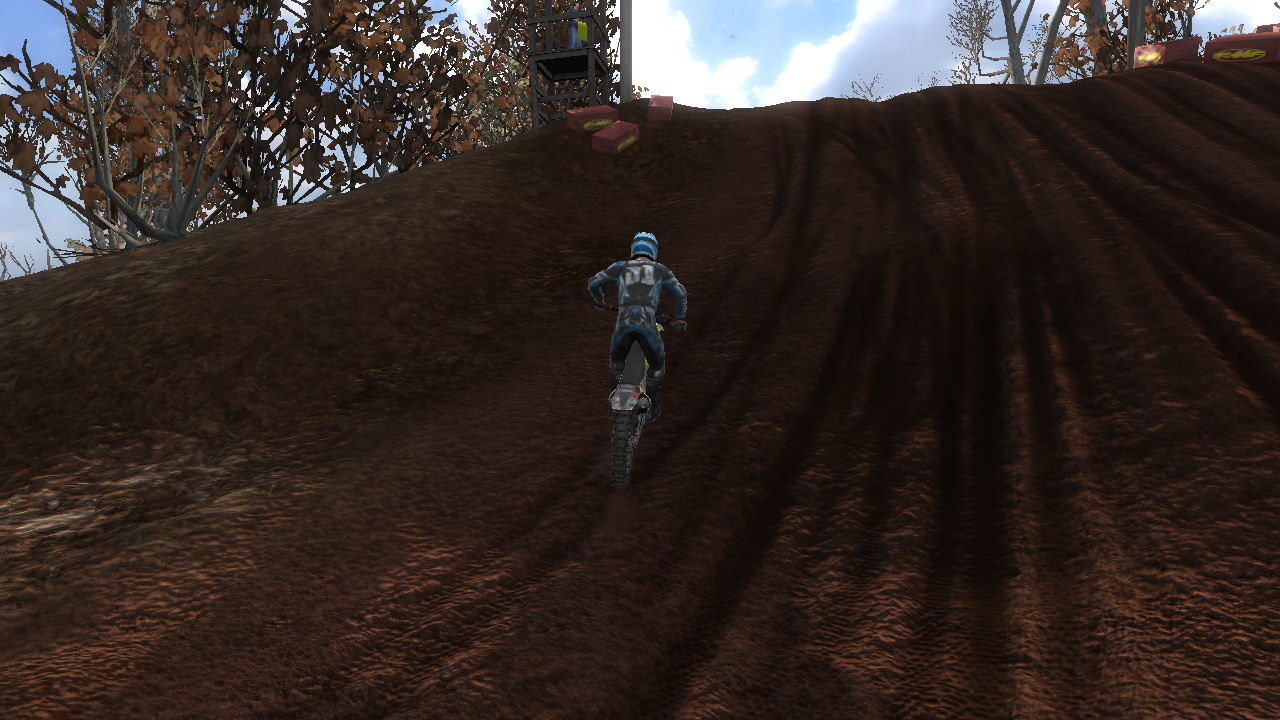
Climbing the hill to the takeoff you should probably aim for the center. Being too close to the left or right may have you landing in the Tuff Blocks on the other side of the hill.
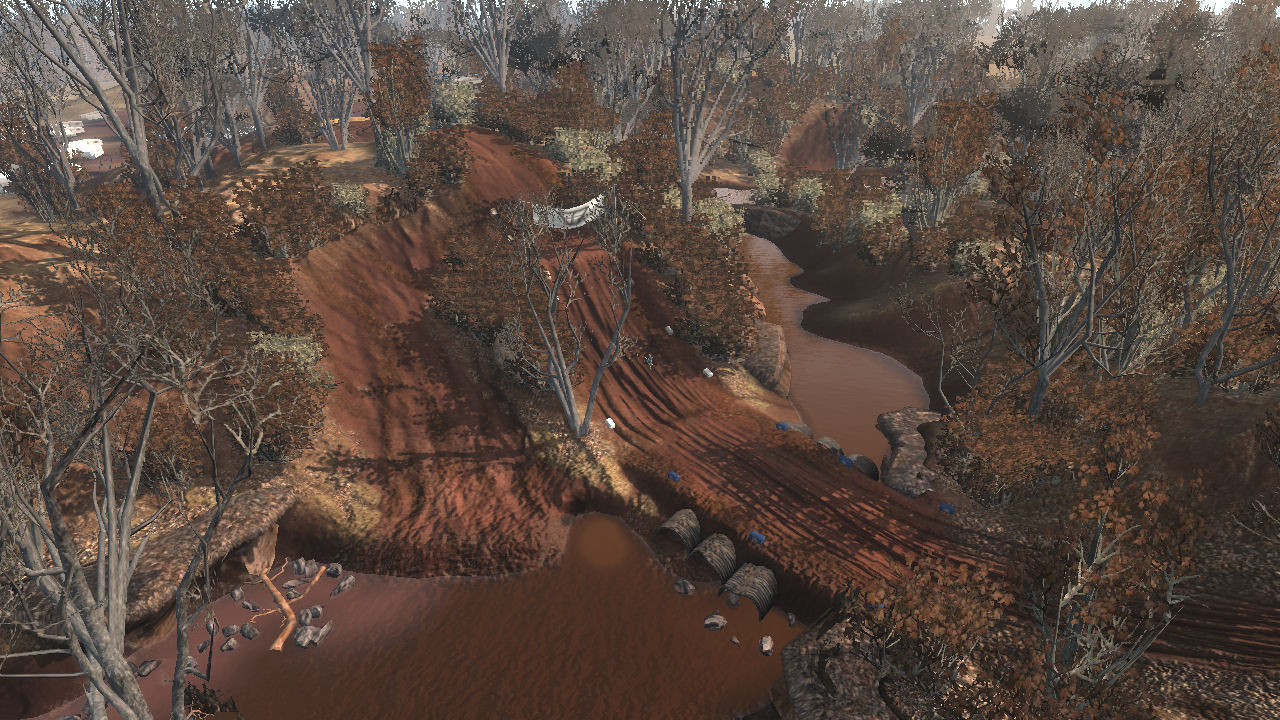
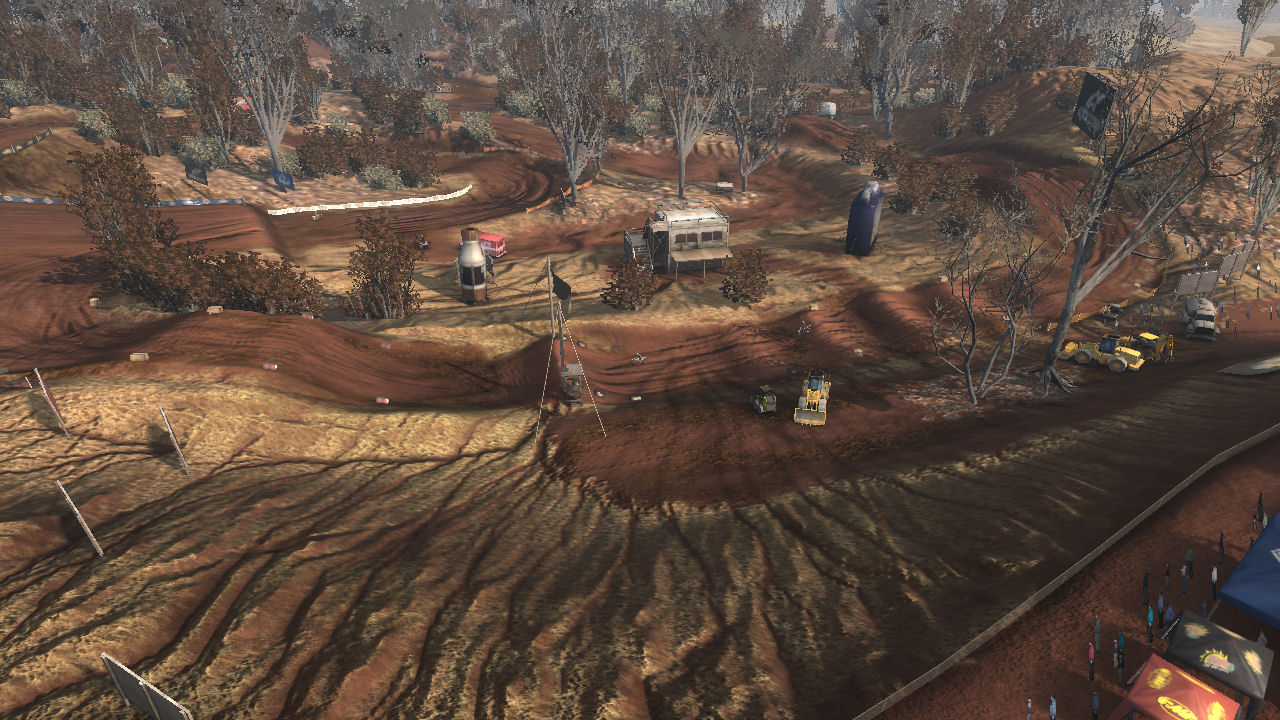
The bottom picture on the right is a hight up view that shows the culverts and the water as it heads to the mud hole that you will soon be crossing between turns 9 and 10. Here you can see another clear view of the Razorback U turn that heads back down to the water.
Turn 5
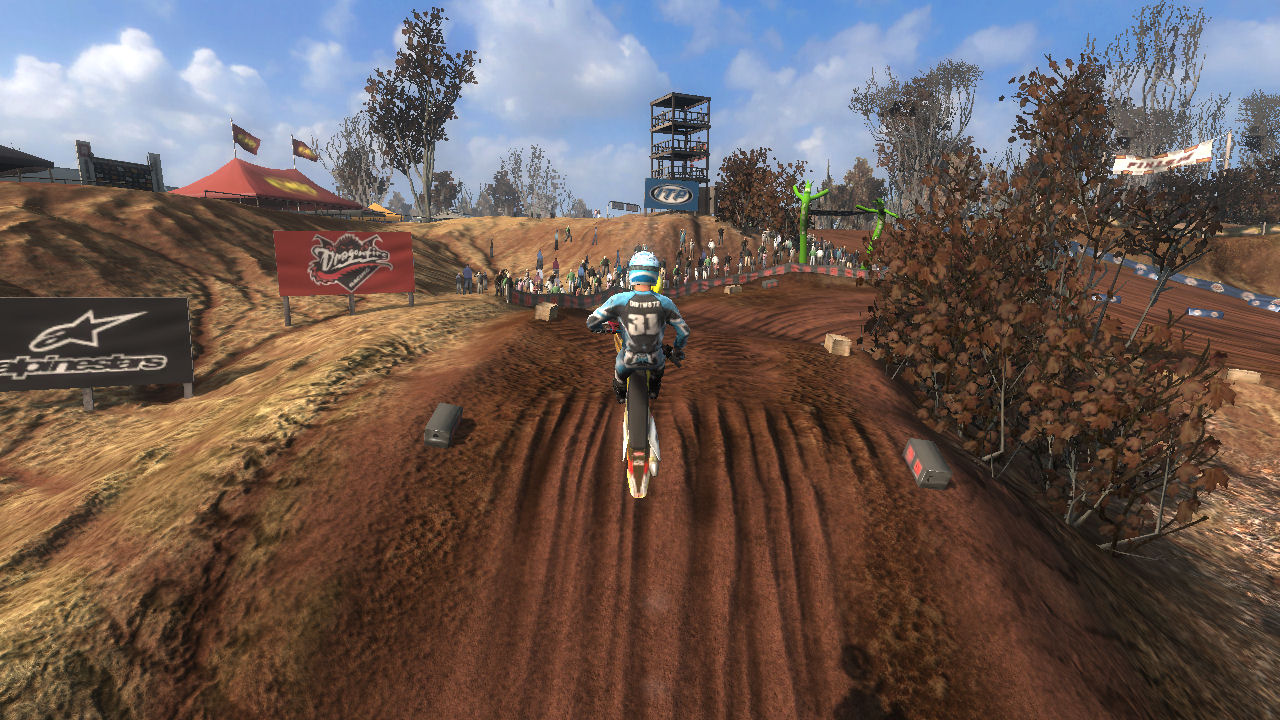
Flying over the top of the hill we see it is a straight shot to turn 5. Turn 5 is about a 100-110 degree turn to the right over a drop off.
The turn will rut up but not too bad. It is easy to get crossed up and lose time because you are sliding sideways. A gentle use of Reflex goes a long way here but too much and you will lose time.
Over the drop off and on to Turn 6. This whole section is a lesson in how rewarding it is to be smooth and keep your momentum up.
Off in the distance we can see the turn 11 as it turns back away from the water.
The bottom picture on the right shows the wonderful texture used on this track (lower left of picture) and hint's at what is available in Reflex.
Turn 6
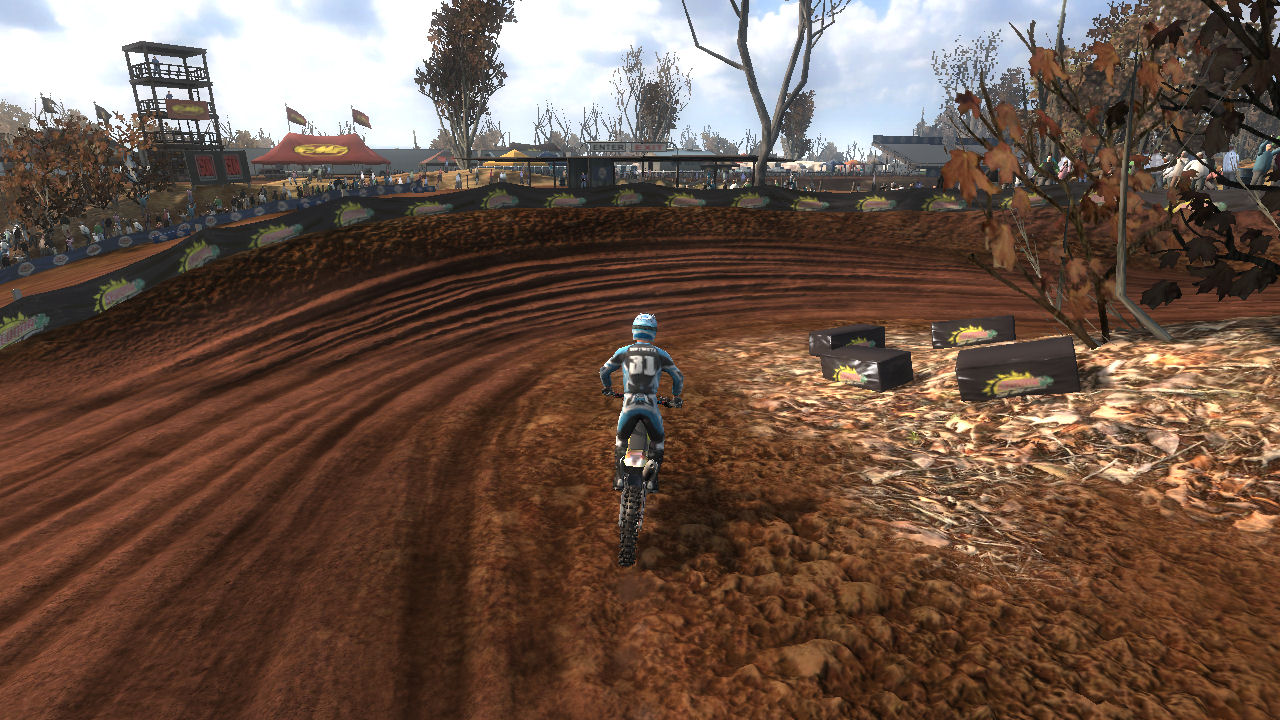
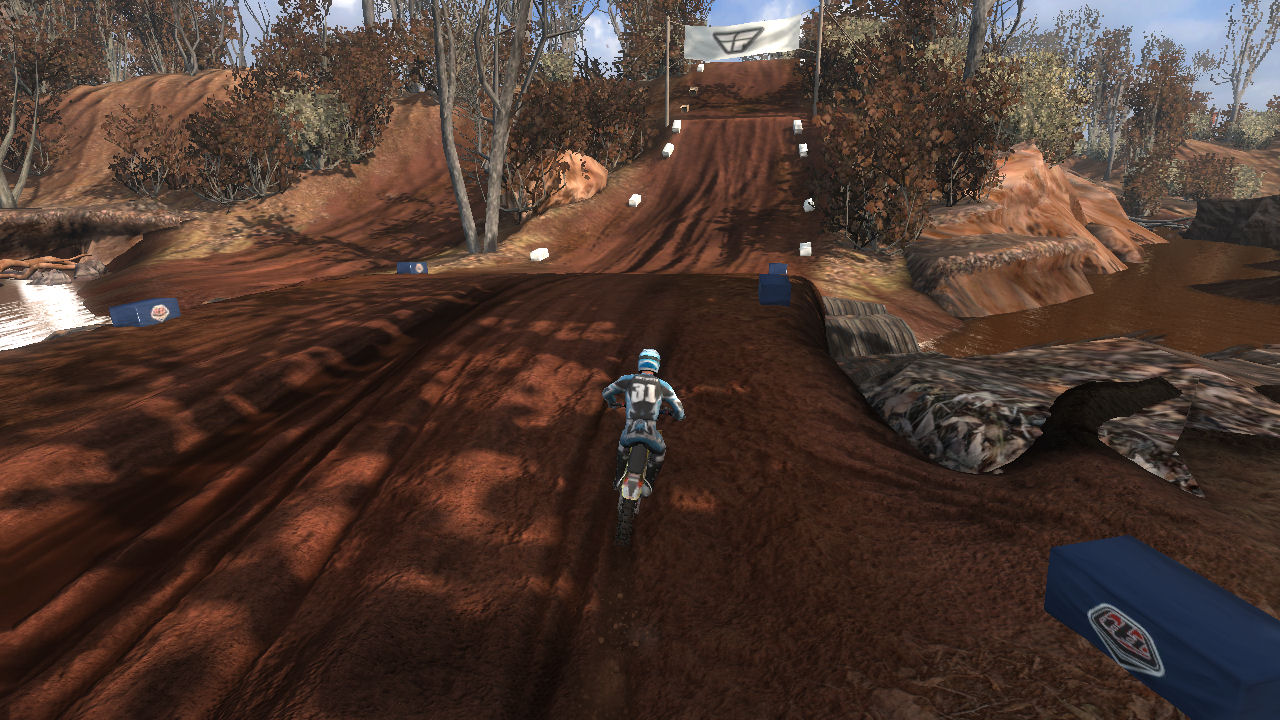
The top picture on the right shows the Turn 5/Turn 6 pair. It really shows how both Turn 5 and Turn 6 are tighter then they appear.
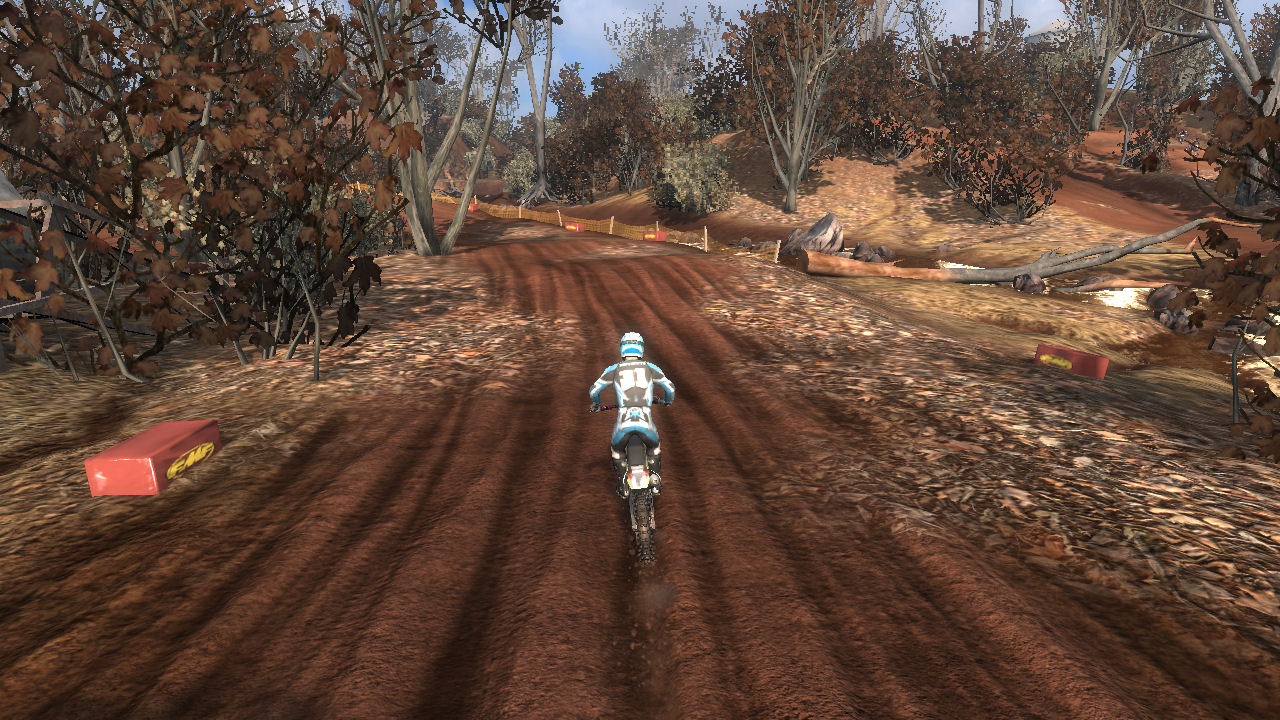
Exiting Turn 6 you immediately charge uphill. This is very similar to the approach to Turn 5. Again it is probably best to aim towards the center.
This time the approach to turn 7 is down a steeper hill then the approach to 5.
Turn 7
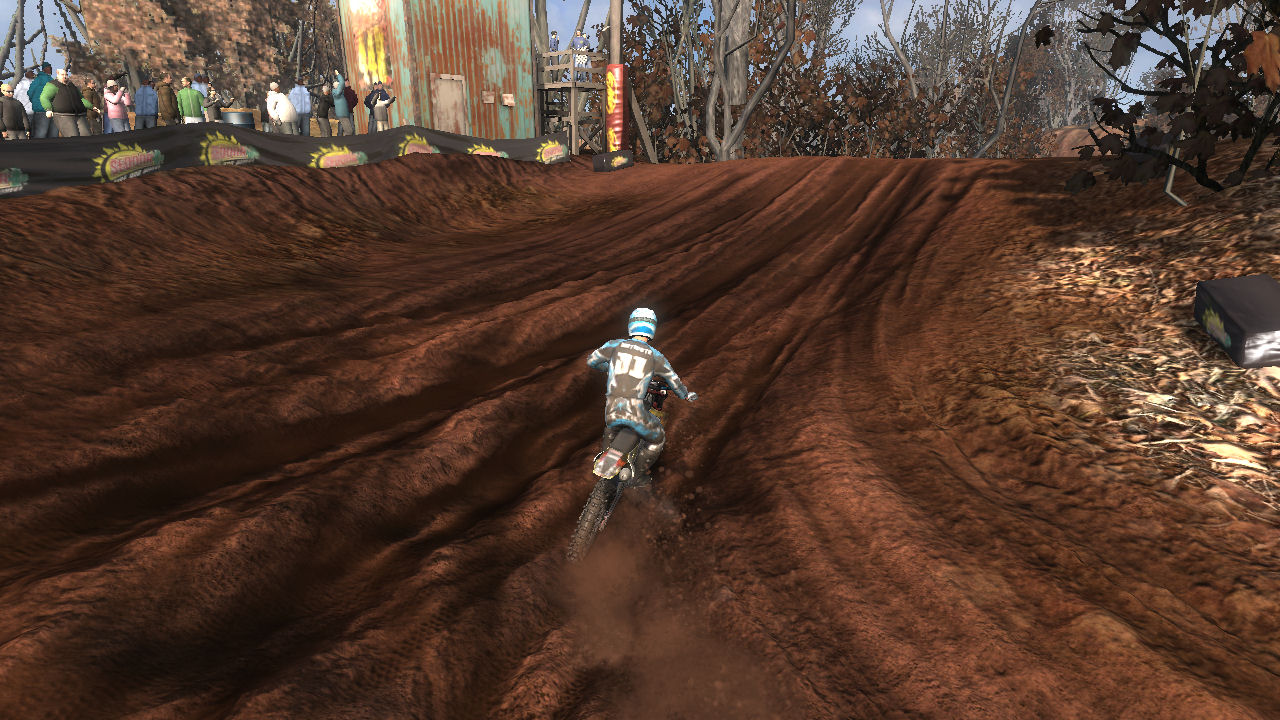
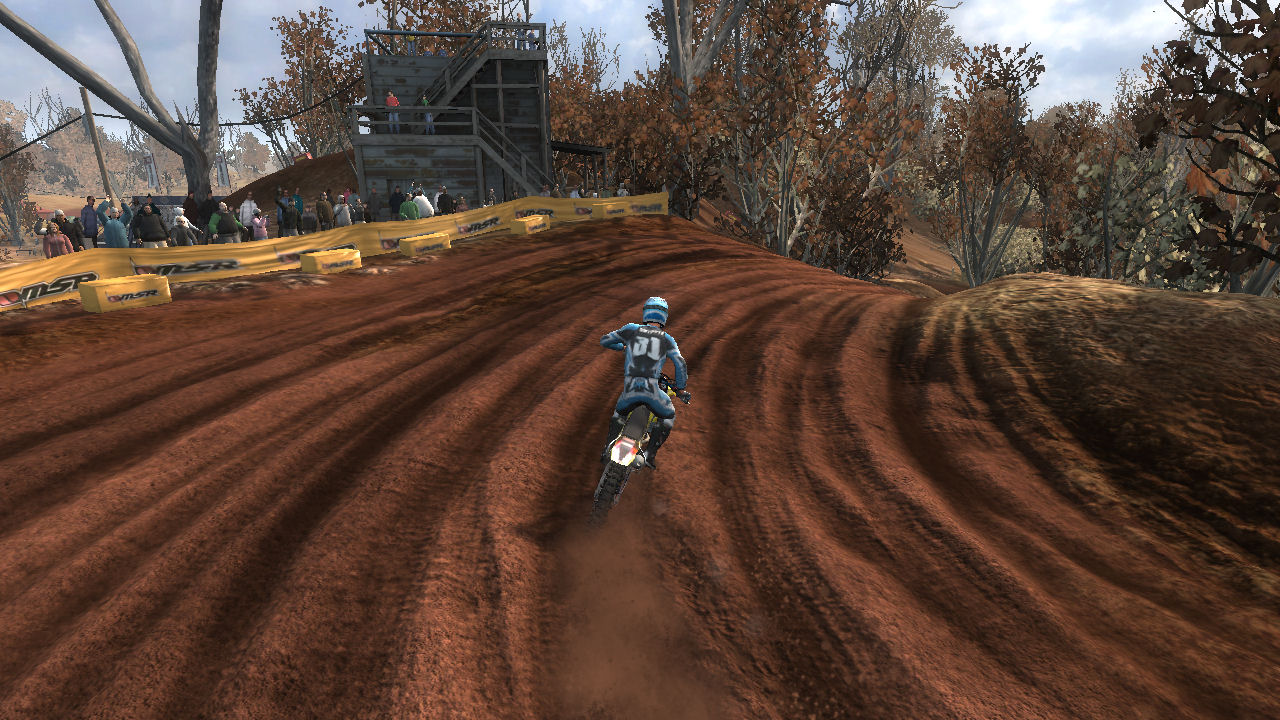
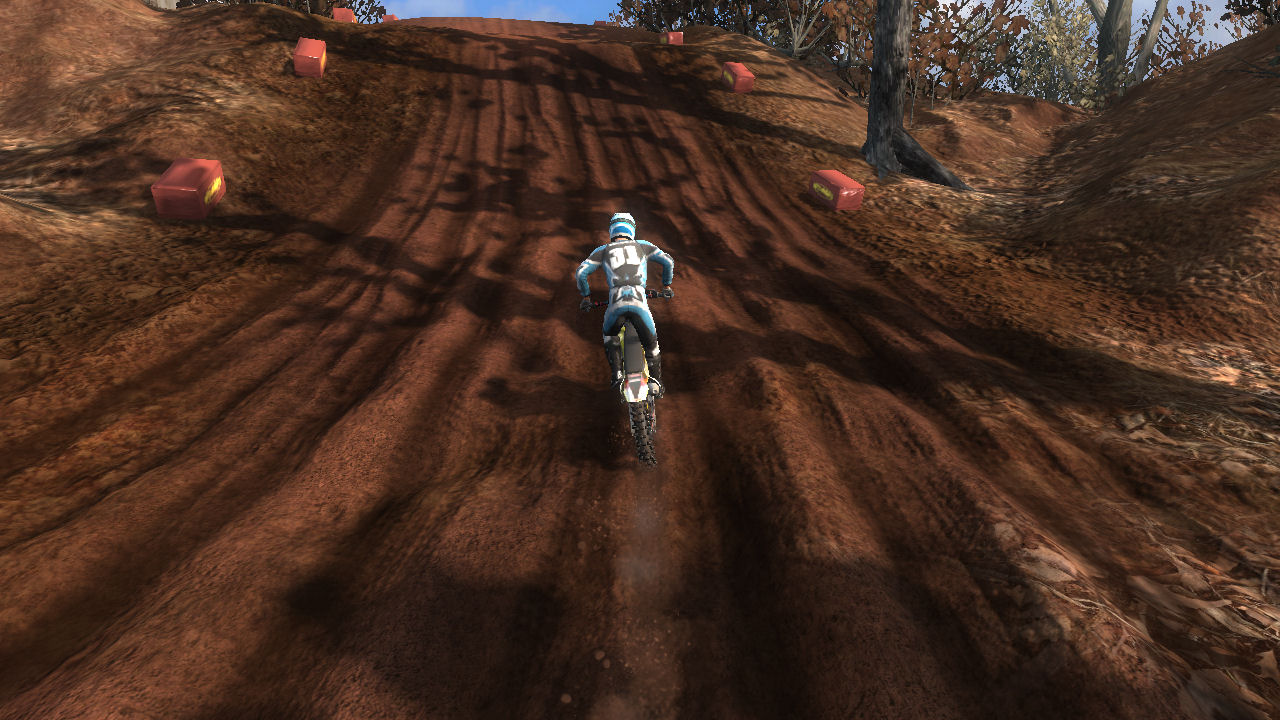
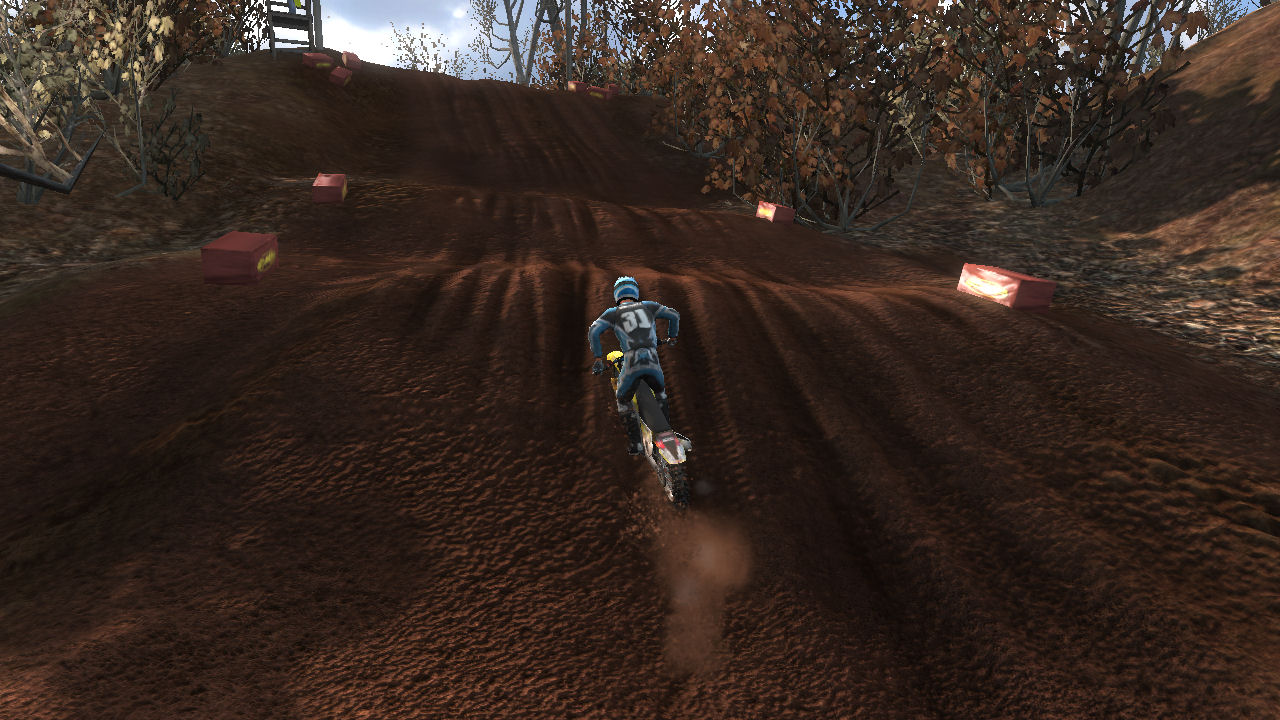
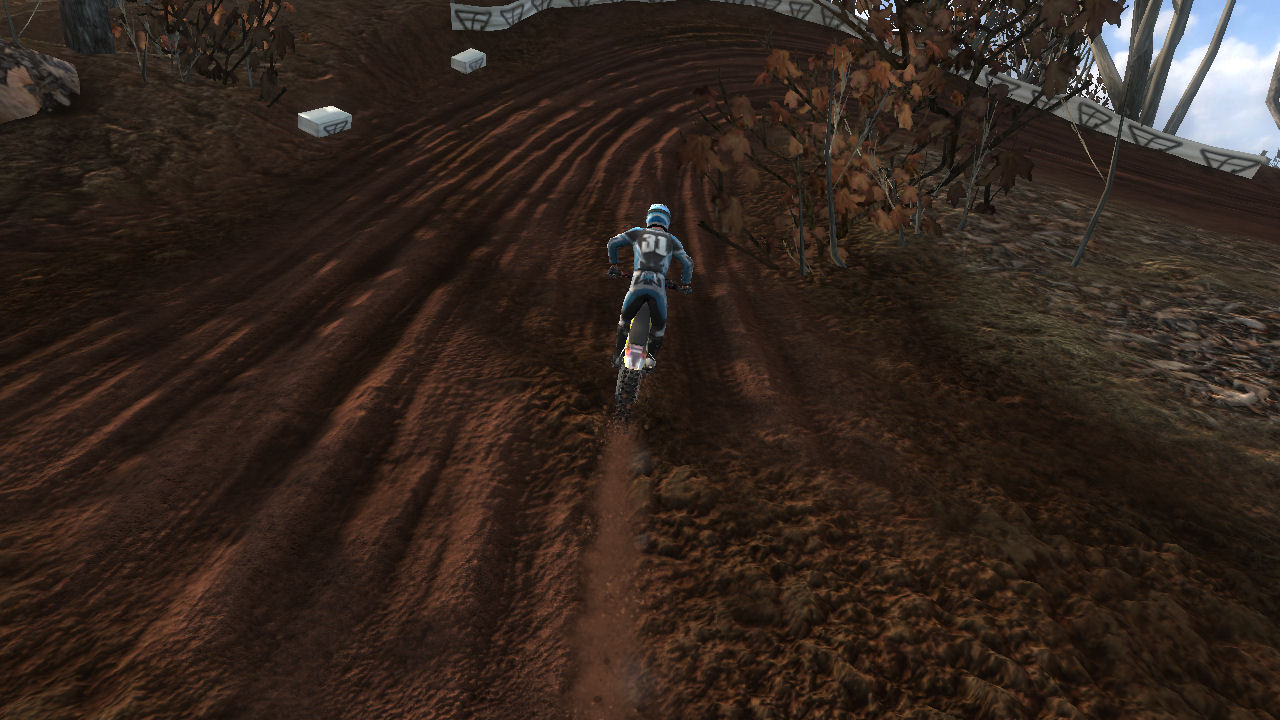
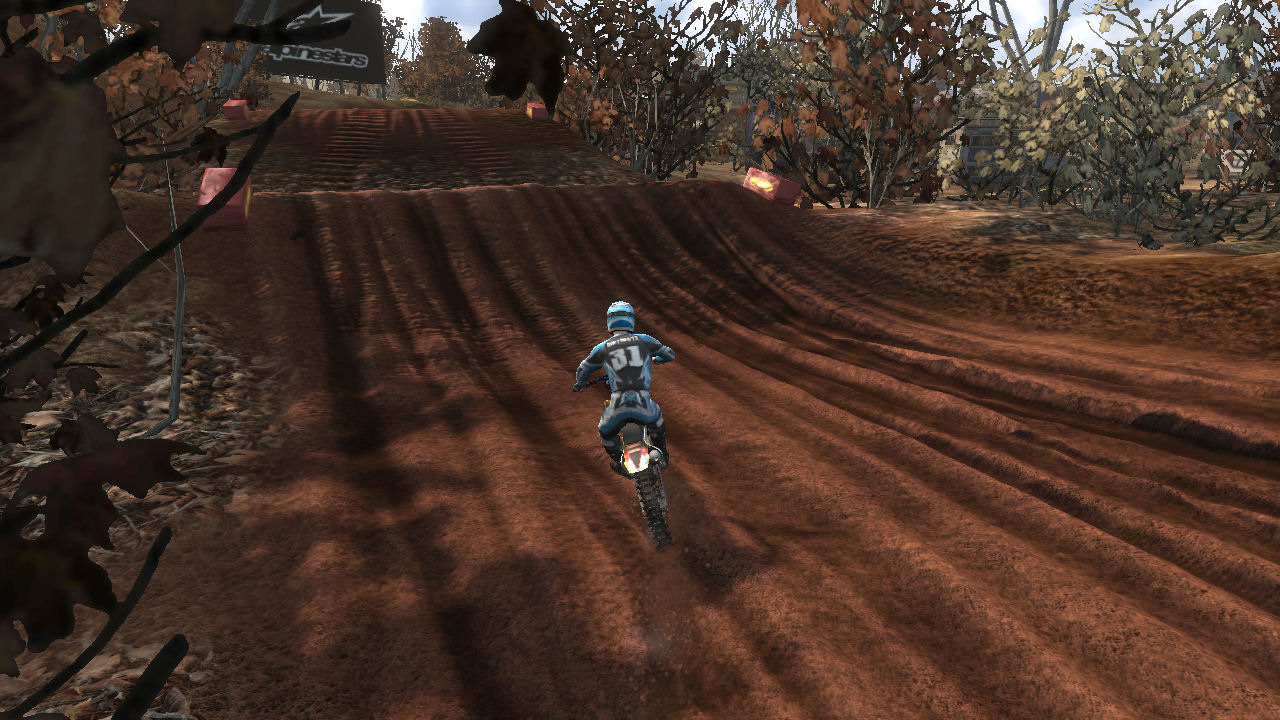
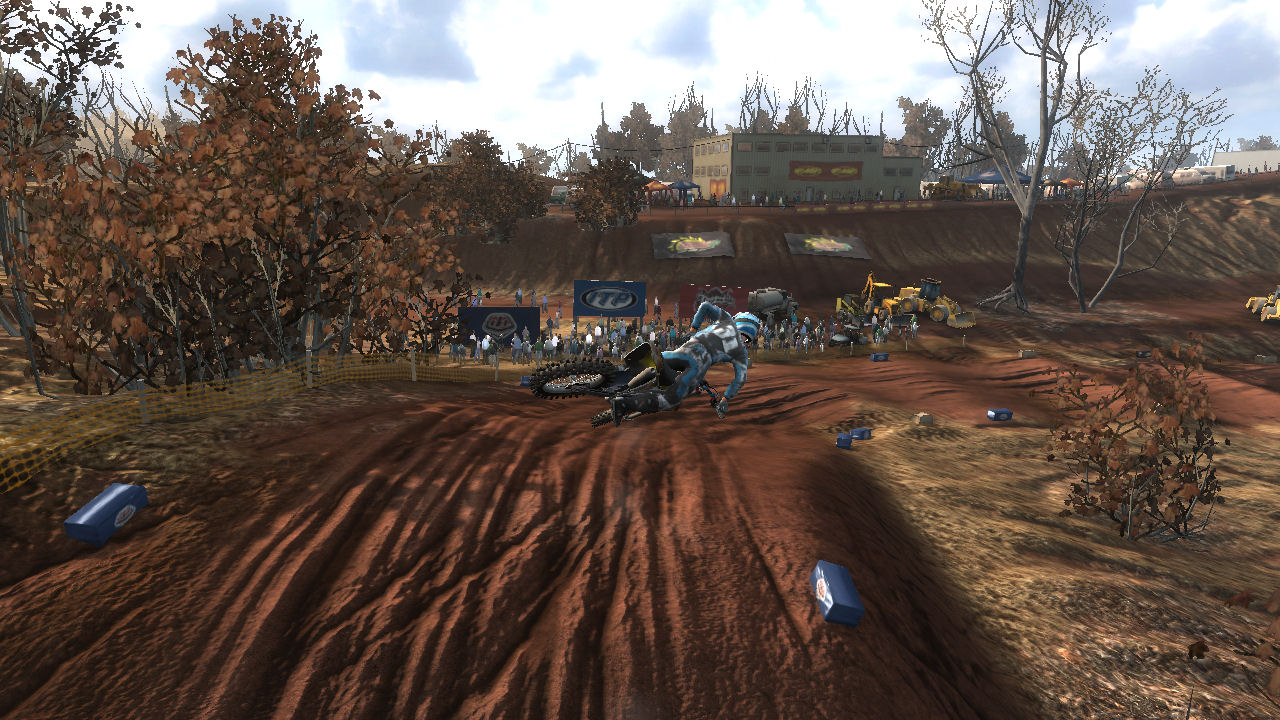
Turn 7 is tighter then Turn 5. It is a 180 degree turn. As you exit it you will be charging up the hill that Checkerz448 called the "signauture area...massive roller whoop section". It's my favorite part of this track.
As you exit turn 7 you go slightly down hill into the first roller. You this to get setup to try to jump as far in as you can. If you time it properly you can triple in. If you keep your momentum you can triple-triple-double, and still have some momentum at the top.
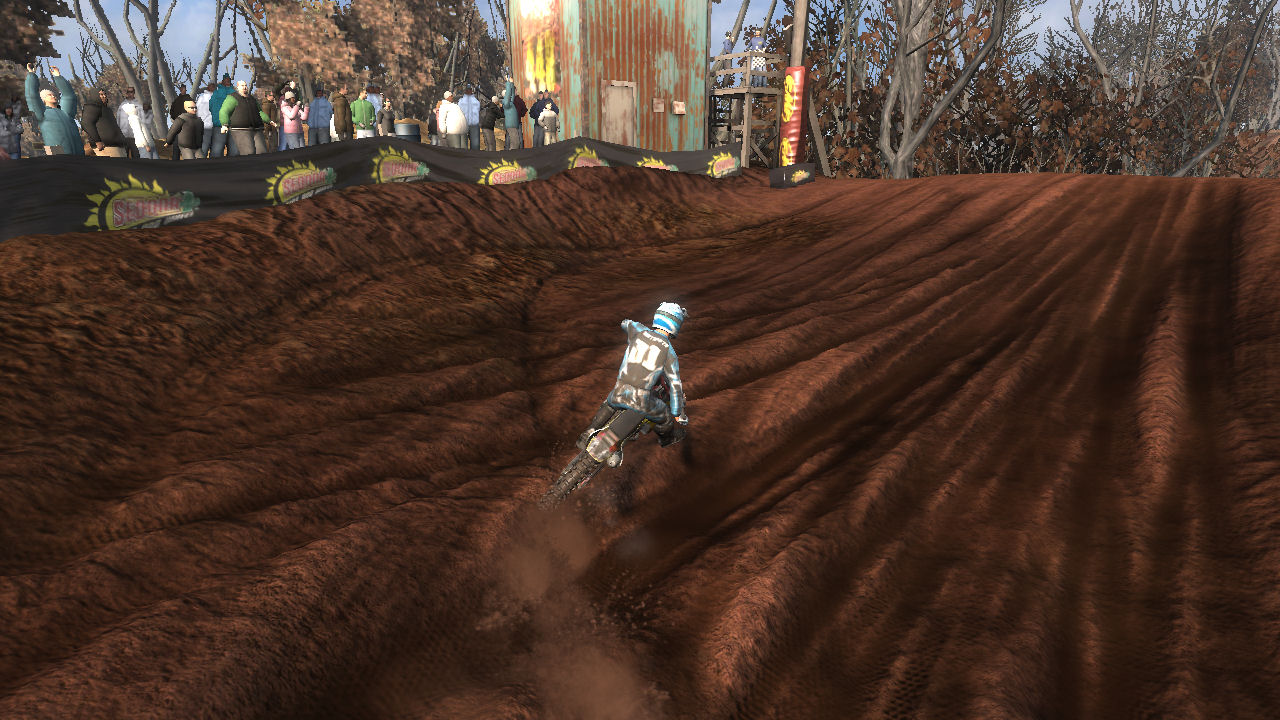
The top picture on the right gives a good overview of Turn 7 and the uphill whoops.
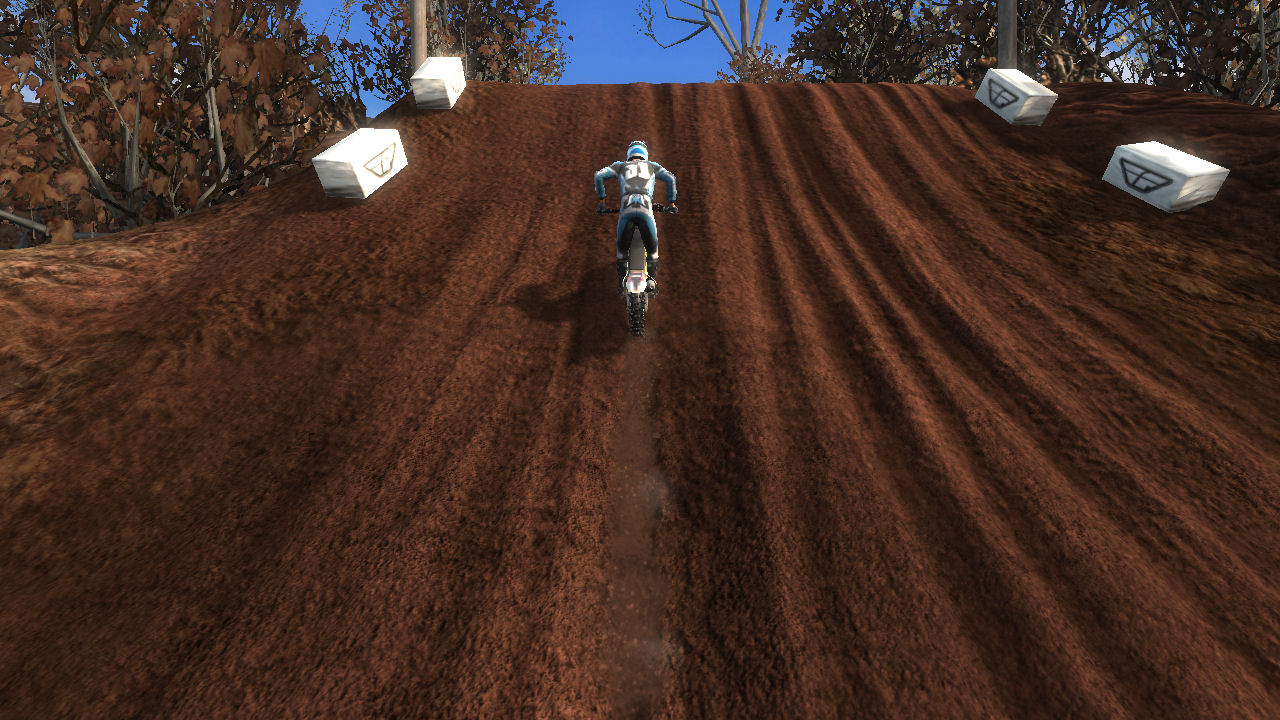
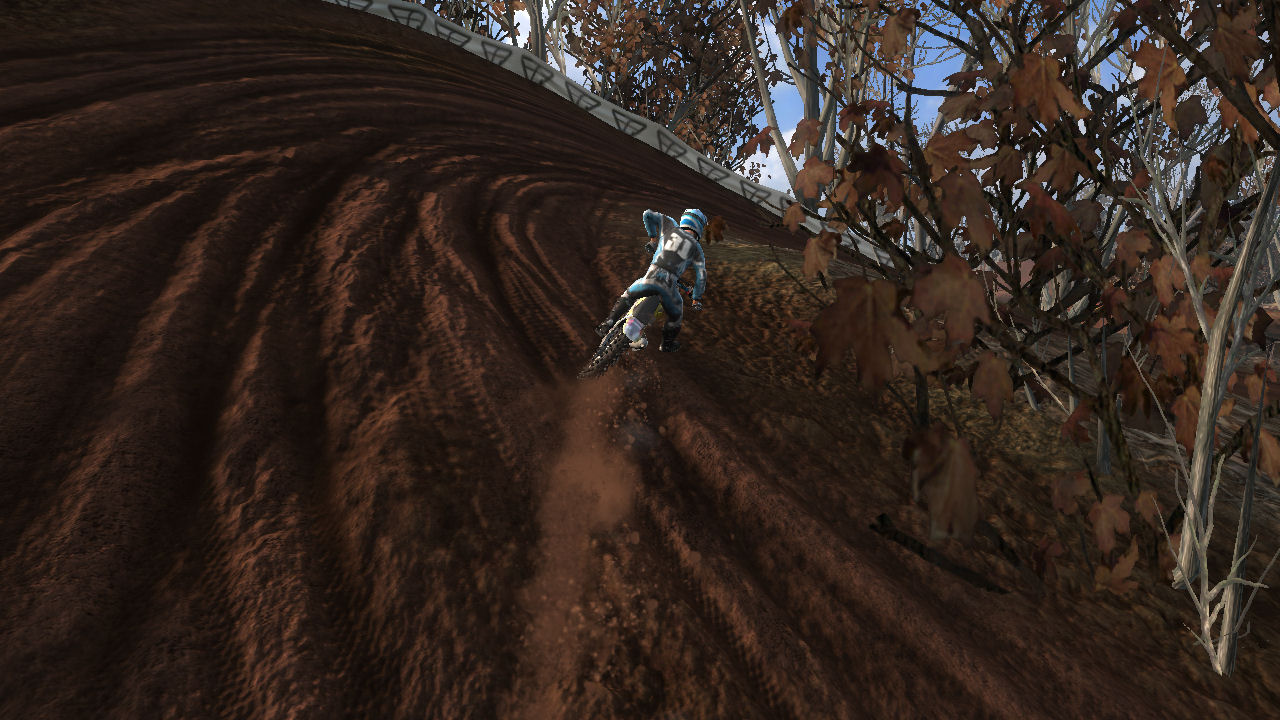
The bottom picture brings you up close and personal to the steep final section. Again look at the texture detail.
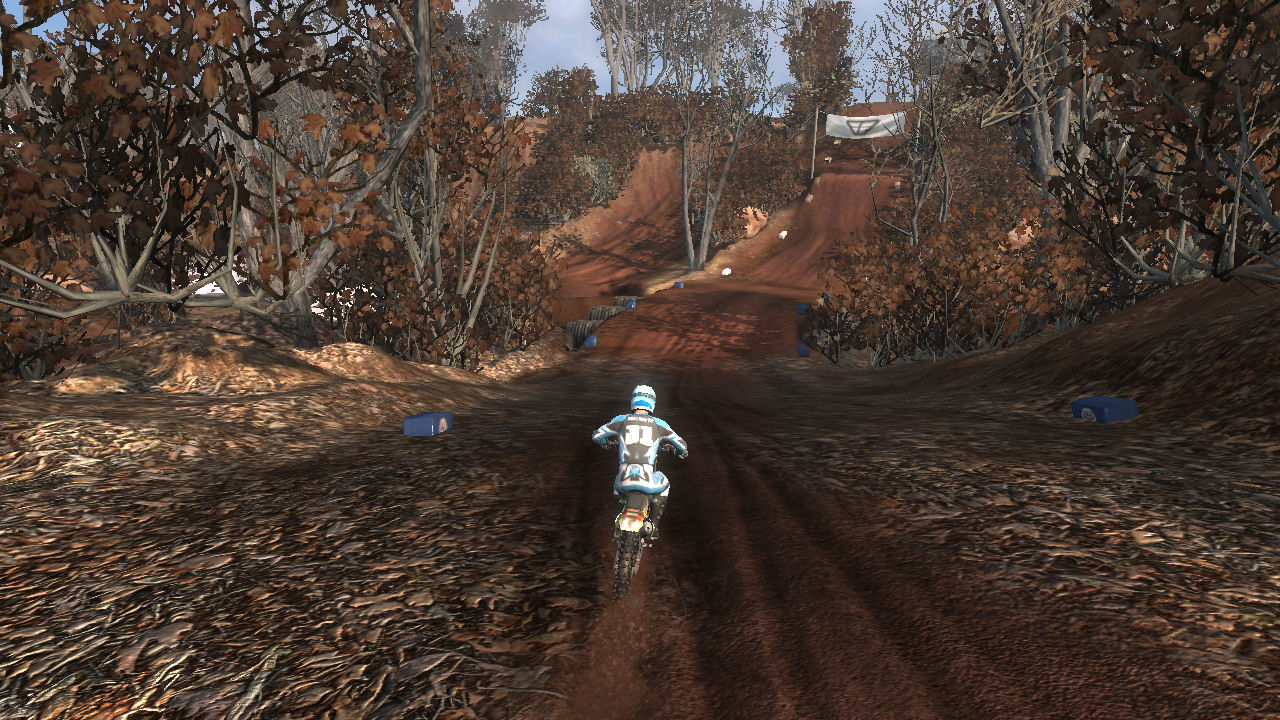
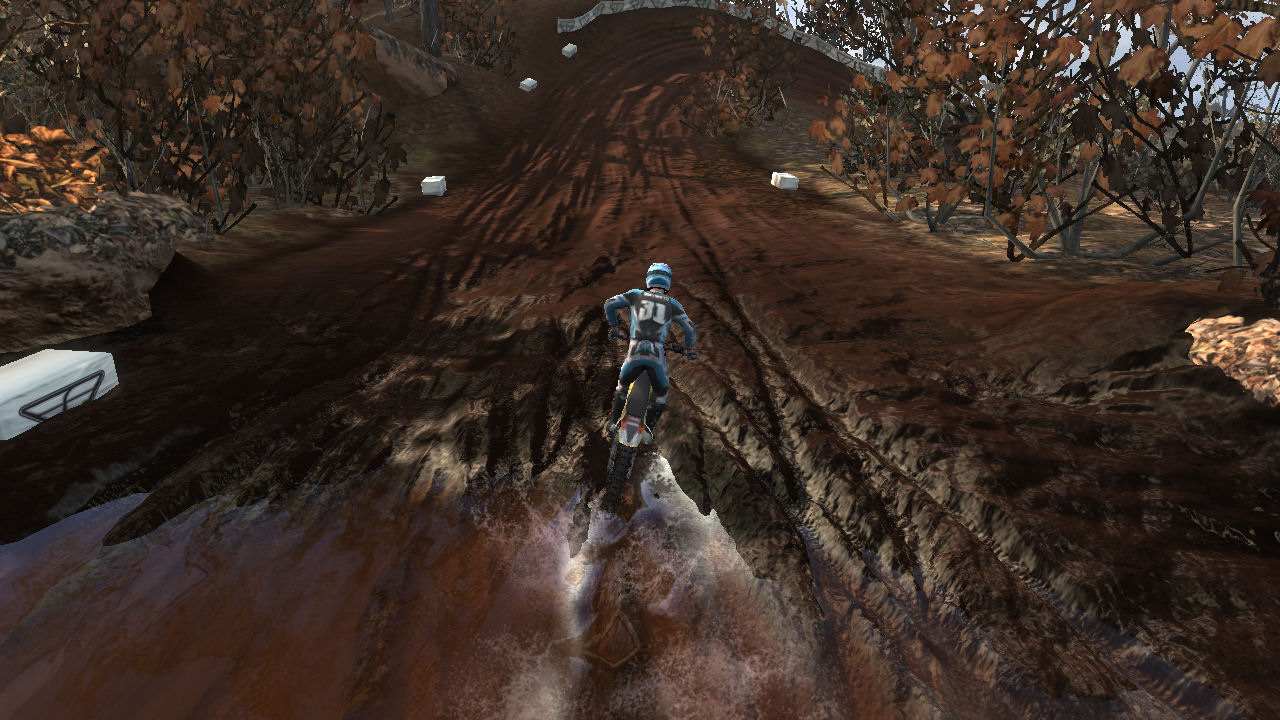
Turn 8
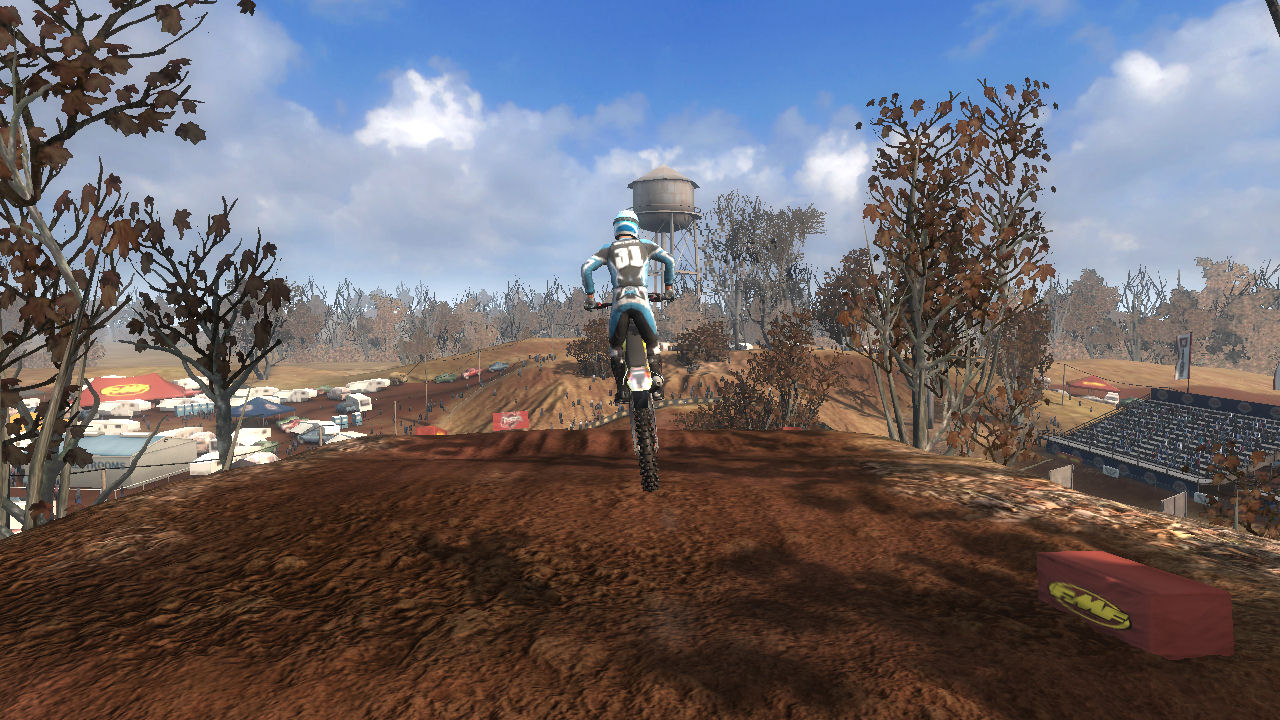
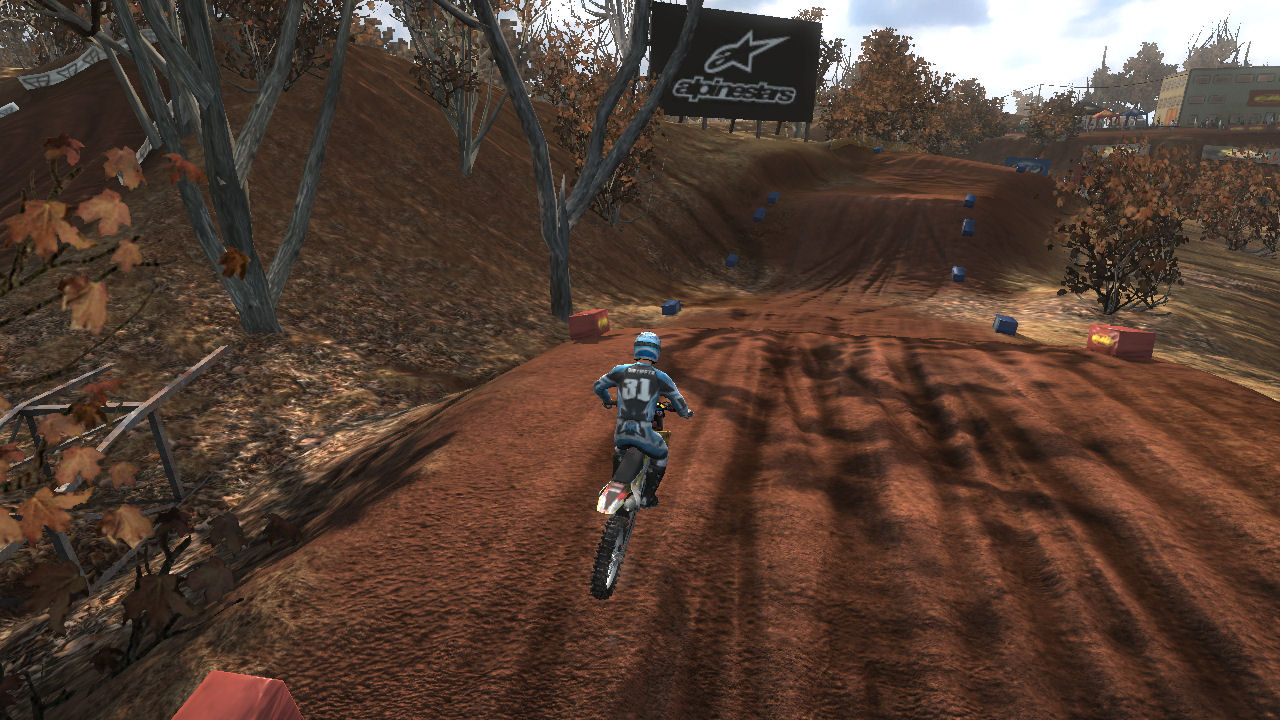
Turn 8 is done while going over the top of the hill. It's not obvious that it is really a turn, but it is. Sometimes you will actually jump over the top and other times you will just barely putt over it.
However you do it, the trickiest part of the track is coming up. If you have all the time in the world this part is easy, if you are racing and trying to go down this section fast then it will bite you when you least expect it.
It's important to realize that there is a turn at the bottom (Turn 9). The downhill roller whoops are nicely shaped to give you options. Those same shapes will kick you sideways and kick your butt if you just ride down without a plan.
I take the downhill first as a series of jumps, planning my next move based on how things have gone so far. If I get out of synch then I will bite the bullet and slow down and get back into synch. Usually if I get out of synch and I just try to blast down skipping along the way I will end up in the brush or the Tuff Blocks.
As you near the bottom plan for the right turn, because if you don't you will get snagged with the rocks and snow fence on the left.
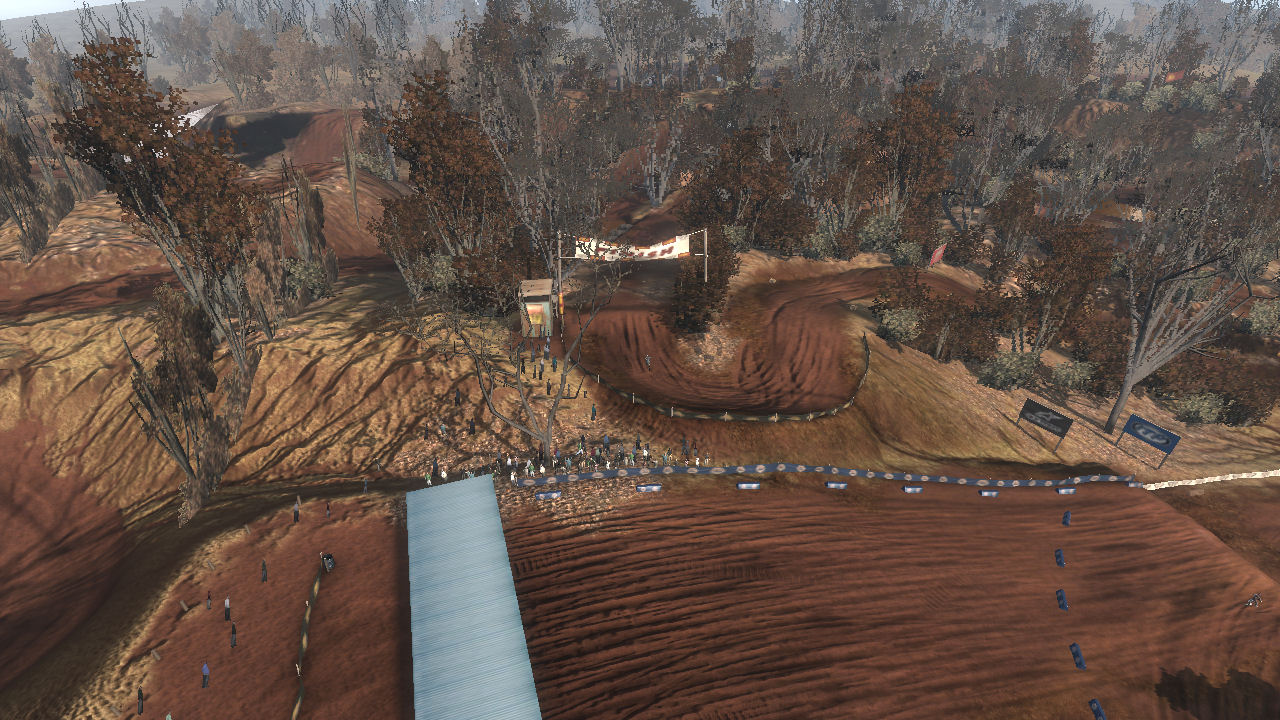
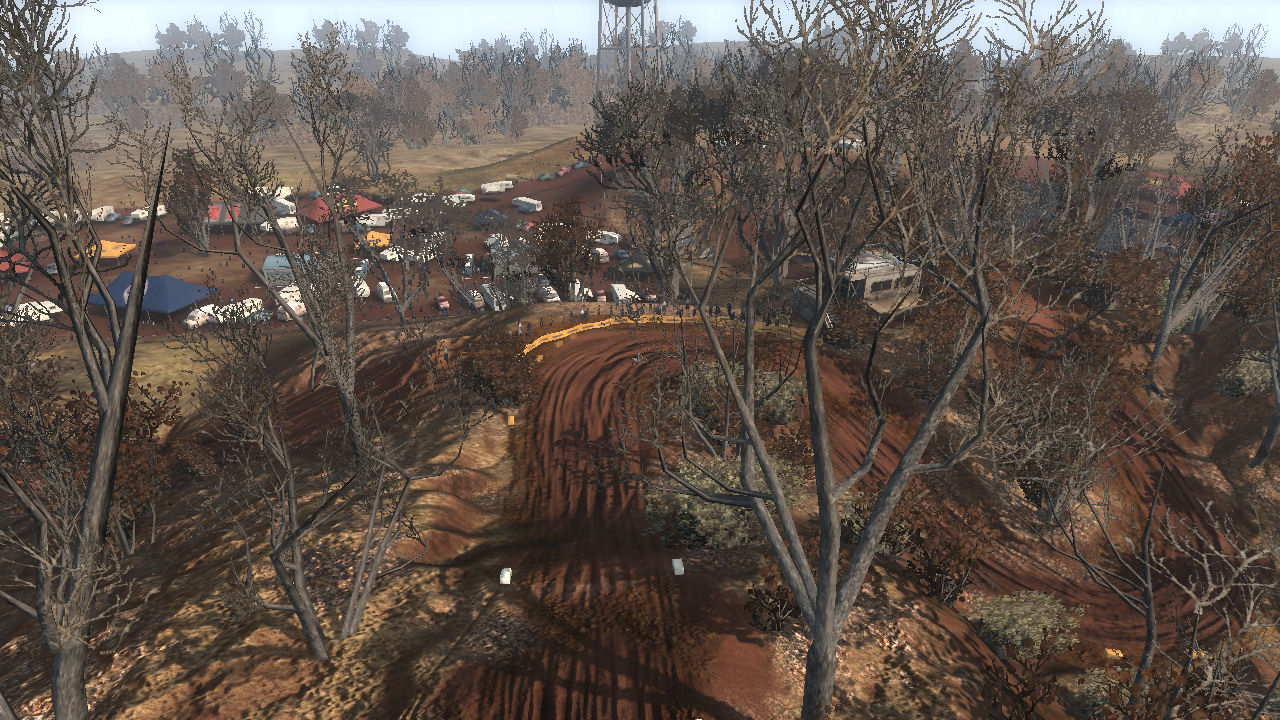
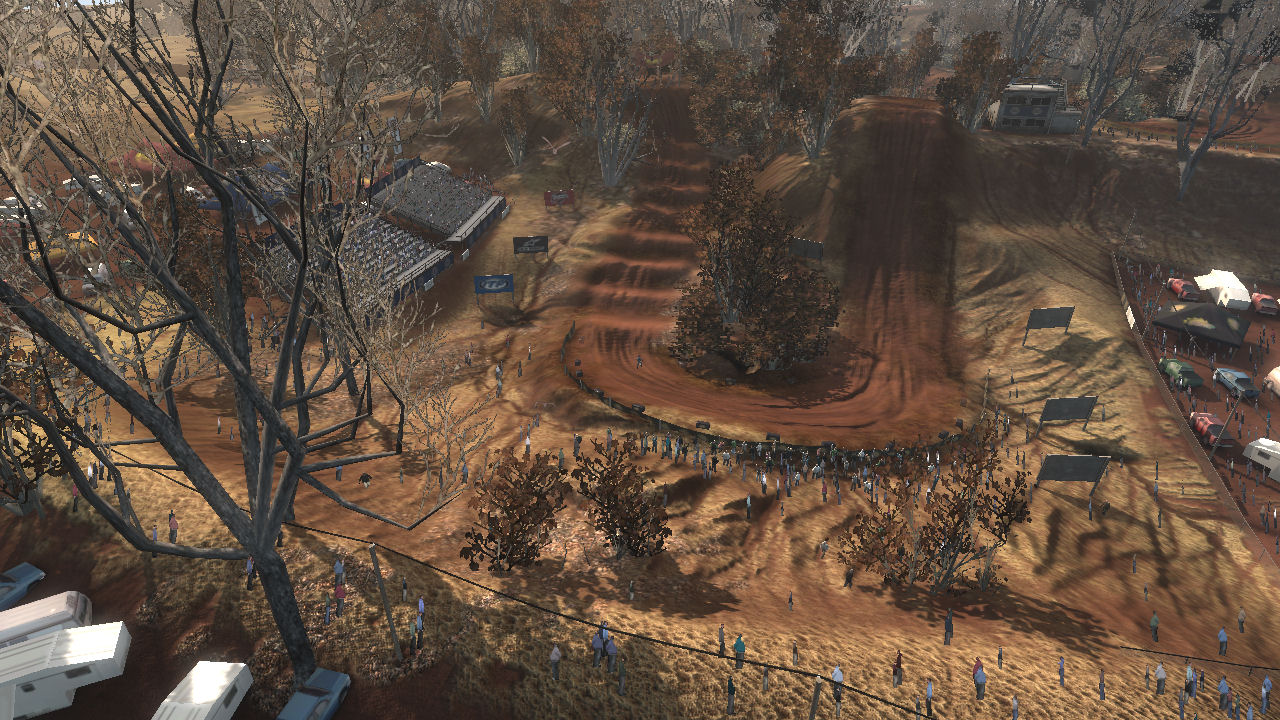
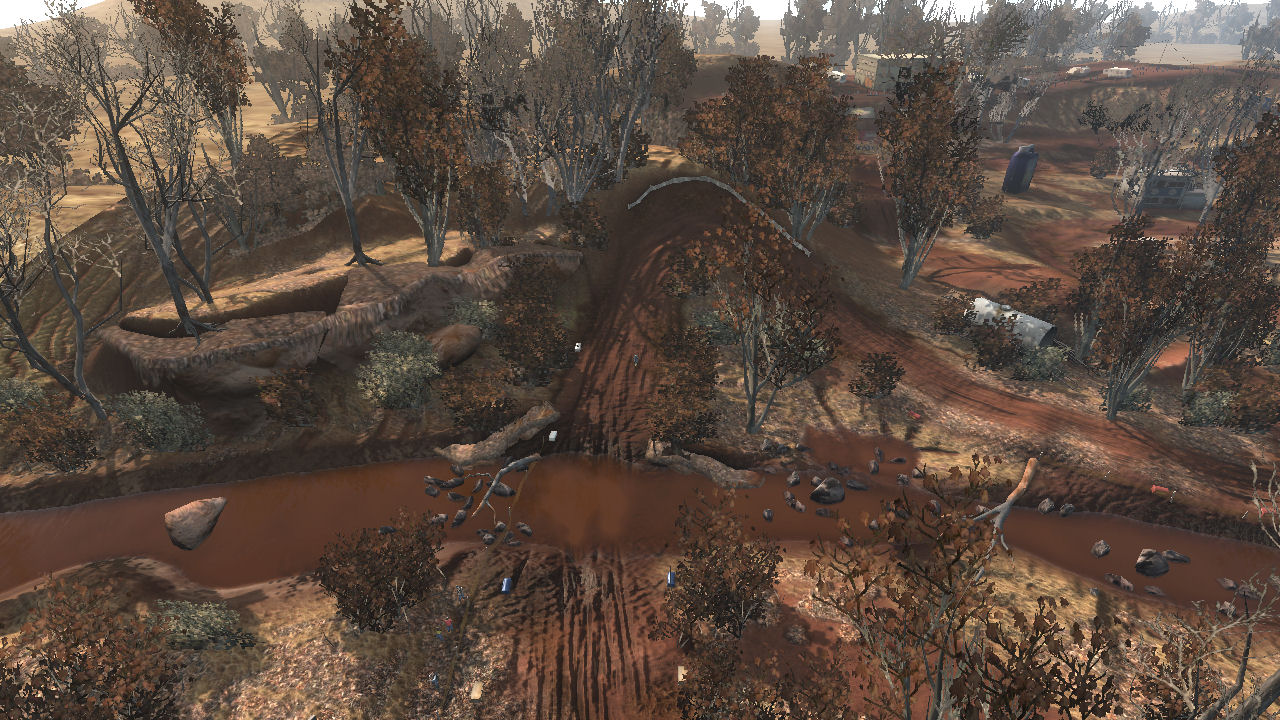
The bottom picture on the right shows a picture of the run from turn 8 to turn 9 from high above. You can see the steep final run up the hill through turn 8. The bumpy run down to turn 9, the water at the exit to turn 9, and off to the right you can see turn 11 and the path the track takes as it leaves the water. You can also see where I almost called a turn 12 in the stretch, instead I just left the stretch from turn 11 to 12 as an arc and didn't give it it's own number.
Turn 9
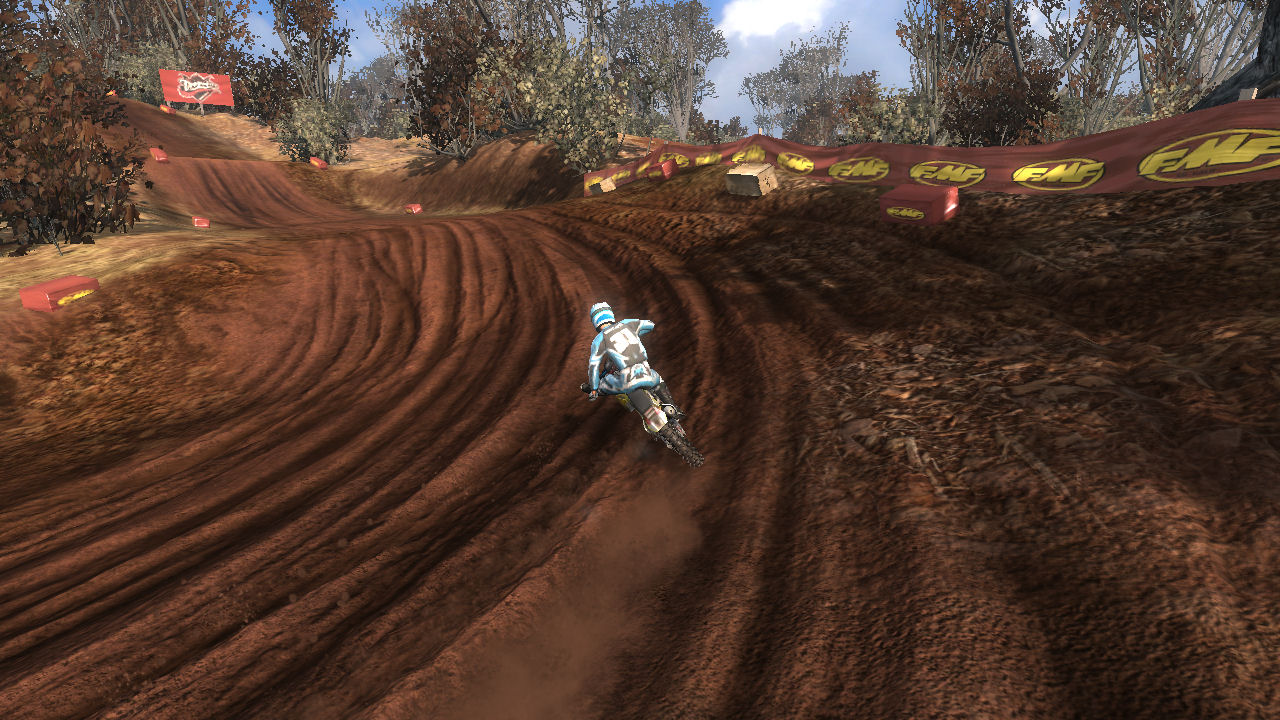
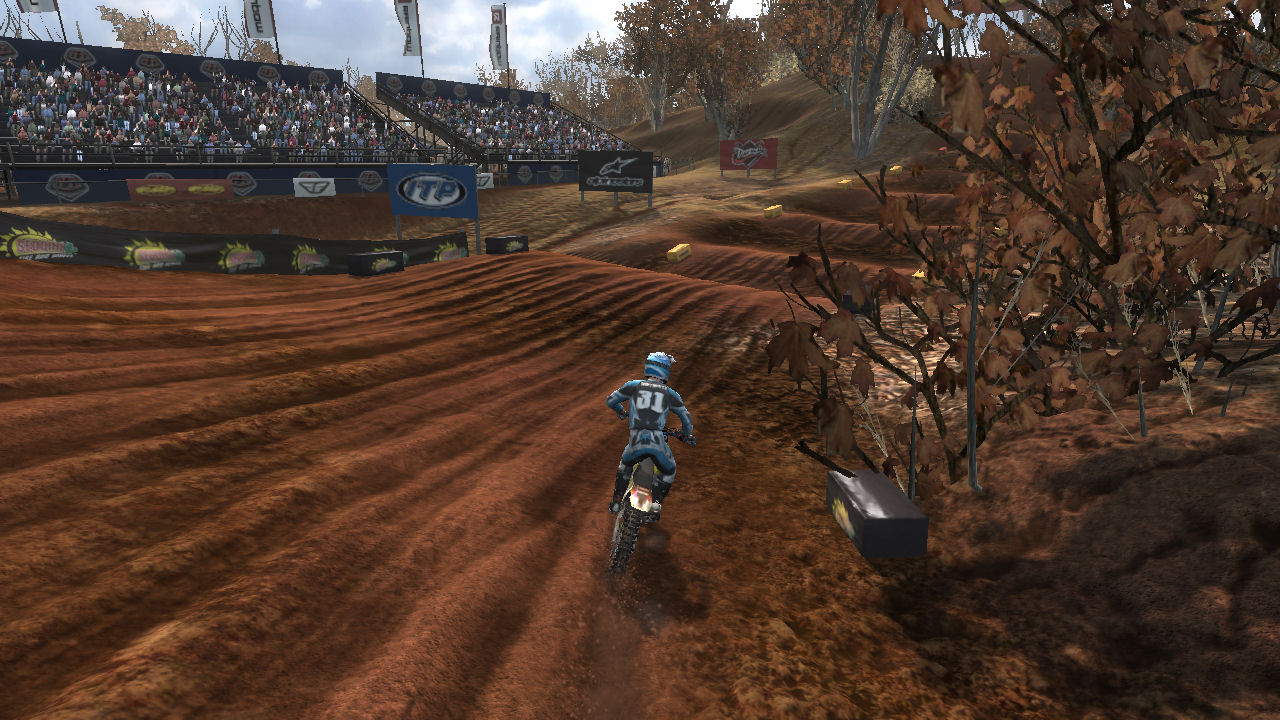
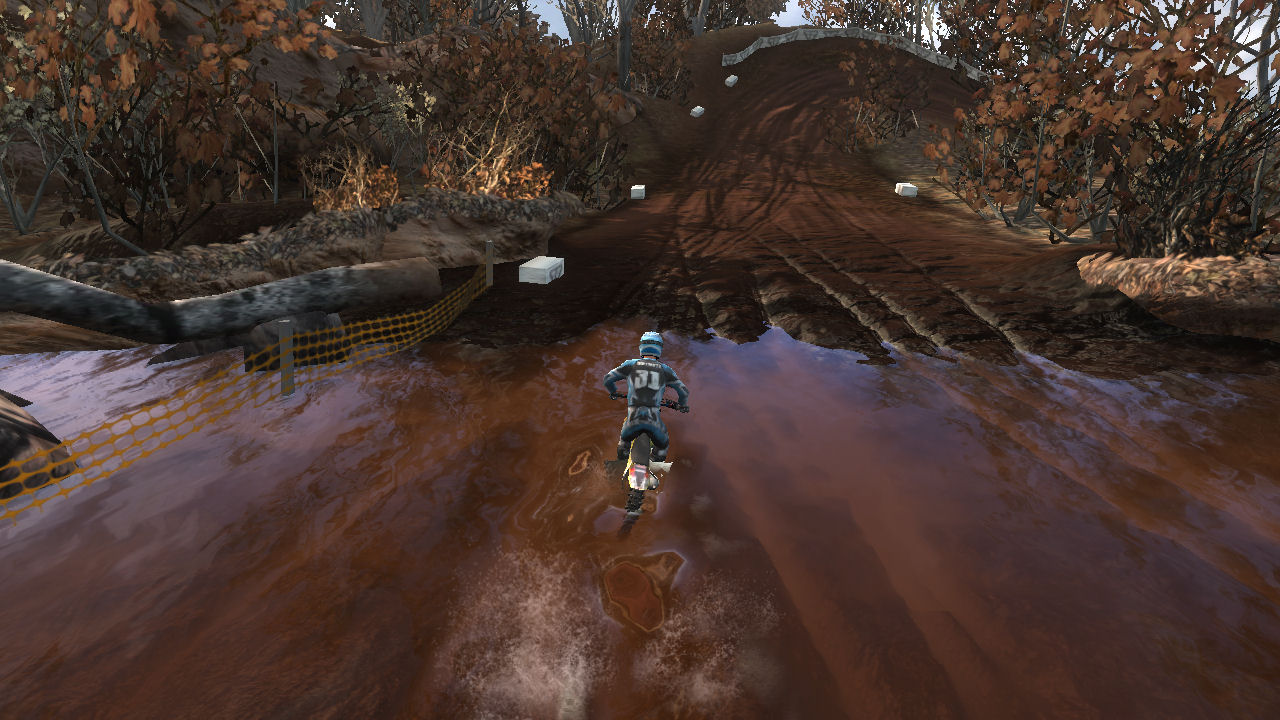
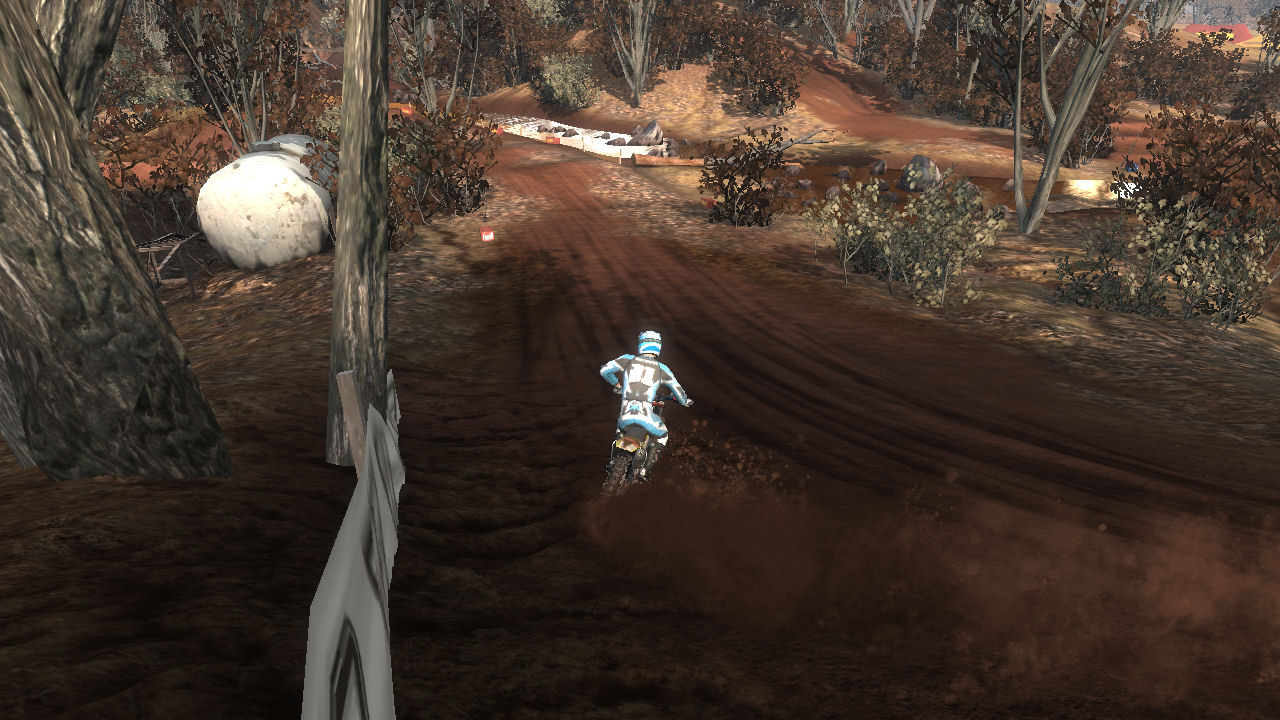
What can you say about Turn 9. For most it doesn't even seem like a turn. For most they know they have taken a close look at the soil. The track does rut here, a major contributer to getting kicked sideways or not being able to quite turn. You are building speed and bouncing, another hindrance to being in control and turning.
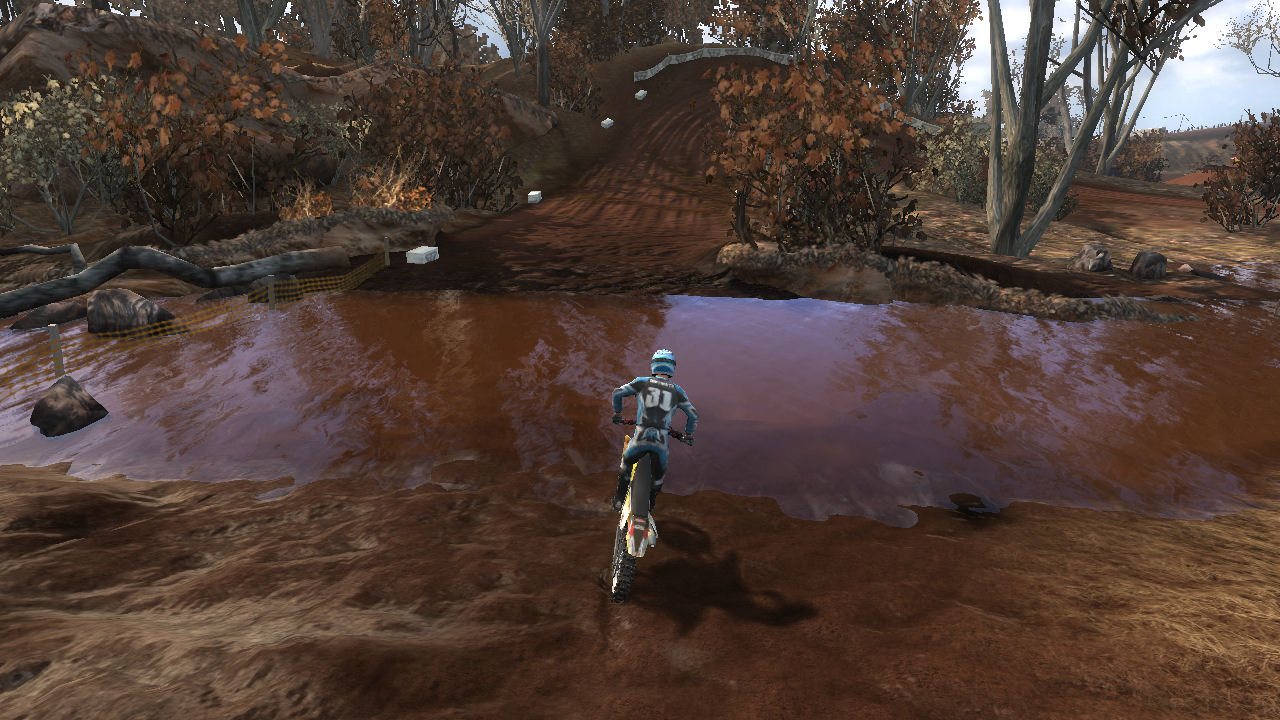
Try to aim for the center or slightly right and you should be able to hit the water square. Usually once you are in the water you are safe and you can blast to Turn 10, while breathing a sigh of relieve.
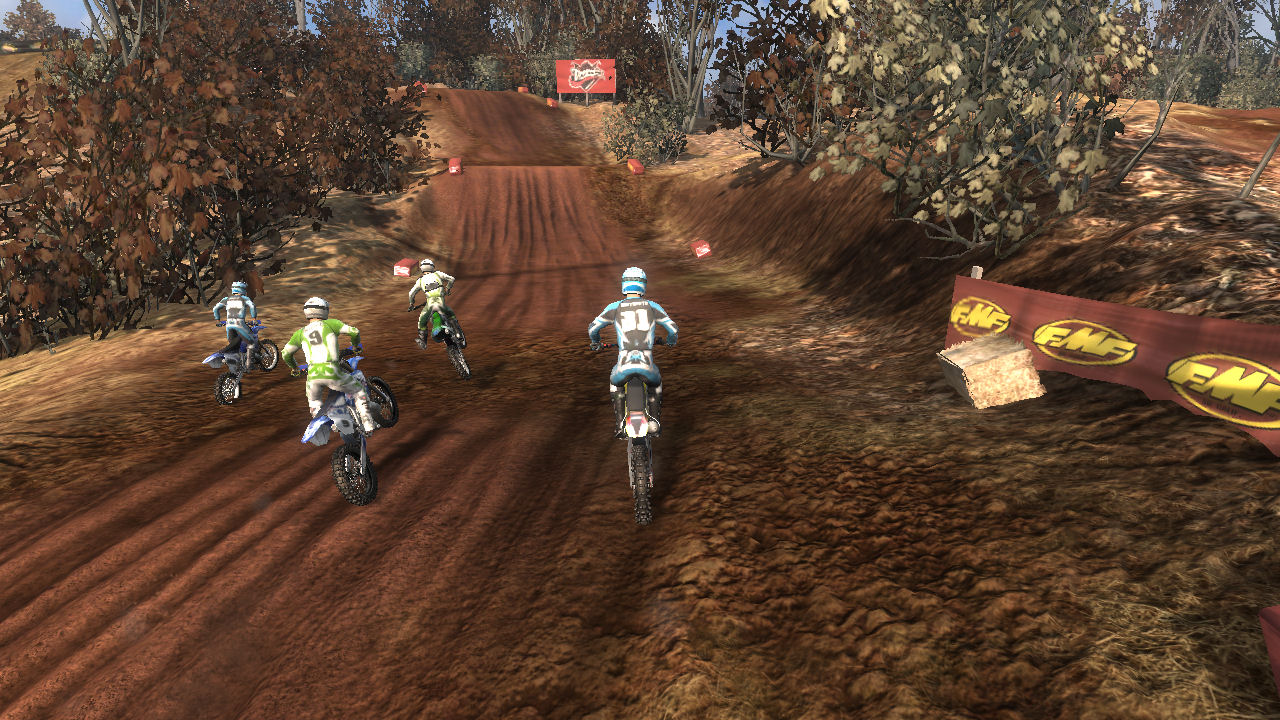
Take your time to look at the pictures on the right. I love the mud and water, and for a moment I even like being behind somebody, but only for a moment.
Turn 10
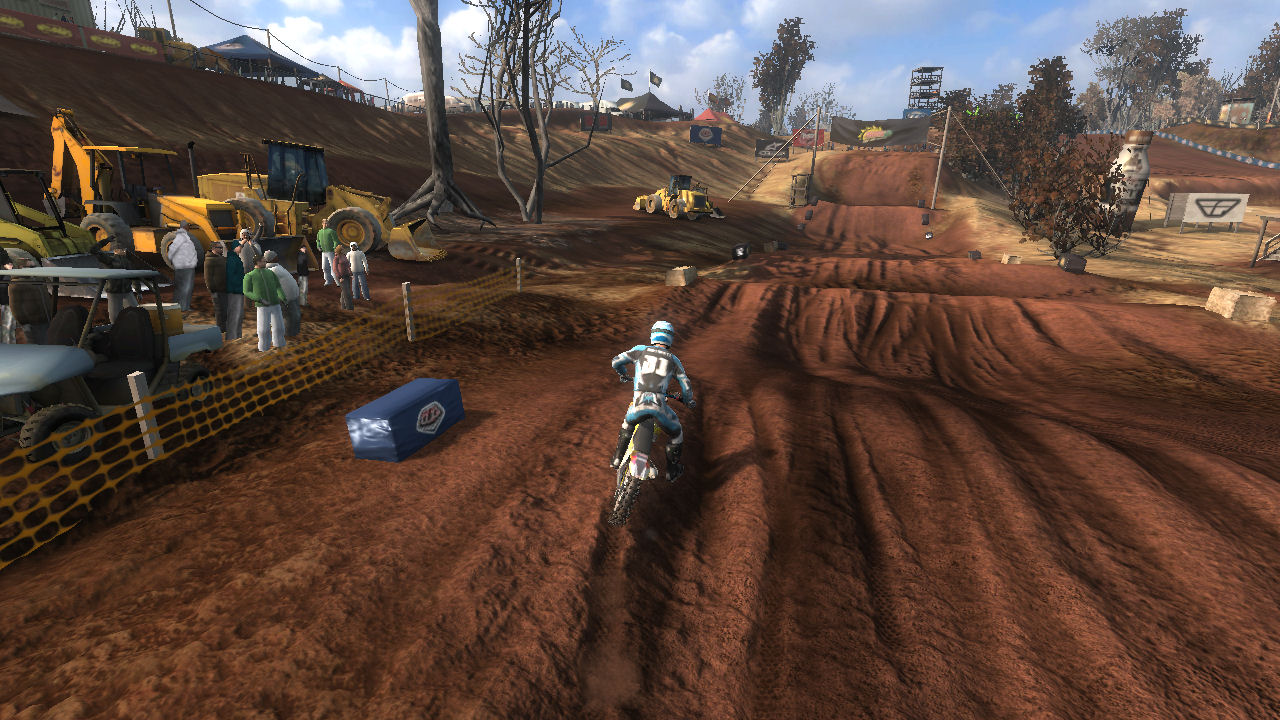
Turn 10 is a wonder 135 degree right hand turn, that you can just throw your bike in and slide around it. Even though it is a tight turn it is sharply banked and up on the side of a hill. Throw the bike in here, it will stick and blast out of the turn towards turn 11.
The first picture on the right is an overhead view showing the turn and just how much on the side of a hill it is. Just through the trees to the fright you can see the table top jump on the way into turn 12.
As you approach turn 11 you want to almost hit your head on the tree that you can see in the bottom picture on the right. This picture also shows how rutted this section can get.
Turn 11
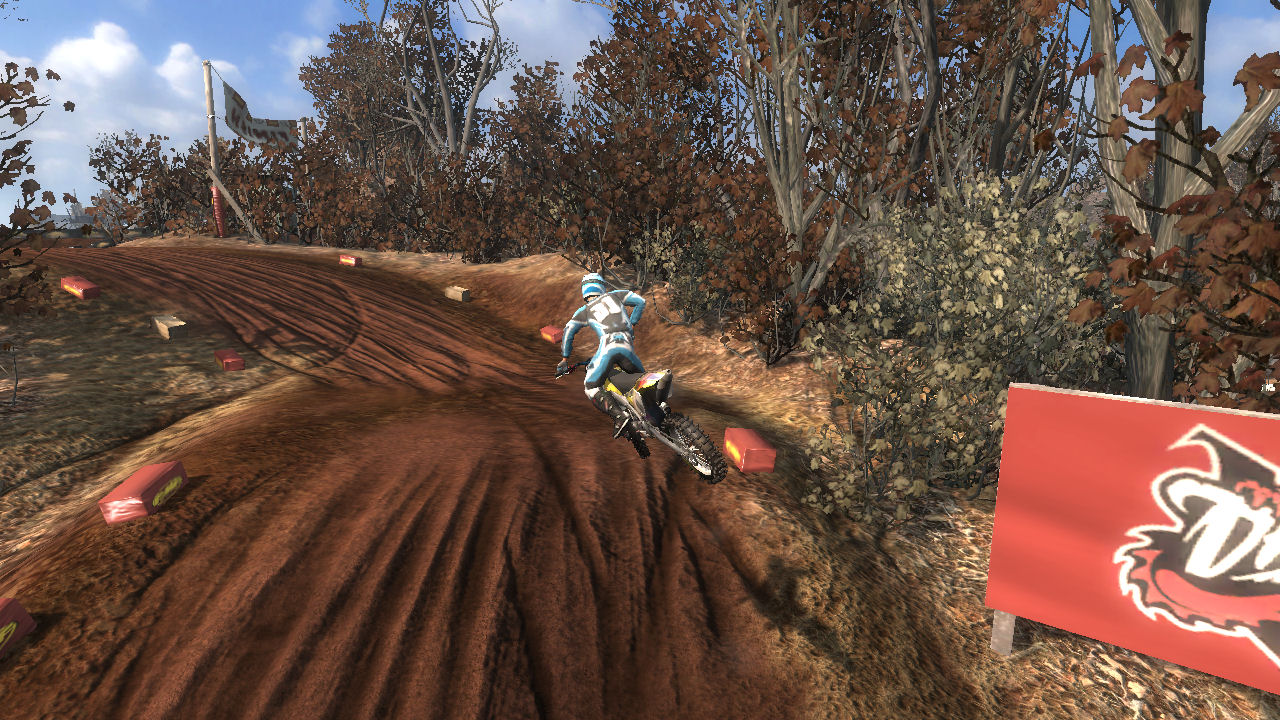
Turn 11 is a slippery left hander that is a 180 degree turn if you include the arc into it from the stretch from 10. It is easy to slide to the outside and get involved with the Tuff Blocks in the turn or in the landing of the jump that follows immediately upon exit of turn 11.
You are probably better off in staying tight, and swinging out to the middle of the turn, which will set you up for a jump in center of the face. It's a step up jump, but you will easily clear the table part of it. The landing area has a ridge that will have you bump over it. Try to keep your wheels on the ground and get ready for the jump into turn 12.
The first picture on the right shows turn 11 from above and down stream. You can clearly see the upward sweep of turn 10 on the left.
Turn 12
As you takeoff on the jump into Turn 12 you need to angle towards teh right. This is a fast turn and you are trying to gain as much speed as you can. Try to land on the right and make your turn without swinging wide into the Tuff Blocks.
Picking your path here can make all the difference in the world in getting to Turn 13 before your competitors. It is tough to find the right flow here every lap, but there are
options to help you. Depending on your speed you will want to chose our path to the tight inside right, the inside right, or stay high to the outside and get to the third roller before you start jumping.
Once you have gotten by the rollers then race to the takeoff into turn 13. You will want to stay centered and fly to the right as you set up your landing right at the entrance to turn 13.
Turn 13
The first picture on the right shows a side view of the run from turn 12 to turn 13. It shows the importance of getting a good run through the rollers and how quckly turn 13 heads to the right after you land.
Turn 13 brings you back to the start straight and the drop off into turn 1. I prefer to stay tight to the right and enter turn 1 on the right.
If this is the last lap then make sure you size up your competition and setup turn 2 and 3 for a great finish.
In one race I was 2nd of 3 coming to the finish. I knew my race was going to be made by the last turn. The leader slid wide entering turn 3. I tightened to sneak inside for the win. I slid too much to the left and touched the leader. I got kicked sideways, he bobbled slightly, and then won. The 3rd place guy railed the outside and came in 2nd as I plodded slowly over the finish line. I went from certain victory to 3rd in a blink of an eye. I love the finish line turn.
Scawn7's - Riding Tips for Moto 448
Turn 1 - On the start you want to take turn 1 as tight as possible to prevent other riders getting inside of you and pushing you out, just make sure you don't cut it too sharp if another rider is already inside. Every lap afterwards, I prefer to take this corner wide to get a run at the uphill jumps ahead to keep speed.
Turn 2 - Not many choices for turn 2. I try to stay to the left of it depending on how I land from the previous jumps in order to be on the outside of turn 3 and get a run toward the finish line jump.
Turn 3 - As previously stated, the outside of turn 3 is better for speed towards the finish line jump, but of course you will want to cut it tight if it's the last lap as your speed over the jump won't matter since the race is over.
Turn 4 - A gradual turn here. I like to take this at somewhat of a straight path so that I'm on the left side of the track going uphill towards the jump.
Turn 5 - This turn is somewhat tricky. If you go wide to line up for the drop off, you're leaving a HUGE opening for someone to pass you inside. The drop off is blind so just practice and find the best line to cut this corner sharp. The biggest thing is that you do not want to accelerate too hard toward the drop off or you will overshoot a setup for turn 6.
Turn 6 - I typically take 6 a little wide to allow me to gain speed toward the uphill jump, giving me the distance to clear the plateau and land on the downslope. I find it's best to be leaning back with the Reflex stick just a little for traction and then pull back all the way towards the top of the jump.
Turn 7 - Start on the left and let off the throttle a second if necessary to grab traction. My usual line is cutting this inside so that I'm on the right side of the track through the rythm section going towards turn 8.
Turn 8 - Not much of a turn. You're typically going to jump through it anyway if your line and speed are good.
Turn 9 - This slight turn can take out so many riders simply because it's at the end of a downhill rhythm section. If you're going too fast, let off the throttle to keep the tires down so you can make the turn or you'll go right off the track.
Turn 10 - Start on the left side, let off the throttle just a split second and then steer and lean right while you get back on the gas, cutting the apex of the turn.
Turn 11 - For turn 11 I am usually on the right side of the track. As you approach the turn there is a small jump. I find it better to let off the throttle and start leaning in the air before I land for the best traction and setup toward the next jump.
Turn 12 - Be sure not to overjump coming into 12. It really doesn't seem to matter how you take this turn, the important part is landing the jump and holding speed over the next section of bumps toward the bigger jump leading into turn 13.
Turn 13 - No matter how you land coming into 13, you want to cut this turn and be on the right side as you exit going back into turn 1.

 DirtTwister takes a lap around "Moto 448"


 Scawn7's - Riding Tips for Moto 448