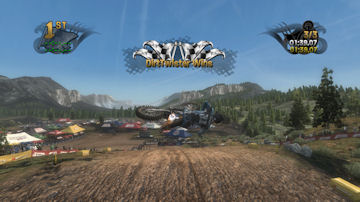
 DirtTwister takes a lap around "Lost Meadow" DirtTwister takes a lap around "Lost Meadow"
|
|
Lost Meadow starts out the MotoCareer National Series 1. There are 3 National series in the game. The first series consists of 3 National tracks (Lost Meadow, Sugar Ridge MX, and Moto 448).
This is a great track to open up the National races. It's easy to ride but has several tricky sections that help you learn how to control your bike and rider. The first turn has a traction breaking bump and the first stretch is an easy rhythm section that will introduce you to the benefits of matching your bike's trajectory to the rhythm of the track. There are several turns that make you jump while turning and a nice big air finish where you can practice landing the big ones.
This track will rut up but not as bad as others. It's a good introduction to the terrain deformation that happens in the game. In several places the AI will leave ruts that are a good indication of the best line to take through the course. All in all this is a great track to practice your skills and a great place to race when you are racing others with similar skills.
|
<
|
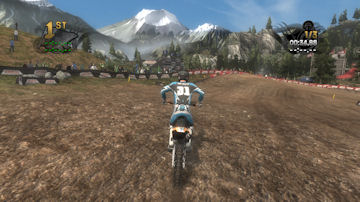
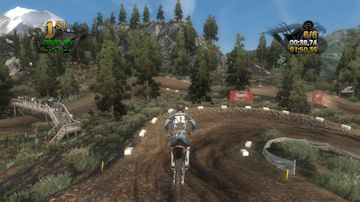
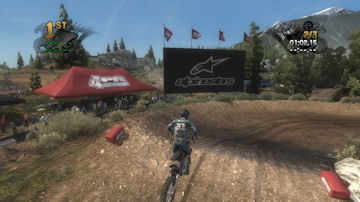
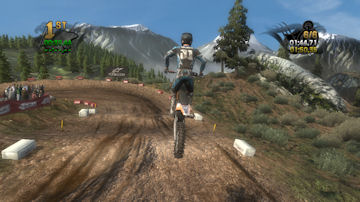
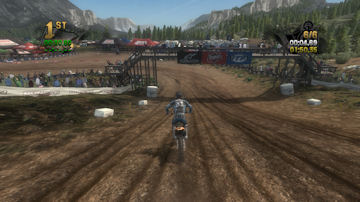
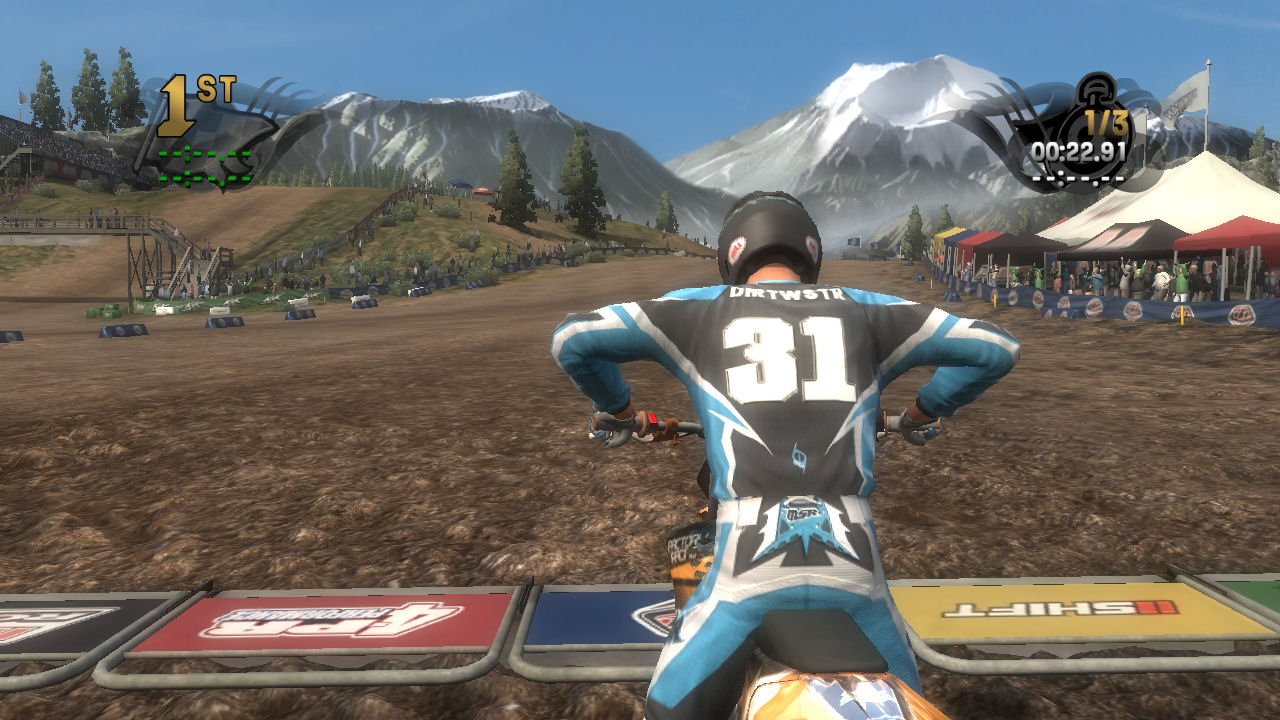
The Start
Don't get caught sitting at the start gate because you were looking at the scenery. As soon as the gate drops you have a slight uphill climb.
Right after the top of the small hill you drop down across the bump into turn 1. If you are tight on the inside it's easy to kick sideways and
catch the bales or lose momentum. Stay smooth through here. |
|
 |
|
|
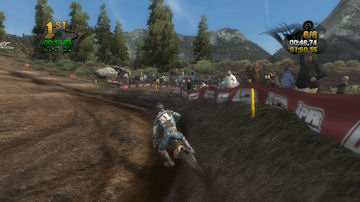
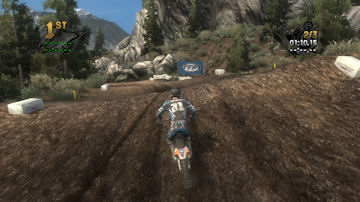
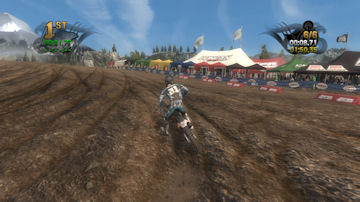
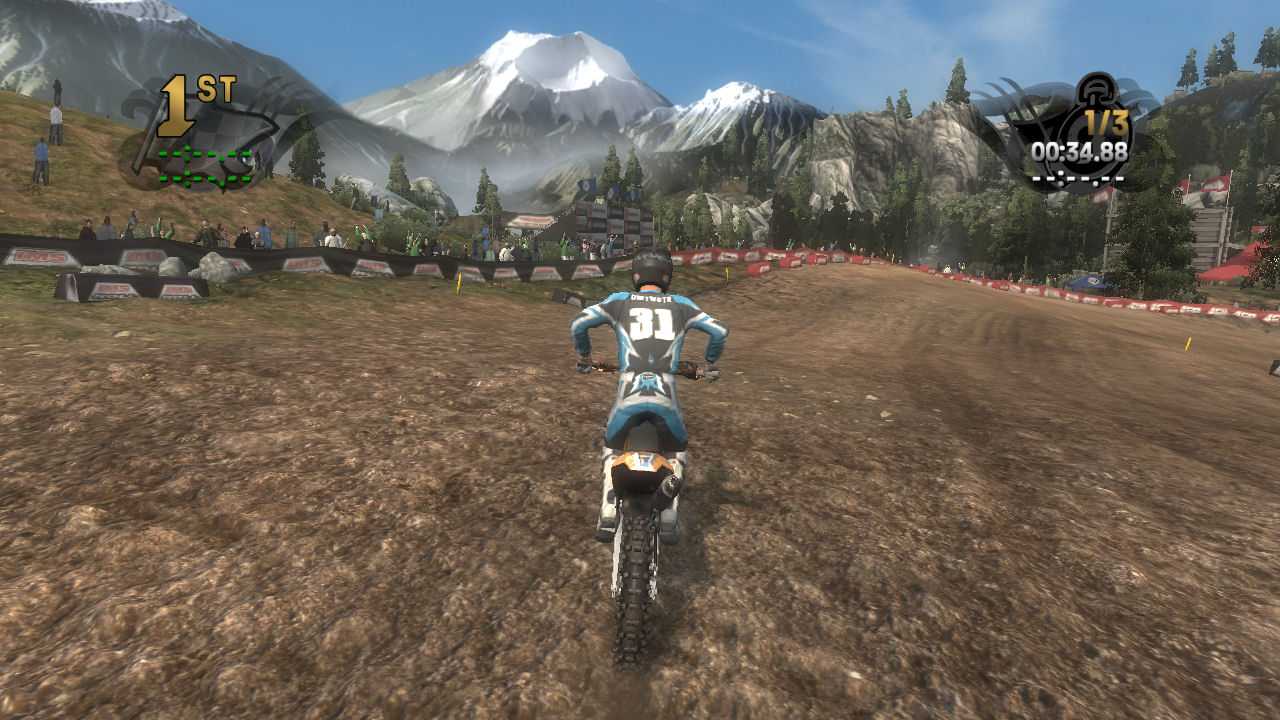
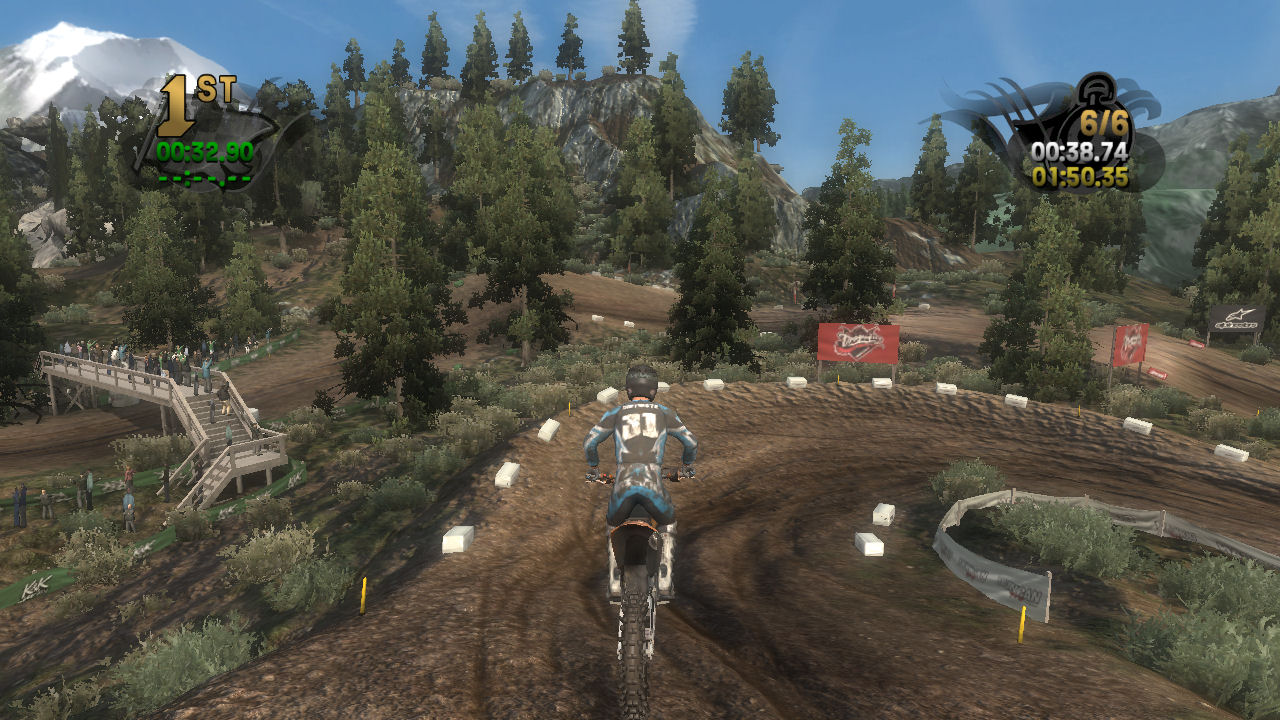
Turn 1
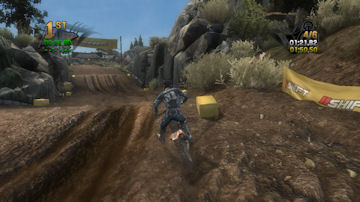
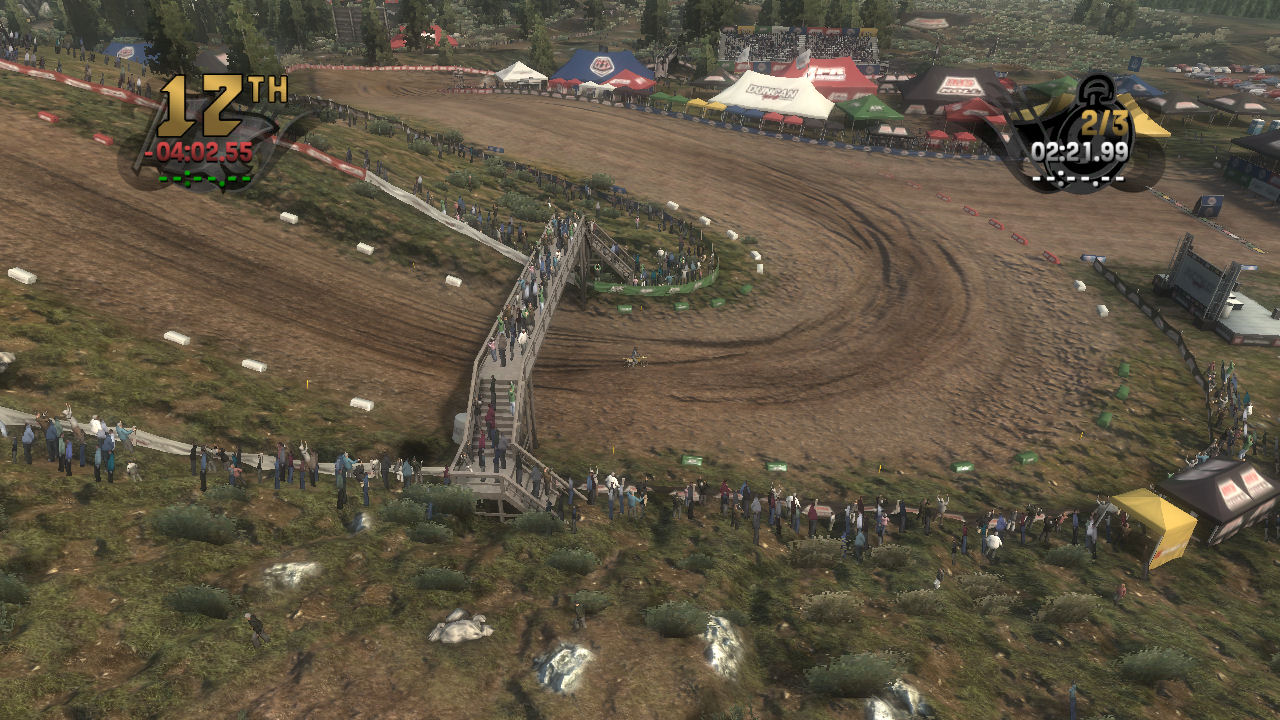
The first time through this right hand downhill sweeper turn is easy, but every other time you come to this turn you will have much greater speed and the slight bump as you enter the turn will cause you to go airborne. You better plan for it.
As the laps go by the surface will get a little rougher and it is very easy to turn too much and get sideways. It's tough to be patient to wait for the bike to settle. It won't rut much here, but that bump and the little traction available will keep you on your toes the entire race. Of course as always it is good to keep your speed up through this turn so that you can clear as many of the jumps as you can on this next straight.
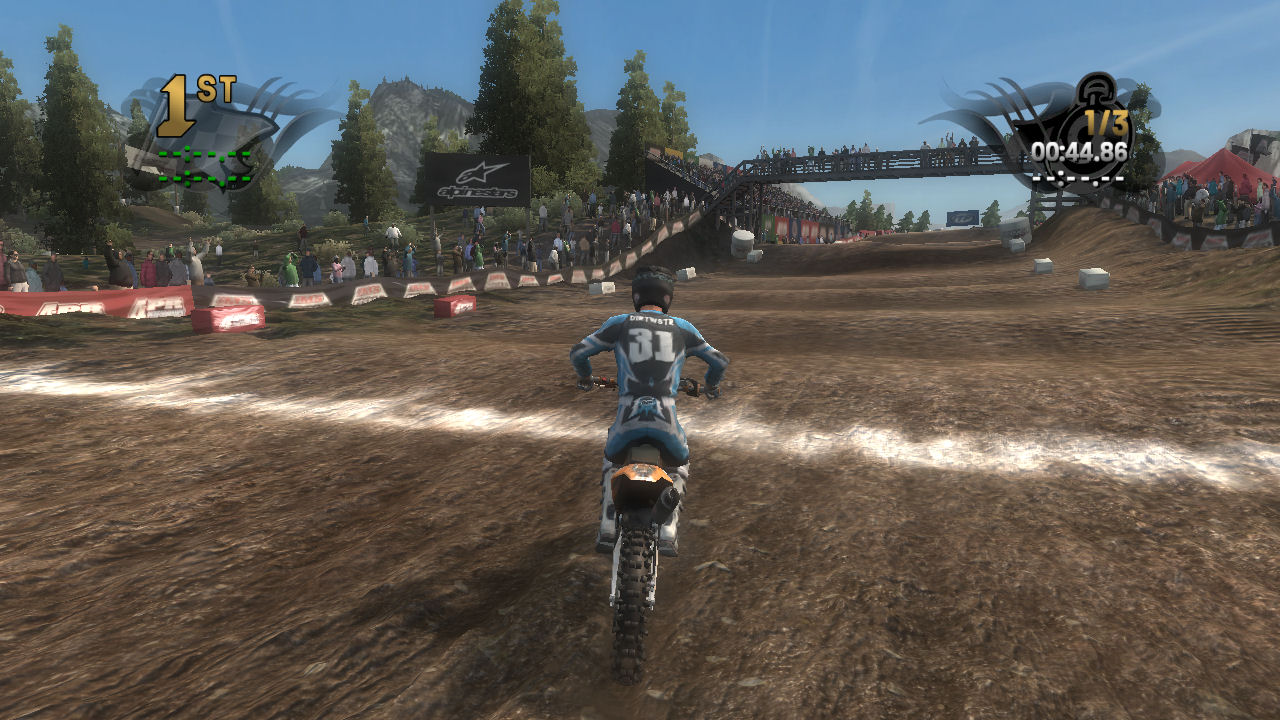
There are plenty of options to help you. If you look at the takoff under the foot bridge you will see a nice big bump just to the left of center, that will help you depending on your speed. This takeoff is at it's lowest on the right, it is higher on the left, and it is at it's highest where the bump is. The variation across the top of this jump will let you fine tune how you attack this straight. Based on how well you did in the first turn, you need to decide which part to use. If you do get a little sideways or get taken out, it is possible to stay to the right where the first jump is a the lowest. This will let you get your speed up and double the first jump fairly low. It is quite possible to carry a lot of speed down this straight and if you find yourself on the left at the end it will be tough to turn inside any other riders. There is a slight bump entering turn 2 that will make it difficult to turn at speed on the inside.
|
|

|
|
|
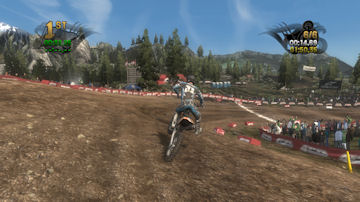
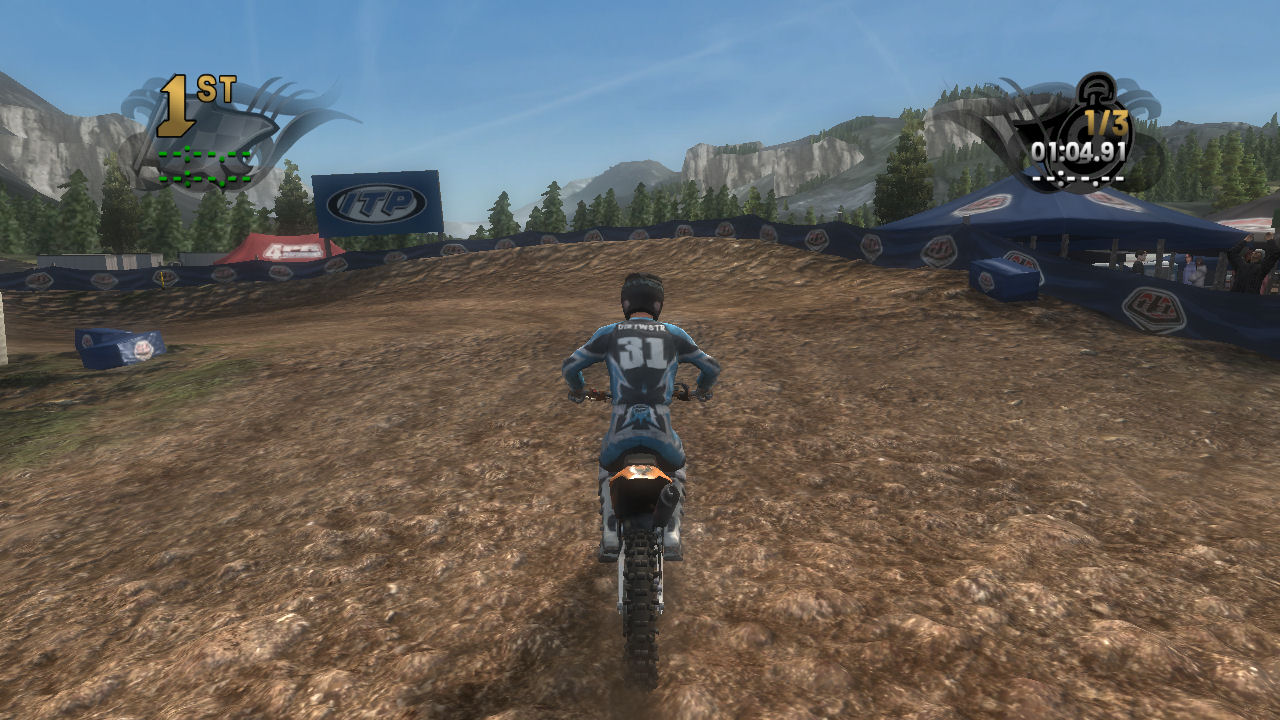
Turn 2
If you take the time to putt around for a lap or two you will see that the tracks are already slightly rutted before anyone rides on them. The rutting that the tracks start with is almost as much as people that made tracks for Motocross Madness 2 (MCM 2) and MX vs ATV Unleashed (MVA) were rutting their tracks. The fact that they can do this and rut the track even more as each rider passes by while maintaining the control of the bike is quite an accomplishment. In MCM 2 when you rutted the track it didn't take much to make the bike act very oddly almost sticky and then it would be difficult to turn. The bike still reacts to the ruts, but it does it in a way where the rut feels like dirt and not concrete.
If racing the AI they will all stay up high out of turn two and a rut will build up there.
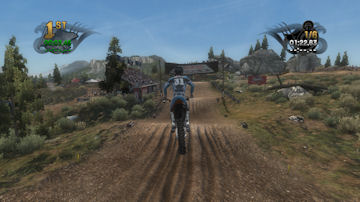
Turn 2 is a more then 90 degree left hander. It is good to keep your speed up here, because if you do the next series of double, double, tabletop into turn 3 will go alot smoother. Usually there is alot of bar to bar going on into and out of this turn. It usually causes some exploration of the dirt to the left and right of this straight. Keep your speed up and you should be able to stay near the middle and smoothly jump through this section. If you do lose momentum it is usually better to roll a jump and make sure you get a good run into the next double or you will waste time casing your way through. You can waste a lot of time trying to get back into a rhythm, so it's usually best to do whatever it takes to get into the rhythm right way.
|
|

|
|
|
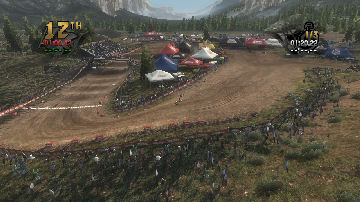
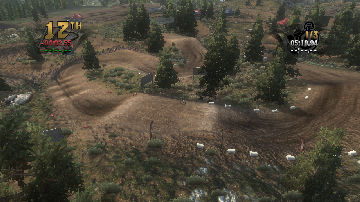
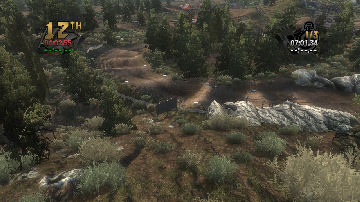
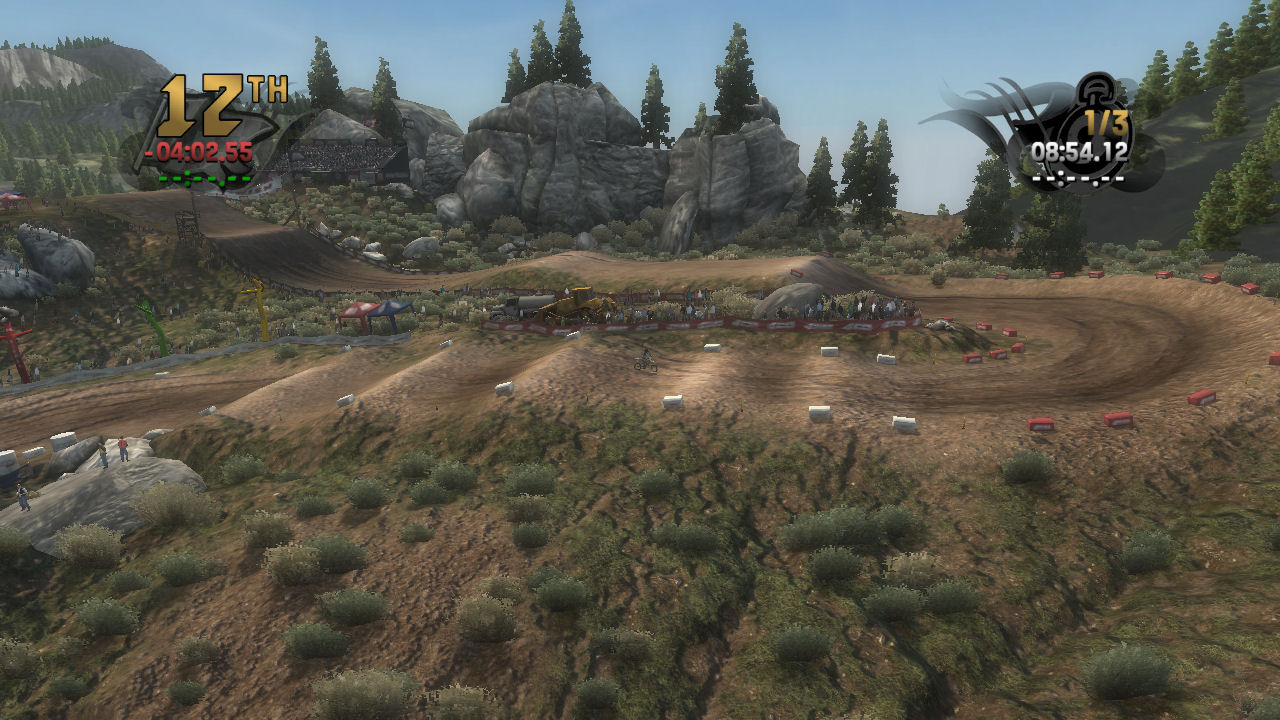
Turn 3
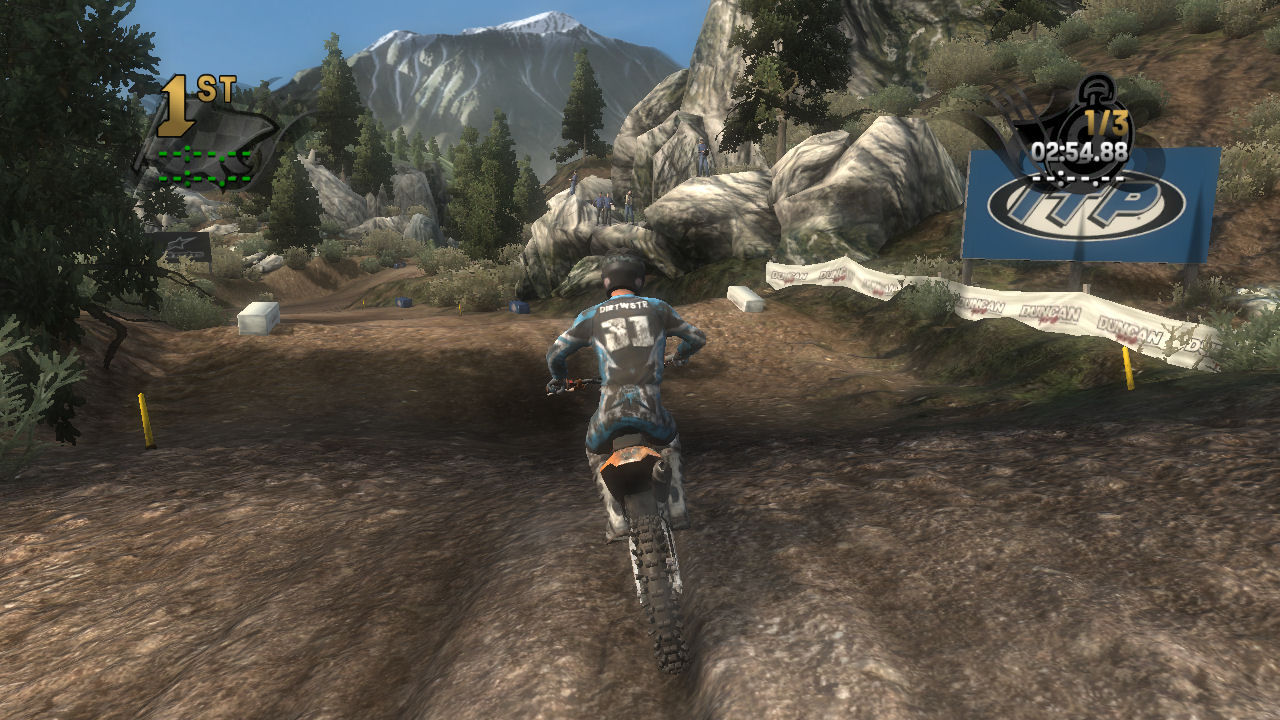
This turn is very fun especially when closely racing others. If you did the last straight correctly you will have more then enough momentum to clear the table top. You need to actually lift a little or scrub some speed in the air to make sure you land before the right hand turn. This is a nice sweeping almost 180 degree turn. It's very fast and very easy to go wide. It's best to remember and treat it like a 180.
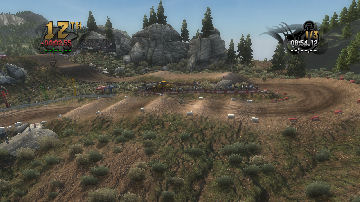
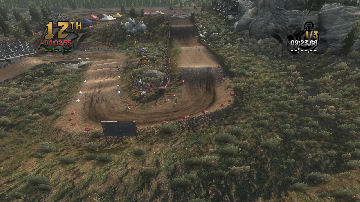
I find having decent track maps helpful because the turns don't always seem what they are. Sometimes a turn looks like 90 degrees or slightly more then 90 degrees and it is really 180. I did not realize that this turn and the next one were 180's until I looked at the track map. If you click on the screenshot on the right you can see just how tight turn 3 and 4 are. The race track is coming back by and if you look just to the left of the bike through the trees you see the hill that can cause you problems in turn 5. The foot bridge to the left is the same one that you can get quite familiar with if you go too wide on turn 5.
|
|
|
|
|
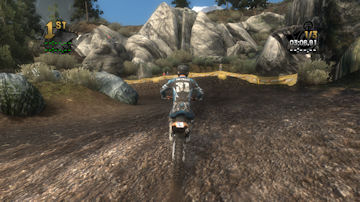
Turn 4
After a very short straight you head into another very fast almost 180 degree left hand turn. There is plenty of berm to rail around the outside. If you end up getting one with the dirt, stay to the inside of the turn, the beginning of the next straight is smoother, so it should be easy to get back up to speed. Coming out of the turn there are about 4 bumps that go from about 1/5th of the way from the left side of the track all wthe way to the right side. You can pretty much ignore them if you are at speed and it is very important to get setup for this next section, which can be very tricky.
|
|
|
|
|
Turn 5
The straight between Turn 4 and 5 is really an arc. At the end of an arc is a double (really a table top) that throws you into turn 5. You are already turning as you enter turn 5 and you are carrying a lot of speed. If you continue on with this arc through turn 5 you will end up hitting the right side of the foot bridge that crosses the track right before turn 6. It's important to not over jump the small double going into turn 5 and to setup to stay tight to the left over the small hill that brings you to the foot bridge.
|
|

|
|
|
Turn 6
As you go under the foot bridge the track turns slightly to the right as you go over a double. It's important to land this double in control so that you can setup for the next double that brings you into turn 7. As you take off on this last double before turn 7 you need to make sure you keep turning to the right as you thread between hitting the trees on the right and jumping too far to the left, and missing the turn. This is because turn 6 really goes from turn 5 all the way into turn 7. You want to land on the left side in turn 7, but it can be tough to stay smooth and thread the needle so that you land in perfect position for turn 7.
|
|
|
|
|
Turn 7
It is really important to adjust your speed and stay in control as you enter turn 7. It is very easy to either over jump into 7 because you have stayed in control and timed your jumps perfectly or miss turn 7 completely because you have jumped too far to the right or left or lost control a little and cased the landing.
Now that you are in turn 7 stay on the gas and rip around the slightly more then 90 degree corner. Prepare yourself to start doubling around a tricky corner. You can double 3 or 4 times and throw in a triple if you feel like it.
|
|
|
|
|
Turn 8
Turn 8 is really a series of doubles with a possible triple. Stay centered or to the left and avoid the rocks on either side. This turn will lead you into a right hander.
|
|

|
|
|
Turn 9
This almost 90 degree right hander is a small jump into turn 10. You should stay centered or to the right of center. It is very easy if you have your speed up to jump to the left here and clip the rocks on the inside of 10. I think it's a safe bet to say that if you have ridden this track you have done it.
|
|

|
|
|
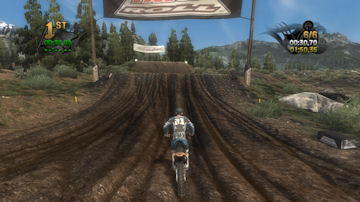
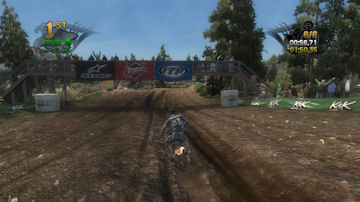
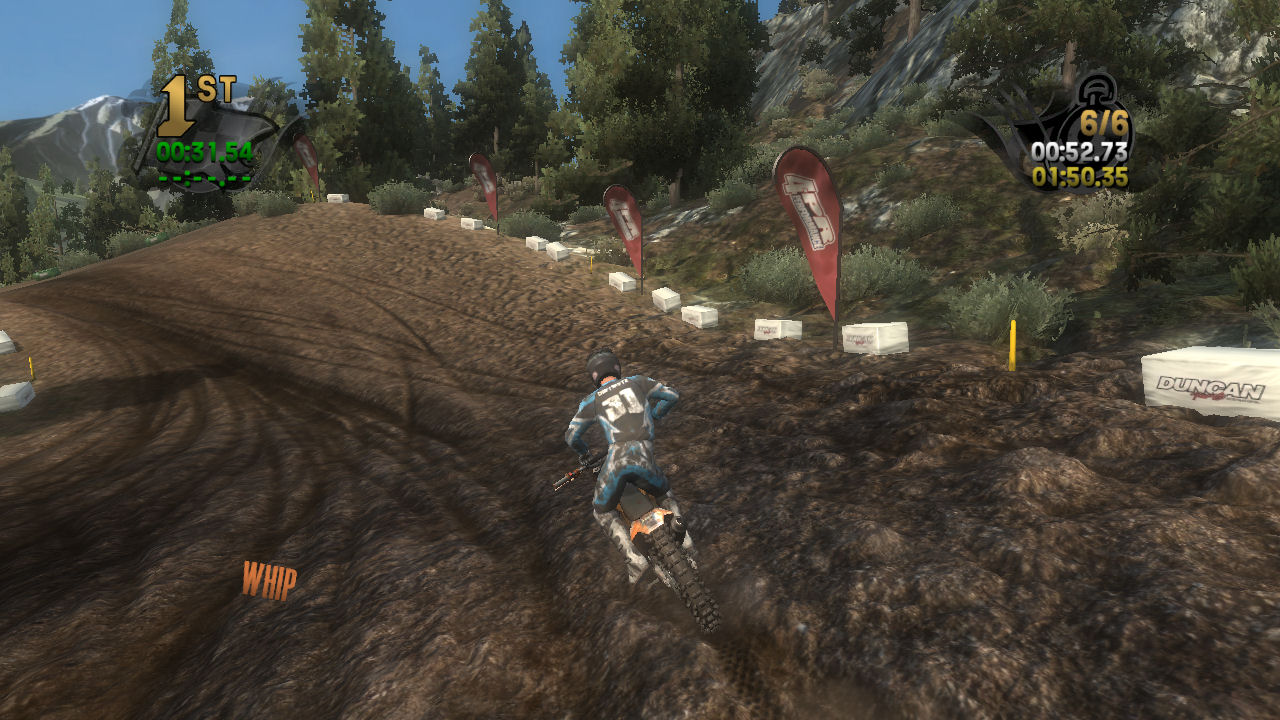
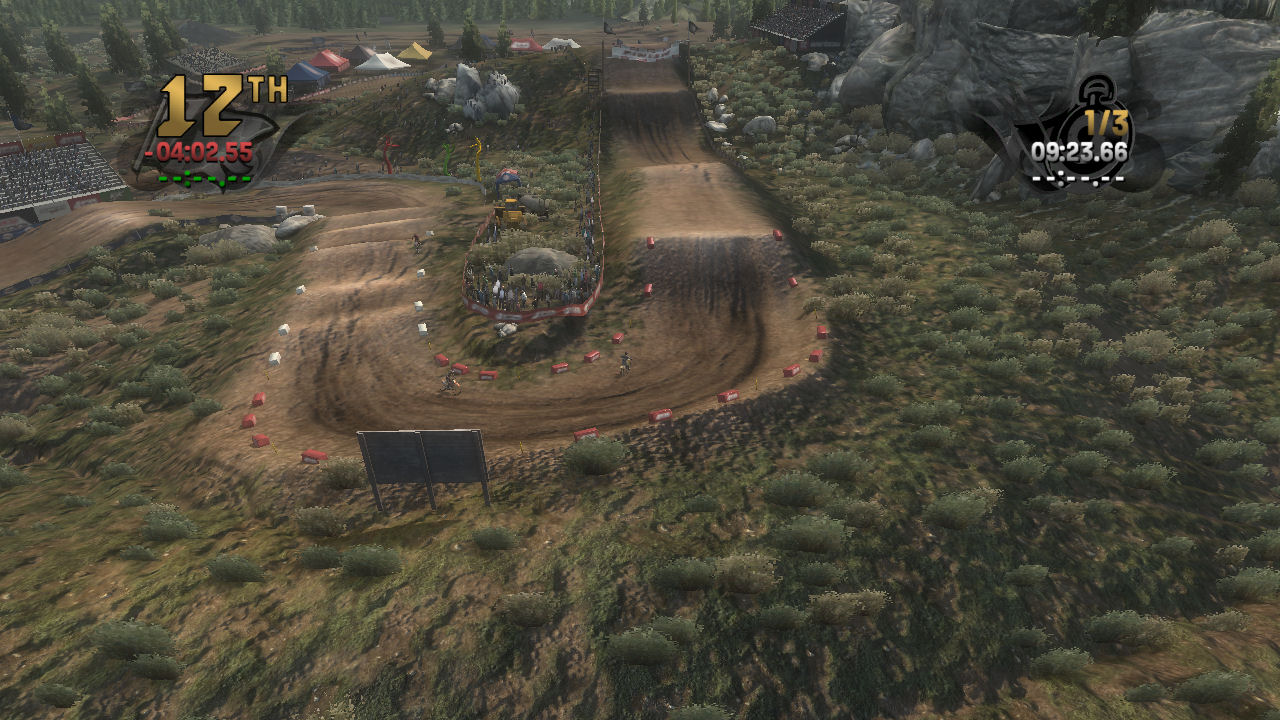
Turn 10
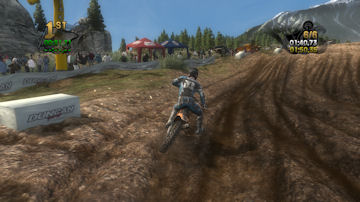
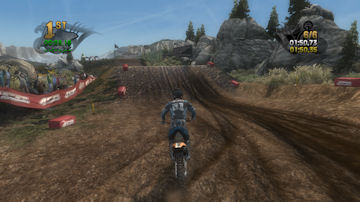
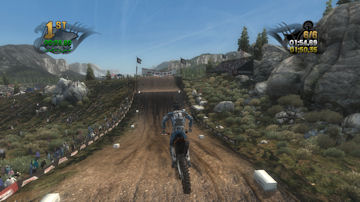
This is an almost 180 degree turn that is very easy to treat like a 90 degree turn and end up in the rocks on the outside. You want a good exit speed here, so that you clean the triple-double coming up.
If you look up into the rocks on the right you will see a photographer up there. He spooked me once when I was turning around after a spill and I saw something moving in the rocks. He walks around and squats down to take a picture, so look good.
You can see him in the 2nd picture on the right. Also take a look at the ruts and how rough the outside is in the area where there isn't any ruts. This picture gives a good look down the next straight into turn 11. The jump with the Shift banner is the triple and the next banner is the double into 11.
|
|
|
|
|
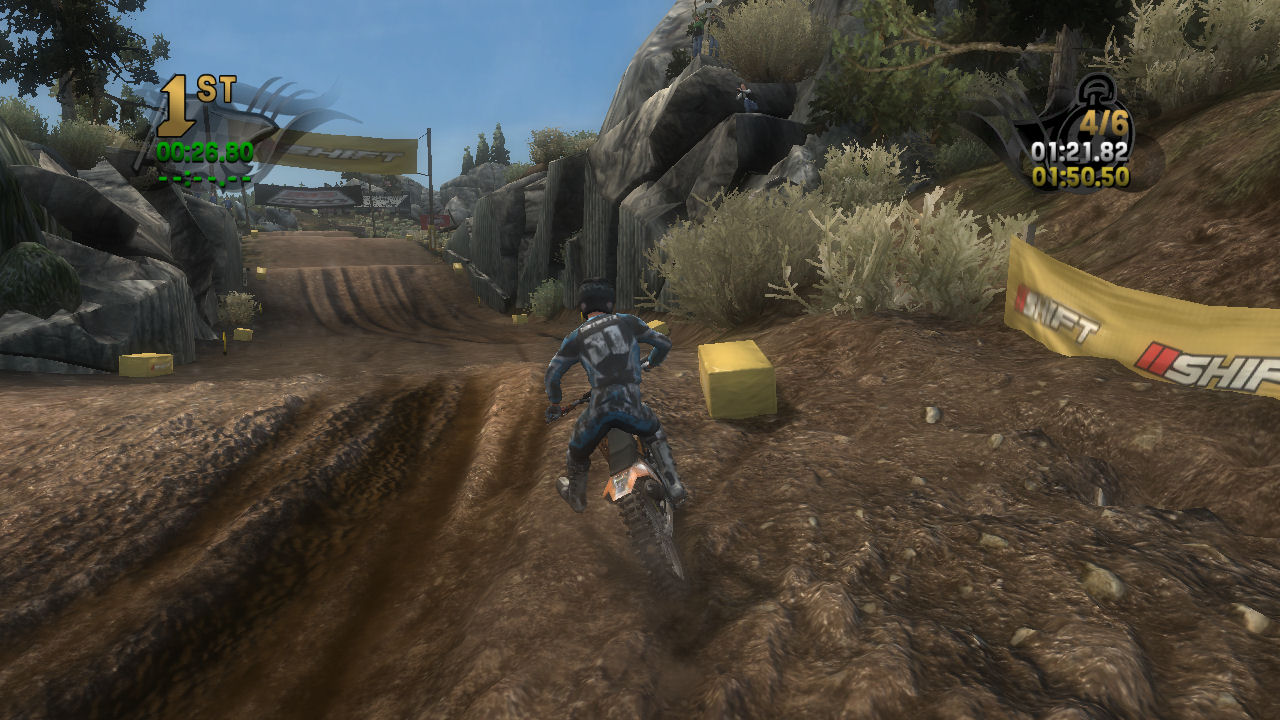
Turn 11
It is very easy to over jump the double leading into turn 11. You may have to let up or drag your brake slightly. When in a tight group racing you can pass people here by cutting inside them or railing around the outside.
The exit to 11 is really important because it will determine whether you triple-double, double-triple, or skip skuff your way through the next series of jumps. You should make your decision as you exit turn 11 which you want to do. If you can't triple in, then be sure to adjust your speed for the double. Something in between will cost you a lot of time as you case a couple of the jumps.
|
|
|
|
|
Turn 12
Hopefully you have exited the triple-double at a nice pace and can rail around the outside of this almost 180 degree turn. Speed is rewarded here because you have a long straight coming up to bring you to the finish line.
The first table top jump that you will hit will suck you into jumping too far to the right. Just realize that the face of the jump is at a slight angle to the straight. So be sure to either be going absolutely straight or angle slightly to the left as you take off. Try not to overjump so you can put the power to the ground for the uphill charge to the finish line.
|
|
|
|
|
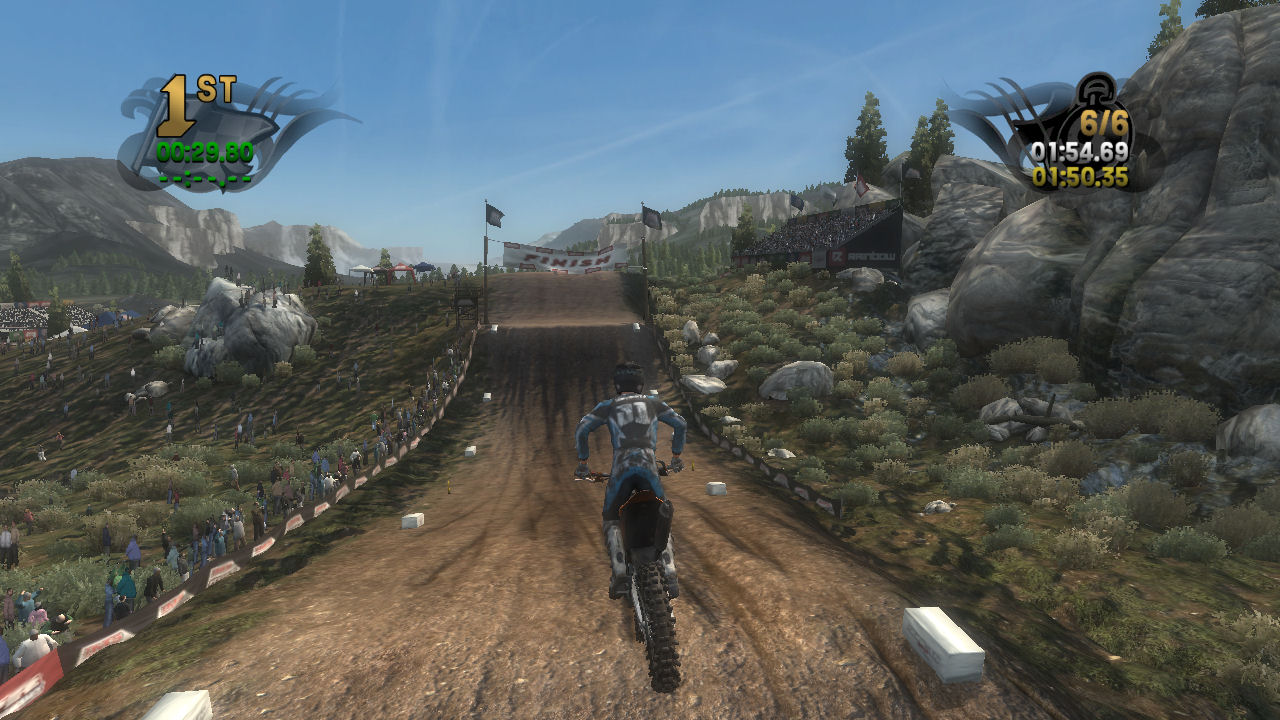
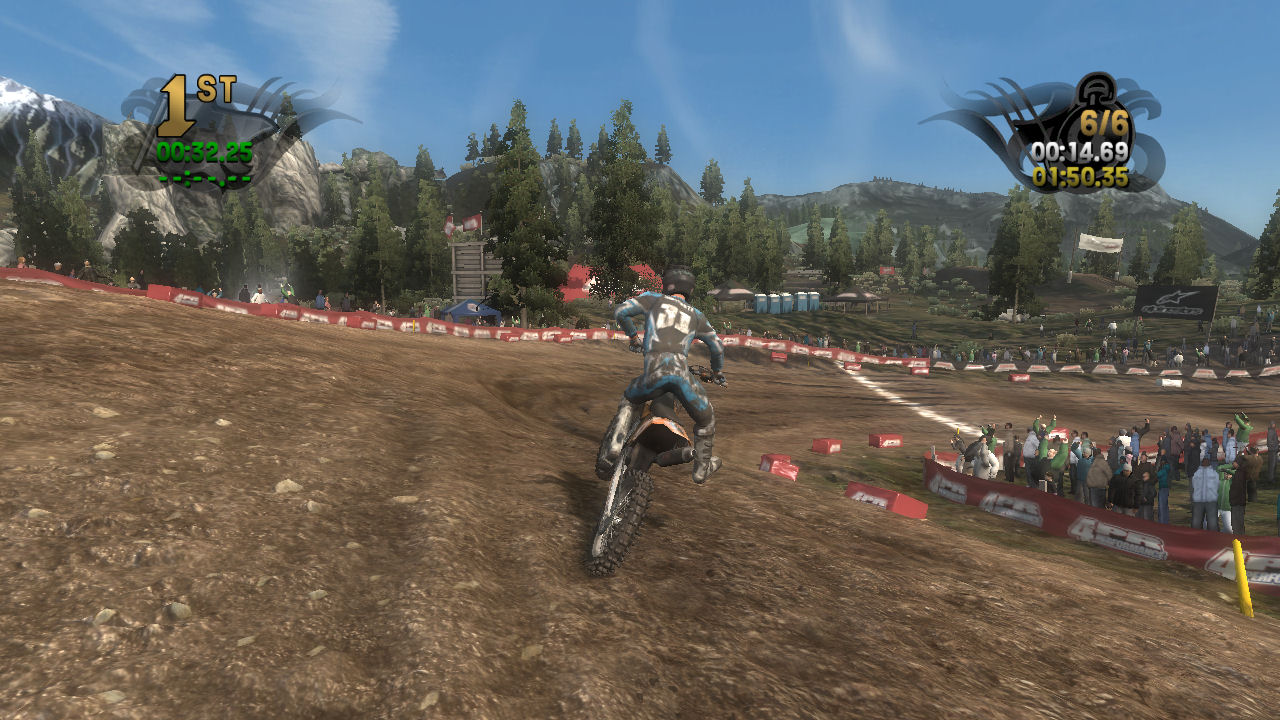
Finish Line
Plenty of air here to do tricks. It is easy to get very casual here. Remember because you have so much air it is important to adjust for your landing. More then one cocky rider has done some tricks as they begin their last lap and knocked their front wheel out from under themselves.
Enjoy the view, but remember to use the throttle to get your front wheel back up so that you land nice and smooth and setup for the fast turn 13.
|
|
|
|
|
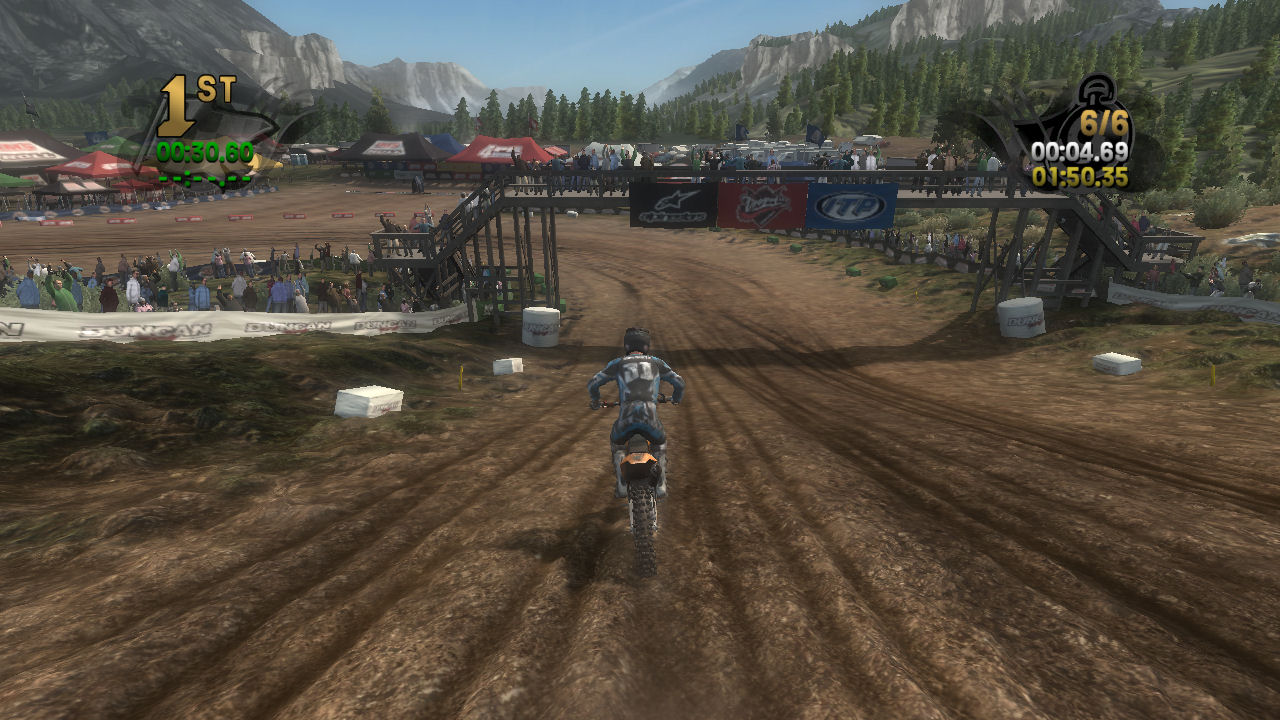
Turn 13
A very fast almost 180 degree left hander. As the race progresses this turn will develop several ruts. It's important to be smooth to keep the bike moving forward.
You blast down the start line straight and head on in to turn 1. Remember what I said about turn 1.
|
|

|


 Scawn7's - Riding Tips for Lost Meadow

