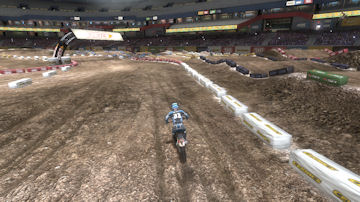
 DirtTwister takes a lap around "Fort Dodge Round 1" DirtTwister takes a lap around "Fort Dodge Round 1"
|
|
|
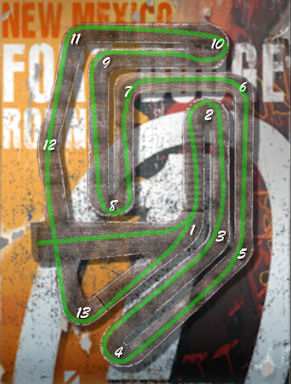
Fort Dodge Round 1 is the third round in Reflex's MotoCareer Supercross Series 1. There are 3 Supercross series in the game. The first series consists of 3 SX tracks (Stone Point Round 1, Manchester Round 1, and Fort Dodge Round 1).
This track is the final round of the 1st supercross series. It has some interesting challenges including some soft sand and a stretch of jumps into turn 8 that is similar to Manchester Round 1, but gaps that you are skipping over are deeper.
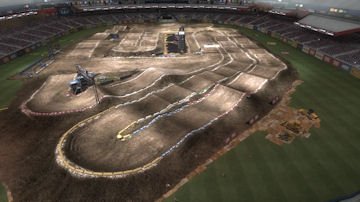
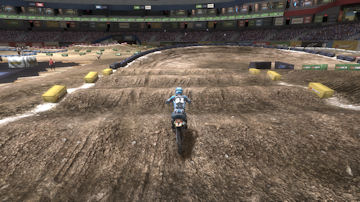
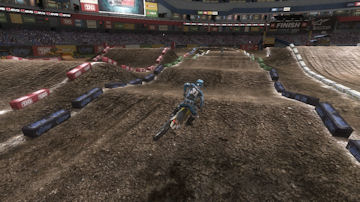
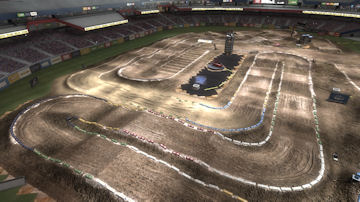
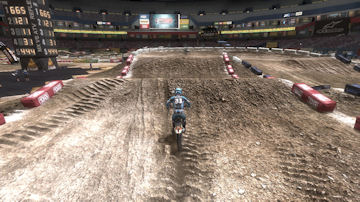
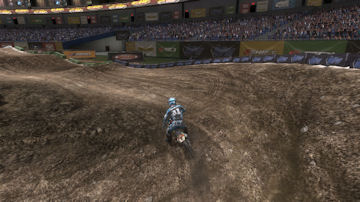
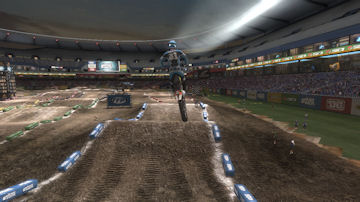
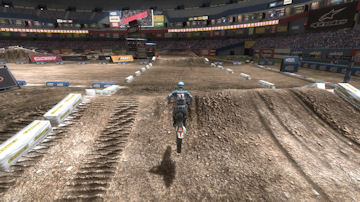
The theme of this track is skipping across short saddled table tops with a couple of triples thrown in. These short table tops are clearly visible in the first picture below, an overhead of shot of the whole track.
|
|
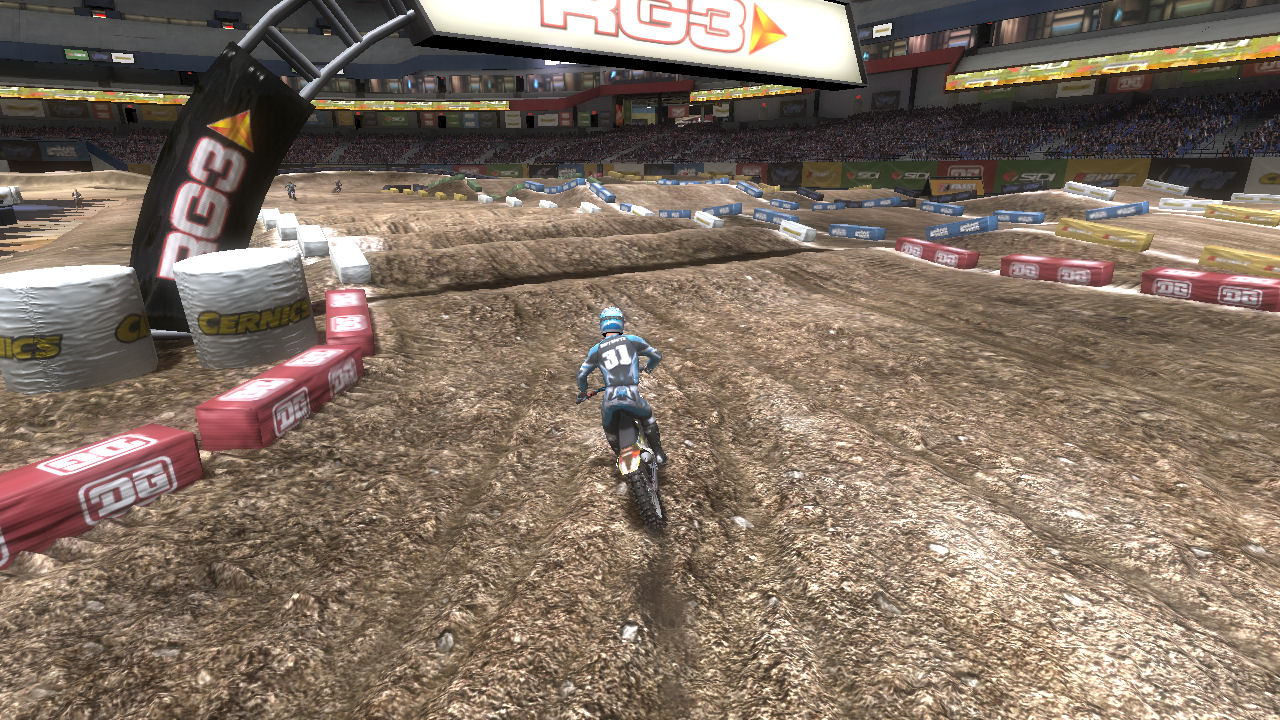
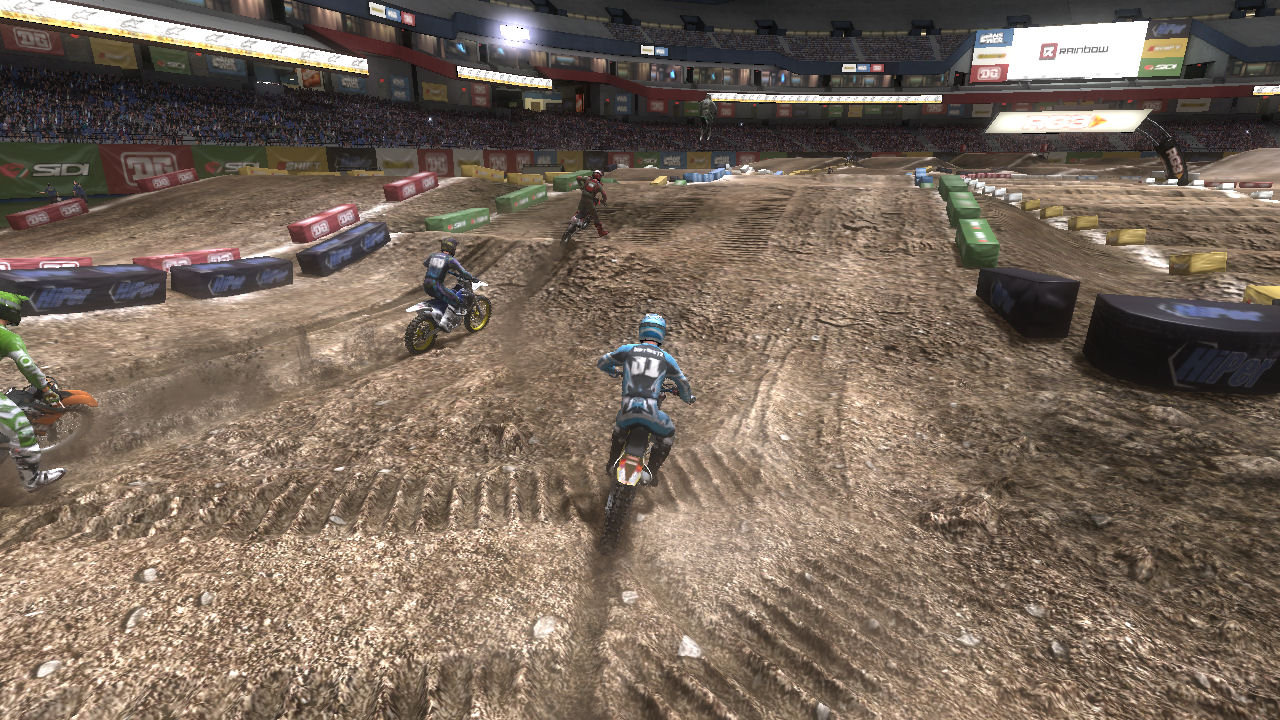
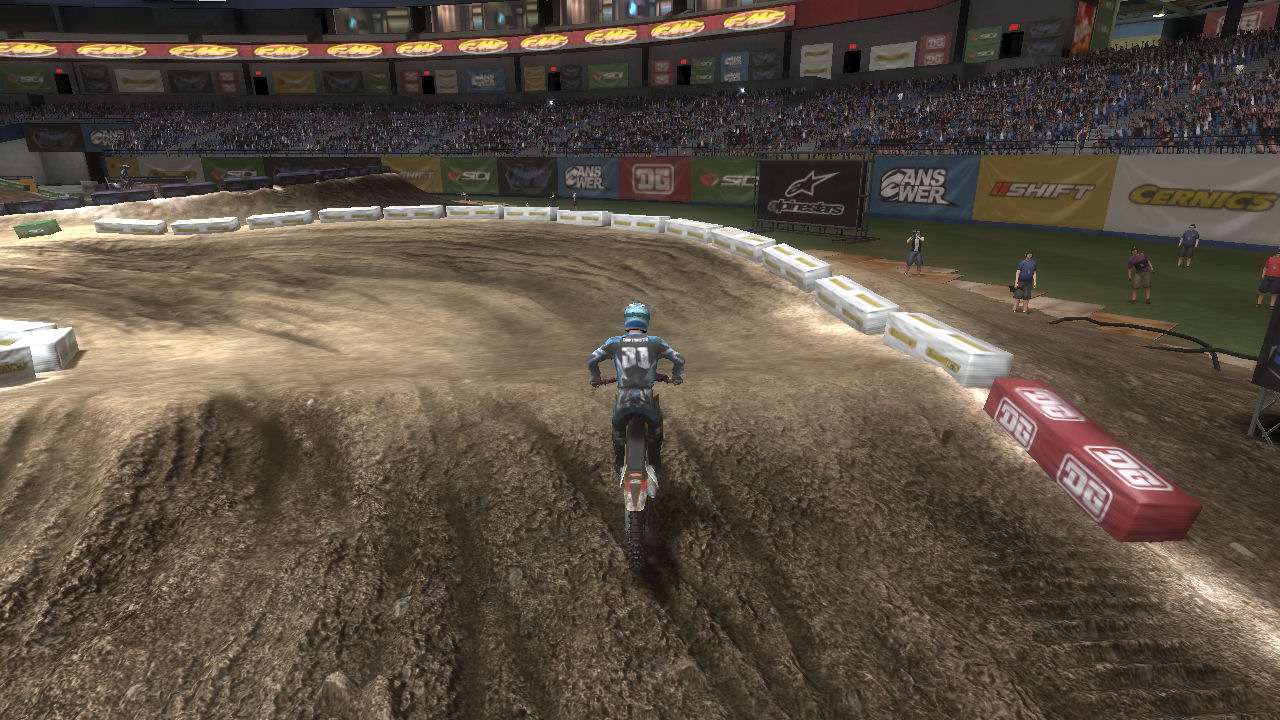
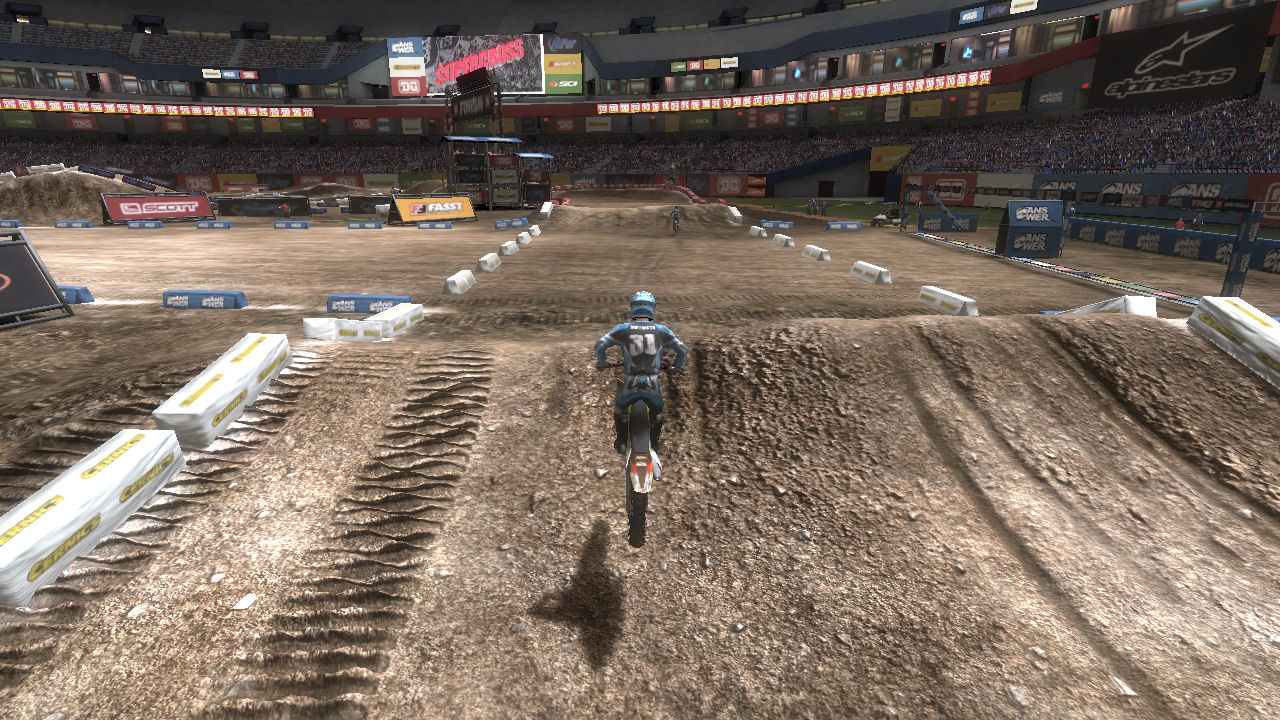
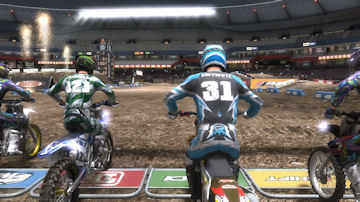
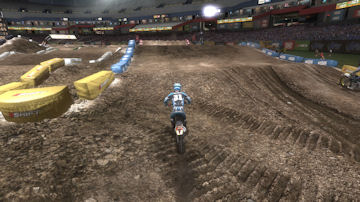
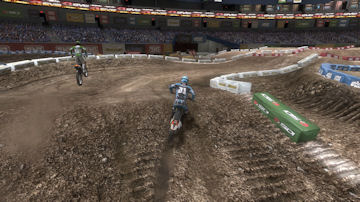
The Start
Sitting at the start you can see the holeshot sign hanging over the track in turn 1. The start straight is soft and runs just to the left of the finish line jump. The start brings you into turn 1 at a tighter 90 degree turn then the 45 degree turn it will be on every other lap. This is important at the start because the stretch from turn 1 to turn 2 is whoops.
|
|

|
|
|
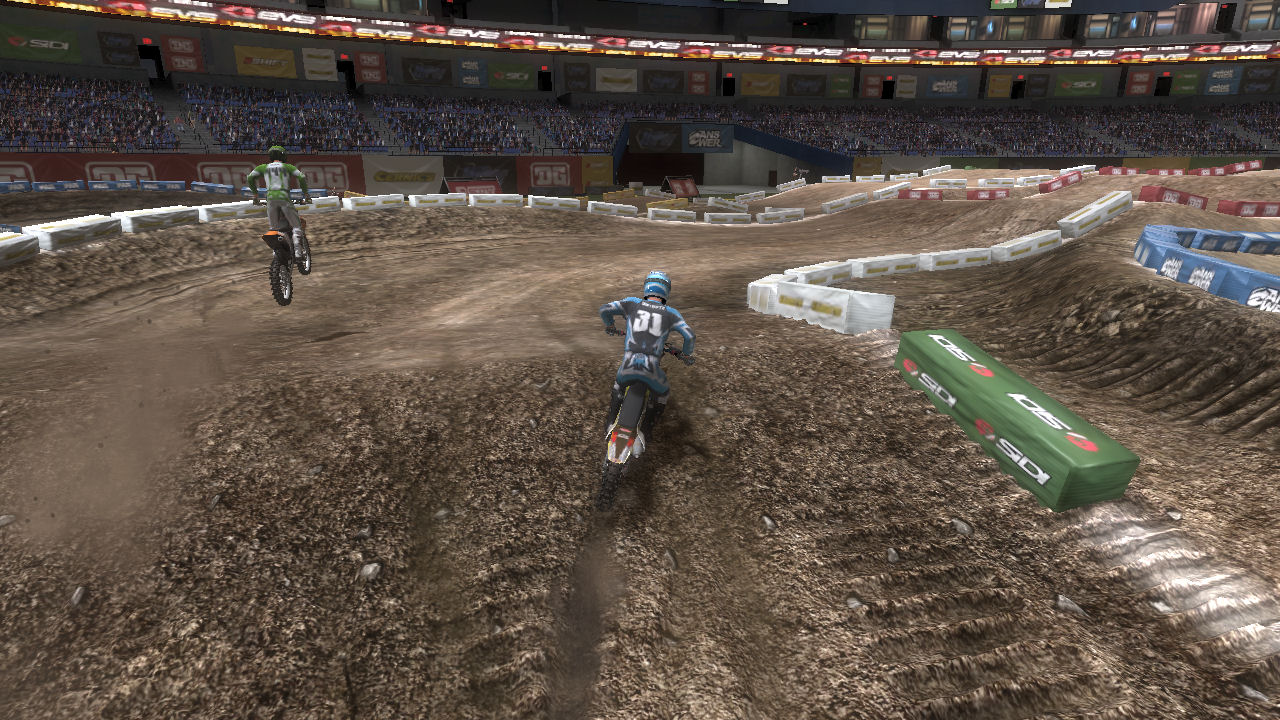
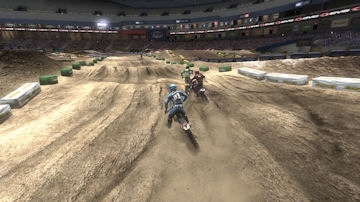
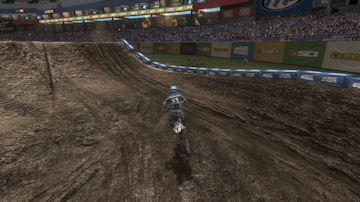
Turn 1
At the start you need to make sure you get in a good position to charge the whoops. It is tough to go tight on the inside of turn 1 at the start and make a good run through the whoops. Most people that do this end up taking out half the field, or if they get there first they fall and get run over.
If you can't get a good entry you may be better off hanging back a little and going wide and getting a good run through the whoops. It can pay off as you fly by all the carnage from the first turn.
|
|

|
|
|
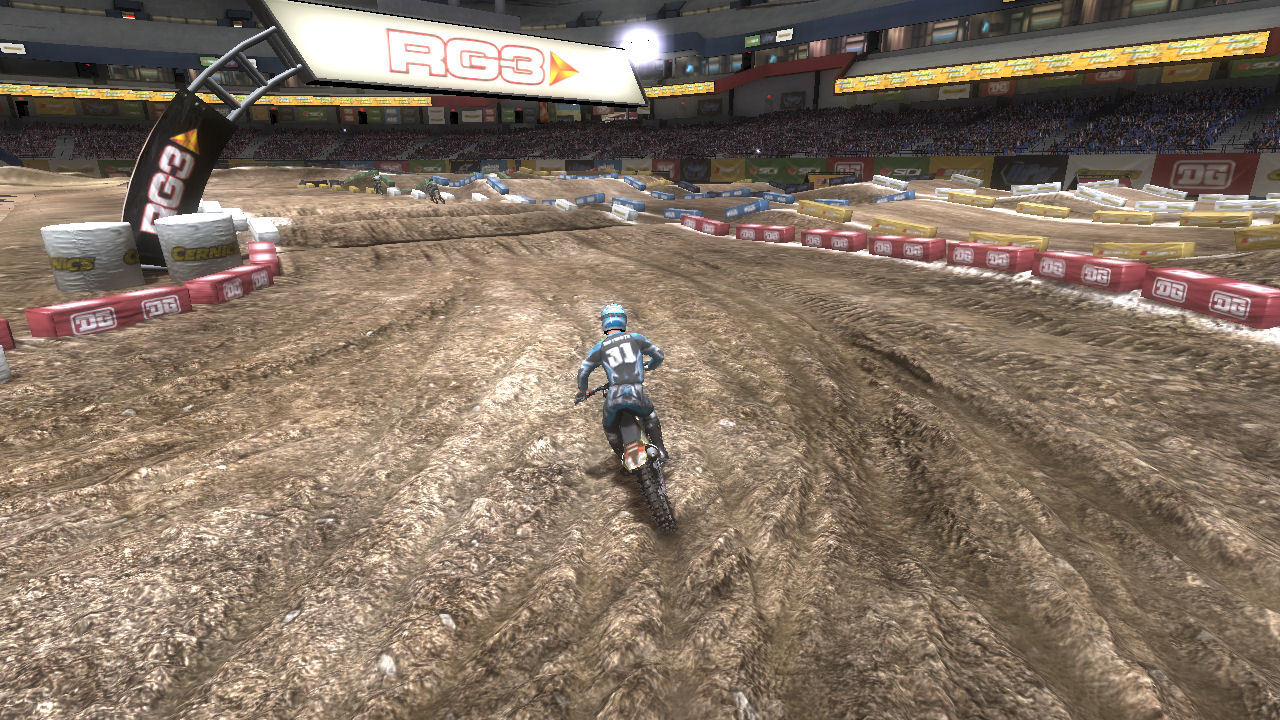
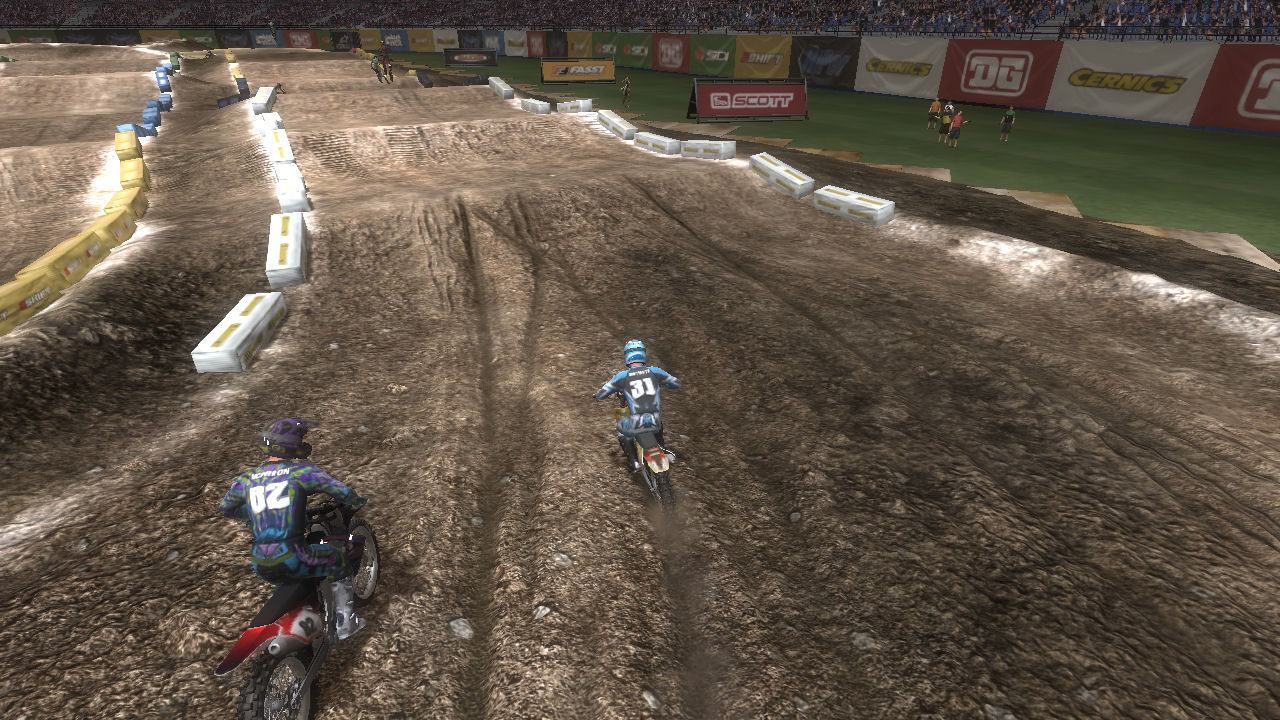
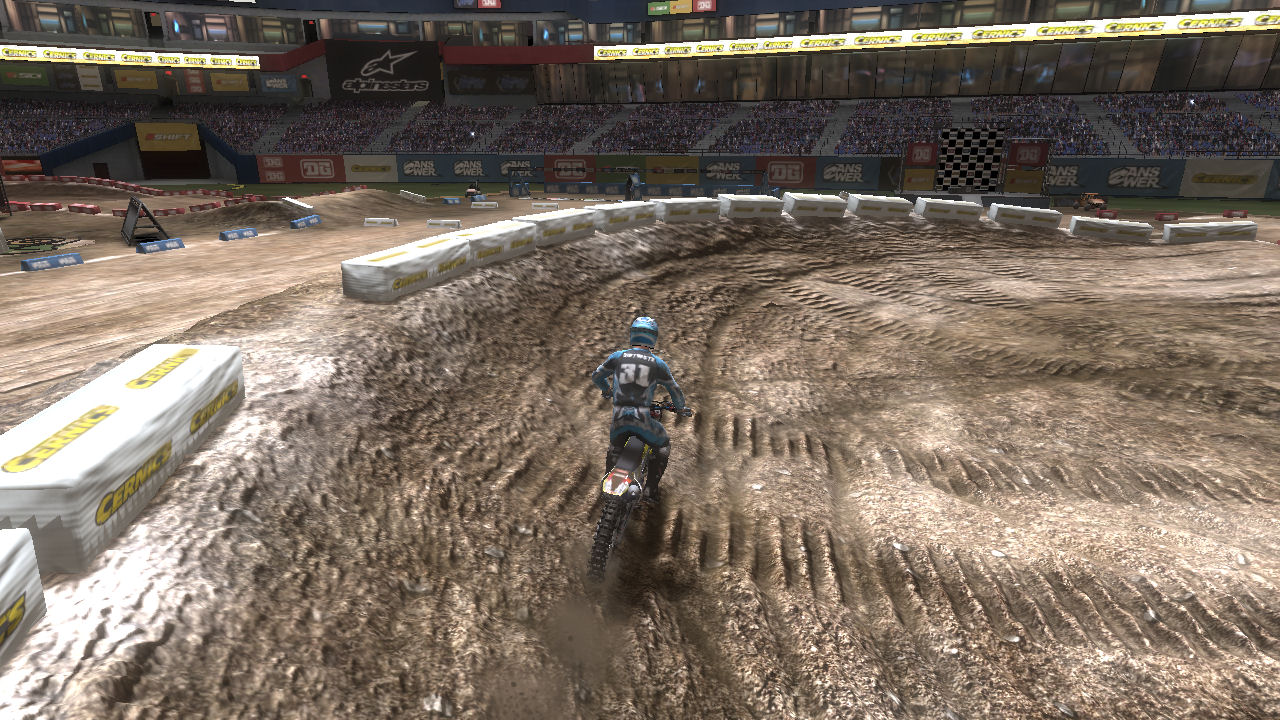
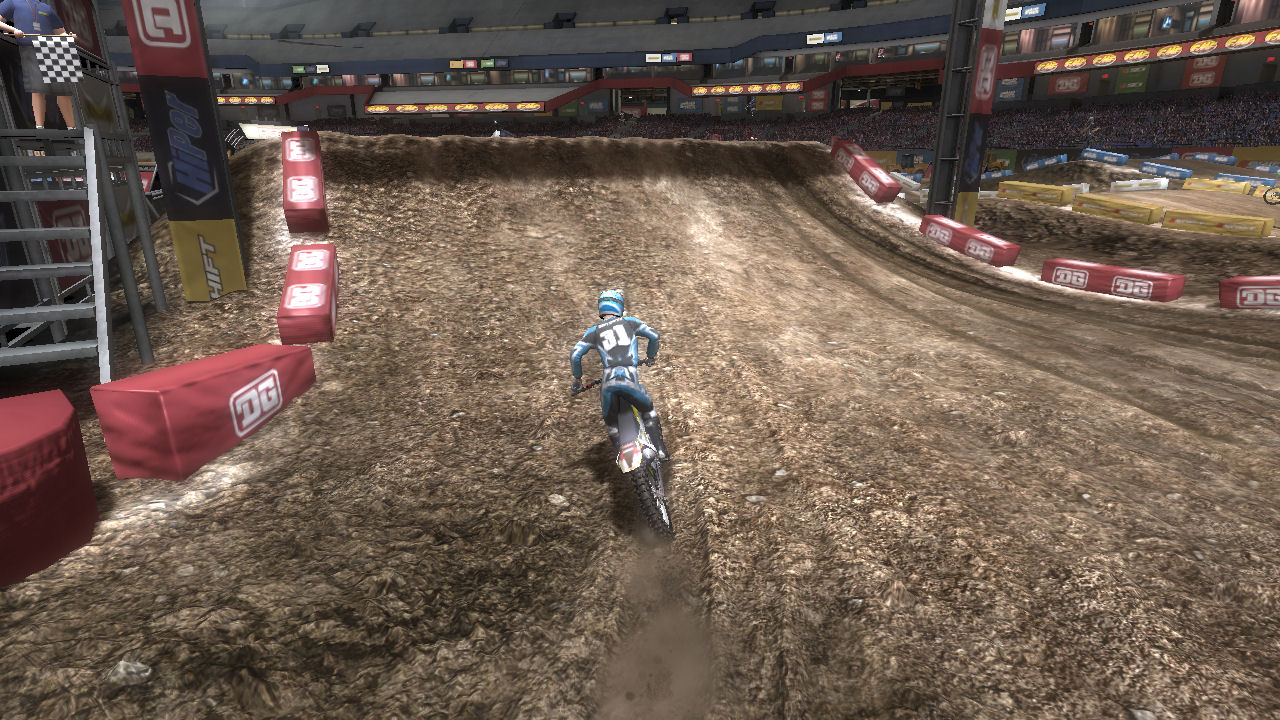
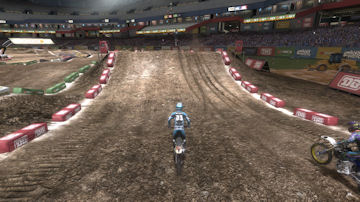
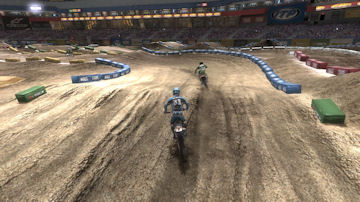
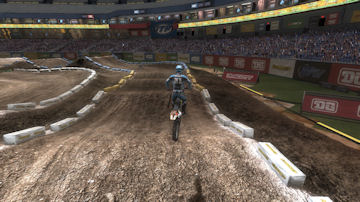
Turn 2
Maybe not so much at the start, but every other lap you can get quite a run going through the whoops. It's good to work your way to the left so that you get setup to rail around the 180 degree turn 2.
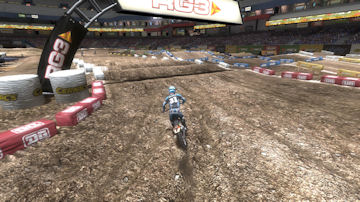
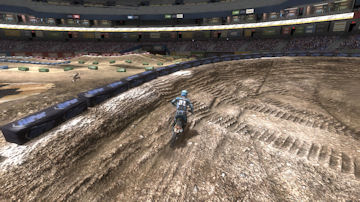
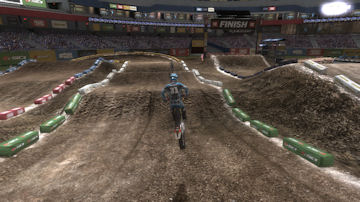
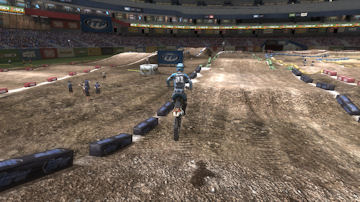
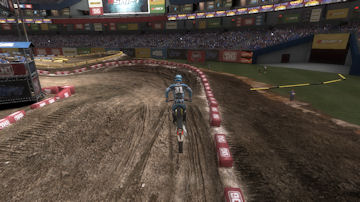
You have to decide if you want to go inside or outside. You need to experiment with both rhythms and be ready to make your decision . I tend to favor the inside of most turns on this track. There are several turns that have a half jump on the outside to setup a different rhythm. You can clearly see the jump on the left in the 3rd picture on the right.
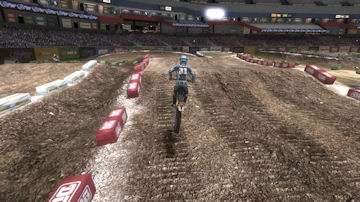
This short stretch to turn 3 is a series of short saddled tables (for lack of a better term), that continues around turn 3 and on into 4.
|
|

|
|
|
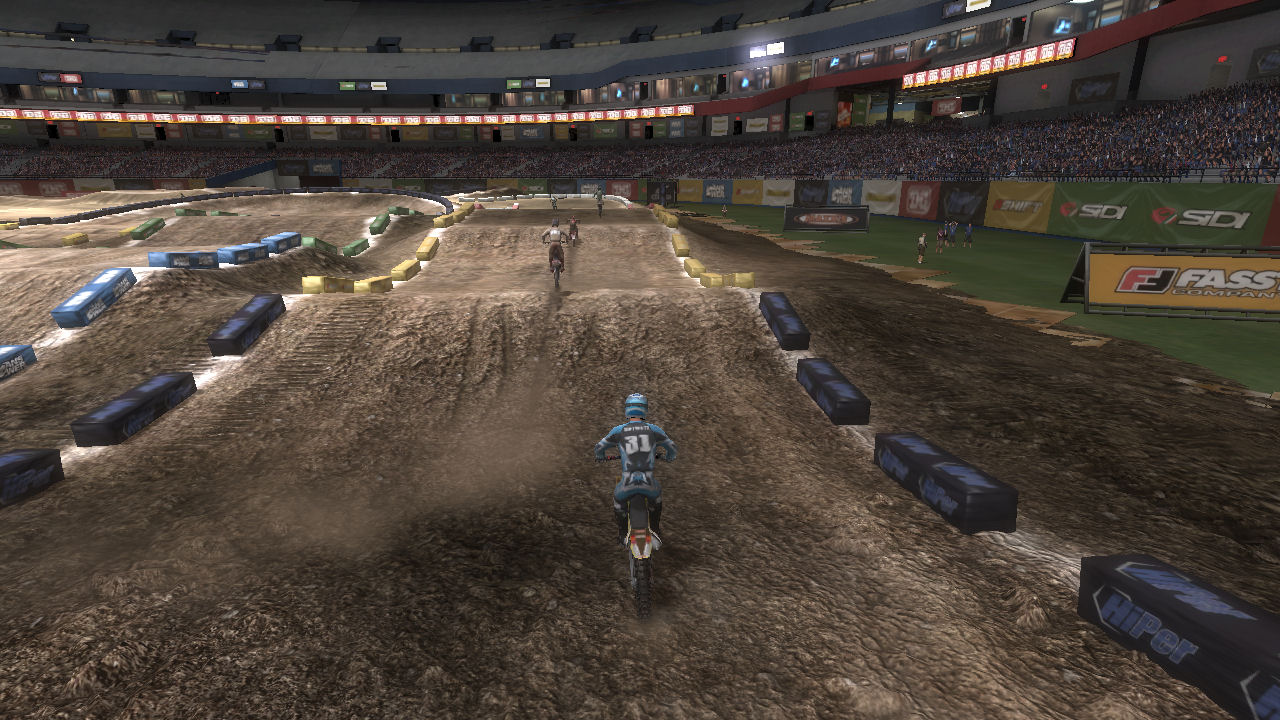
Turn 3
Turn 3 is a 45 degree turn to the right and contines the short saddled table theme with some variation as there is a roller into turn 4.
Even though there is a similarity in all the jumps from 2 to 4 there is enough variation in them it is easy to never quite do it the same way twice in a row.
|
|

|
|
|
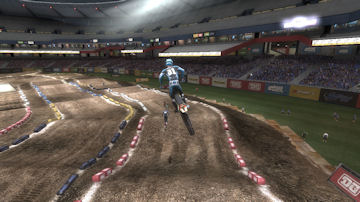
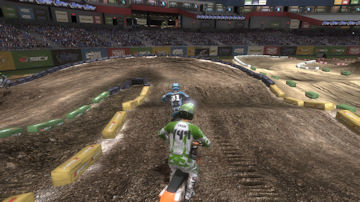
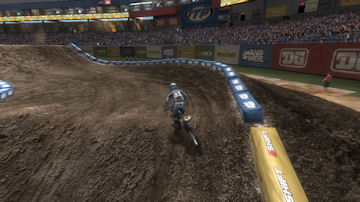
Turn 4
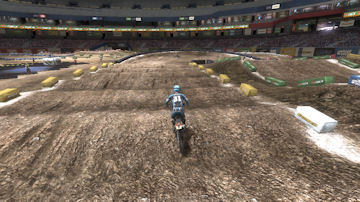
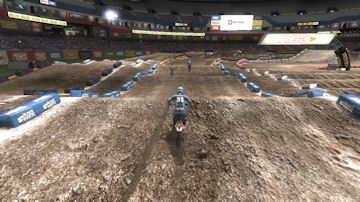
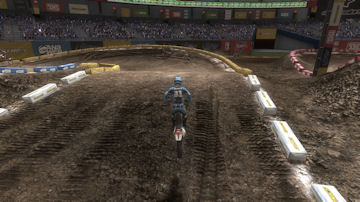
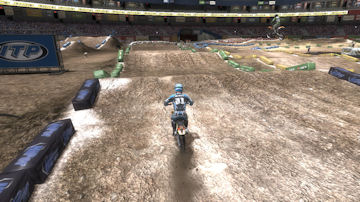
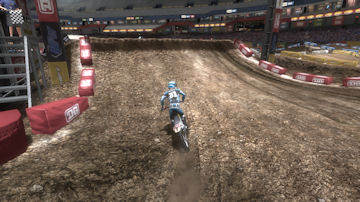
Turn 4 is your standard 180 degree SX left handed turn. I prefer the inside on exit. The outside has a half jump which is visible in the 4th picture on the right.
In the first picture on the right you can see if you are not on the top of the last table you are probably not goin gto clear cleanly the roller into turn 4. If you are on the table top then you will.
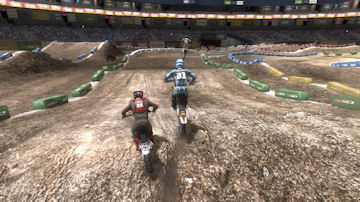
Inside or outside you want a good run out of 4 because you are coming up on the 1st triple.
|
|
|
|
|
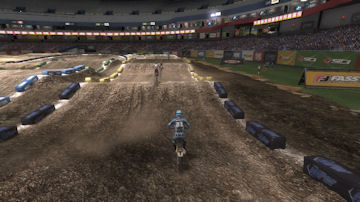
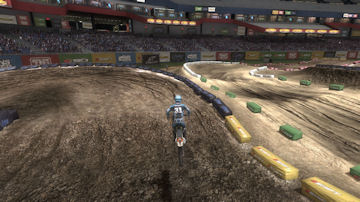
Turn 5
Turn 5 is a 45 degree kink to the left in the middle of the stretch from 4 to 6. Immediately upon landing the triple you are maknig the turn to the right. You actually will be setting up the turn in the air as you prepare for the landing.
If you skipped/bounced your way out of 4 then you probably won't clean the triple and this will really hurt your lap time.
Upon exiting turn 5 you will have another rhythm seciont of saddled tables that you can jump on/off of.
Lots of choices. Try to find a rhythm that keeps your wheels on the ground as much as possible before launching to the next spot.
|
|

|
|
|
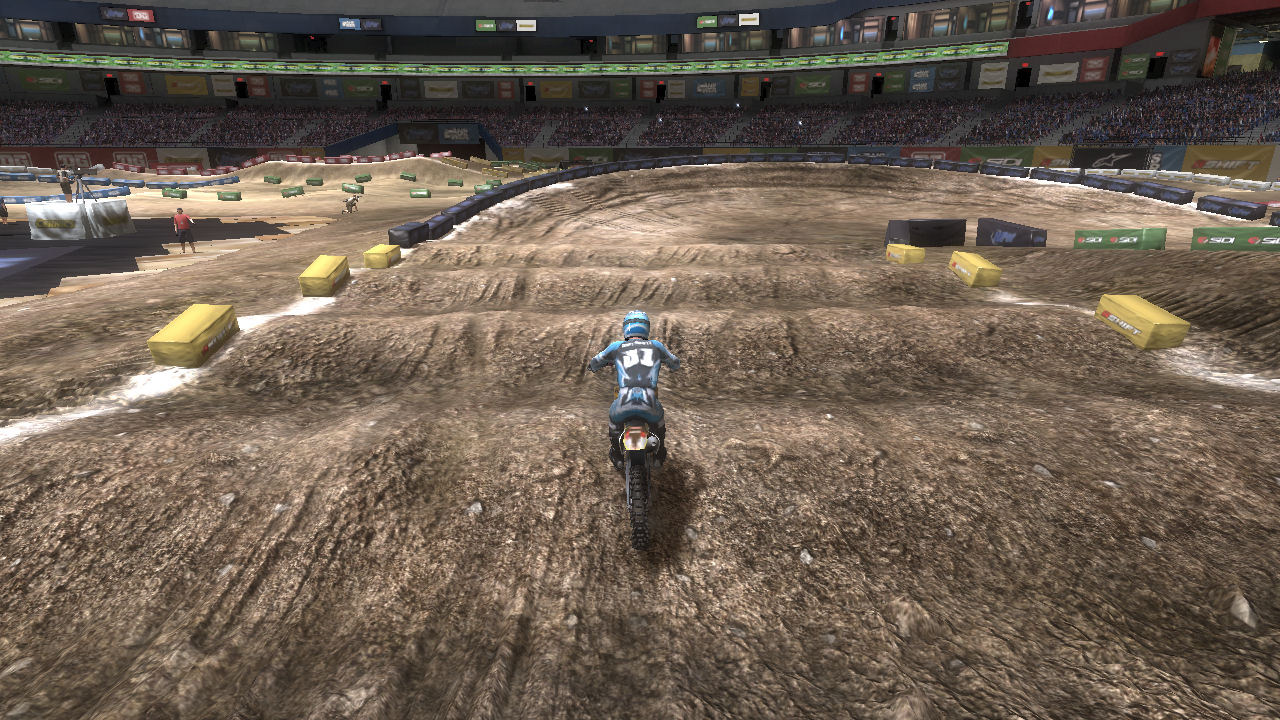
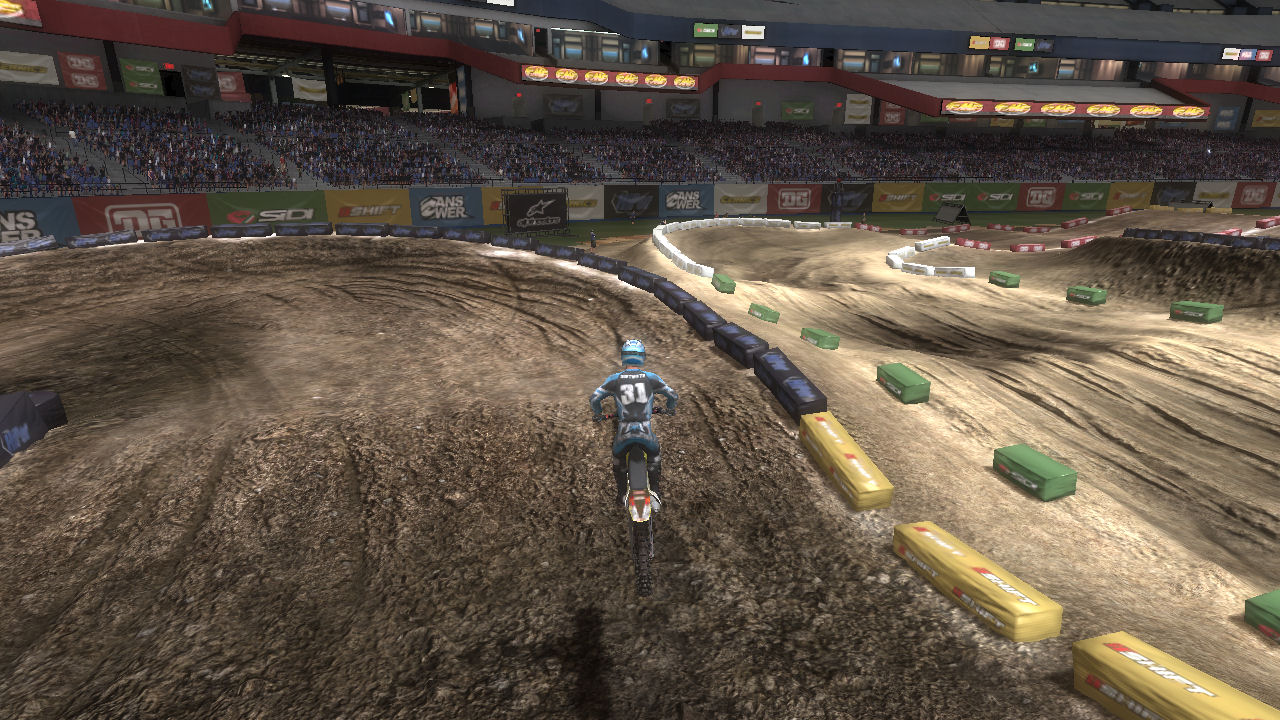
Turn 6
Hopefully you have timed everything right that you double into turn 6. If not then you probably want to angle to the left as you single the last jump into 6.
Turn 6 is an easy 90 degree turn to the right, but it exits into sand.
Enjoy the sand, it's fairly easy to make it through clean, but it will reach up and bite you now and then. I like to stay to the right so that it is an easy turn into the inside of turn 7.
|
|


|
|
|
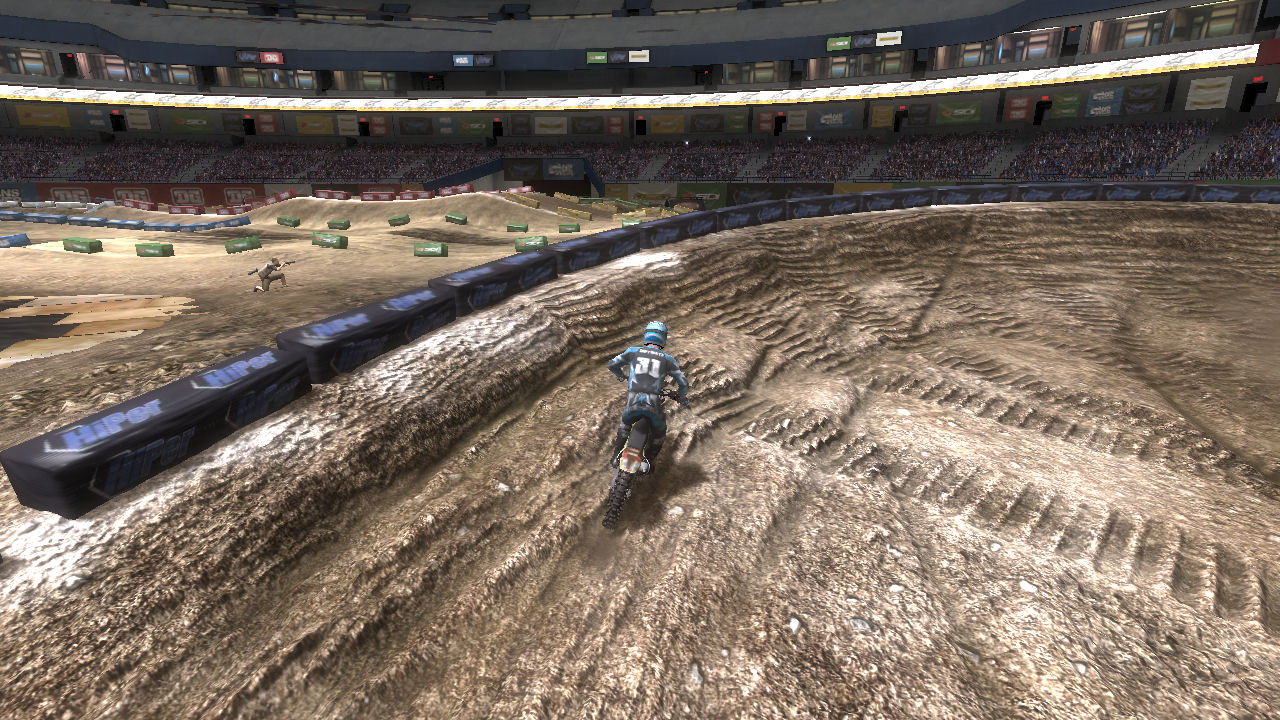
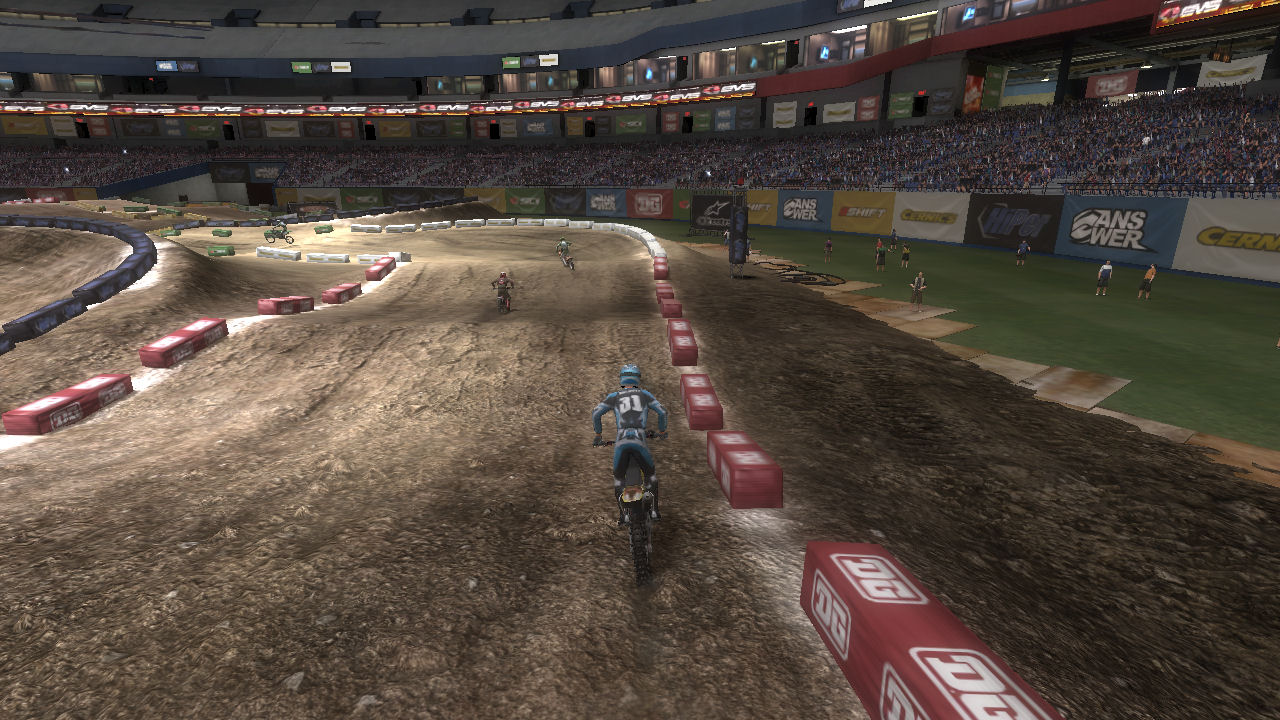
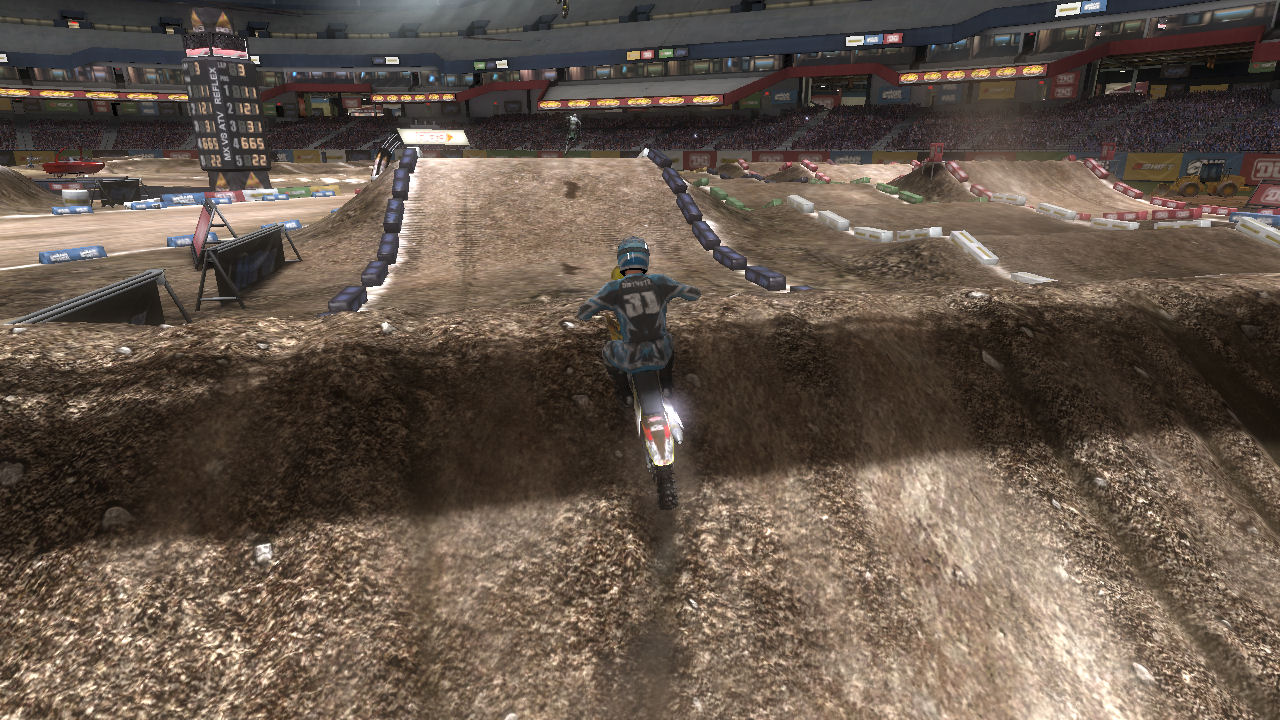
Turn 7
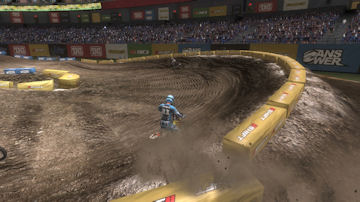
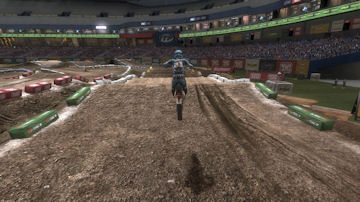
Turn 7 is another turn with a half jump on the outside. It is a 90 degree turn to the right at the end of the stretch of sand. Turn 7 to turn 8 is a series of 3 hops into turn 8. You are hopping on and off a progressively taller saddled table. You don't want to get sucked down into the valley between them, especially the one right before turn 8.
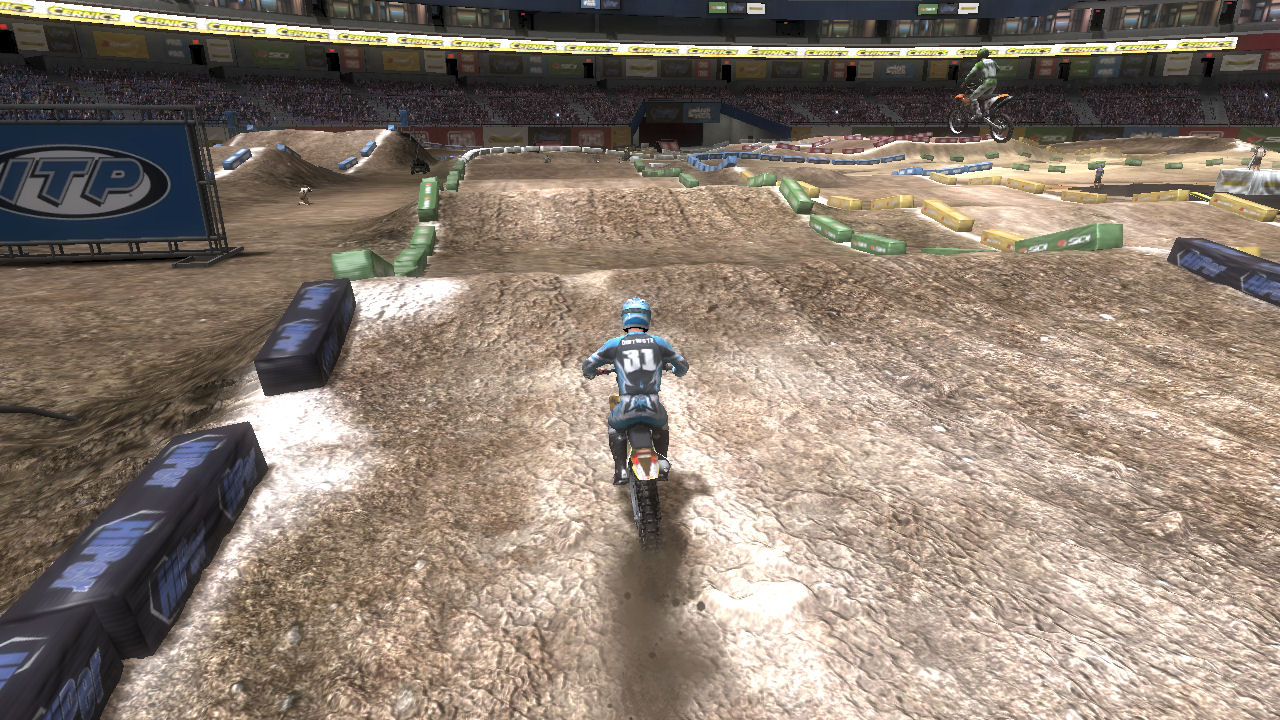
The last picture on the right shows an overhead view of turn 6, 7, 8, 9, and 10. You can easily see the deep valley before turn 8.
|
|
|
|
|
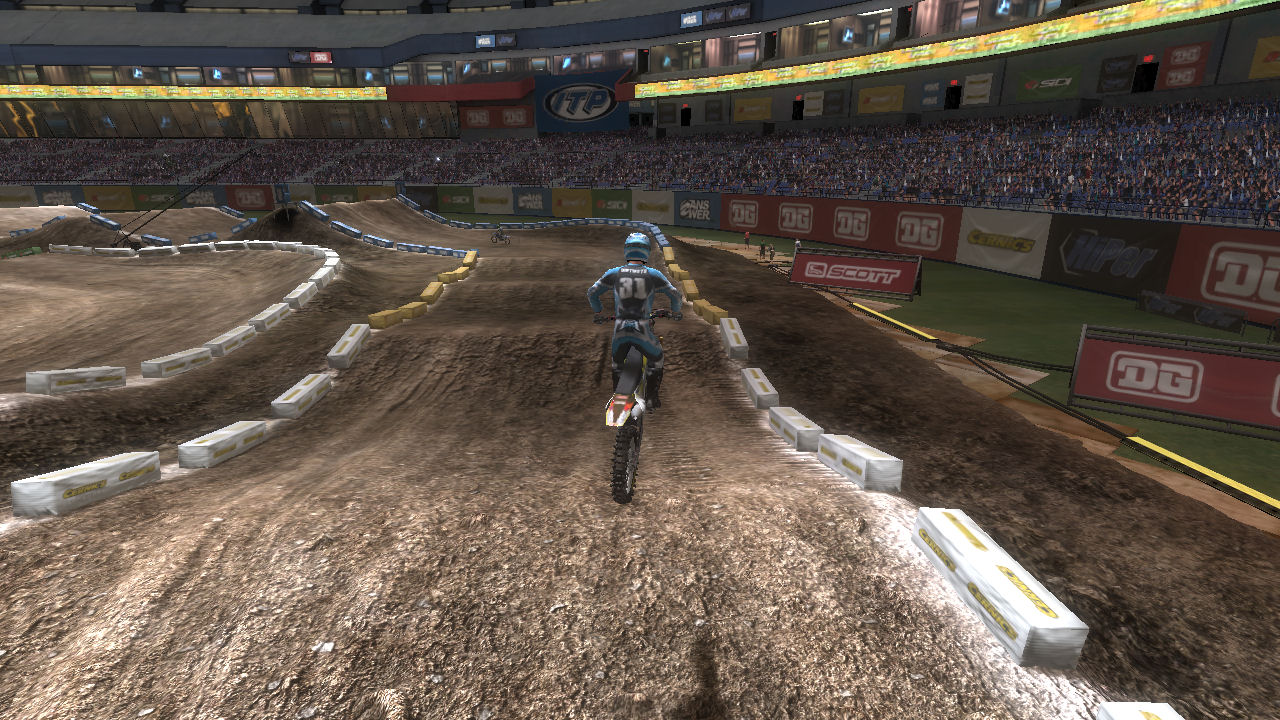
Turn 8
If you have done the stretch from Turn 7 properly you will have a lot of speed into turn 8. Again I like to angle towards the left or just to the left of center as I enter turn 8. I am going to want to exit on the inside because this is another turn that has a half jump on the outside.
The first picture to the right shows the jump into turn 8. The deep valley that you have to jump across and the half jump on exit is easily visible on the far right.
The exit from turn 8 is again either a skip across the table tops or if you took the inside then you can jump from the end of the 1st table top to the top of the 2nd. I think the inside line is best because you get a good run up to the edge of the table.
|
|

|
|
|
Turn 9
Turn 9 is a 90 degree turn to the right. The first jump on the exit of the turn has bigger jump on the right. Here I don't have a preference. it really matter as to how fast I'm going and where my competition is. I will use both sides. I sort of aim for the middle so that I can chose at the last second.
|
|
|
|
|
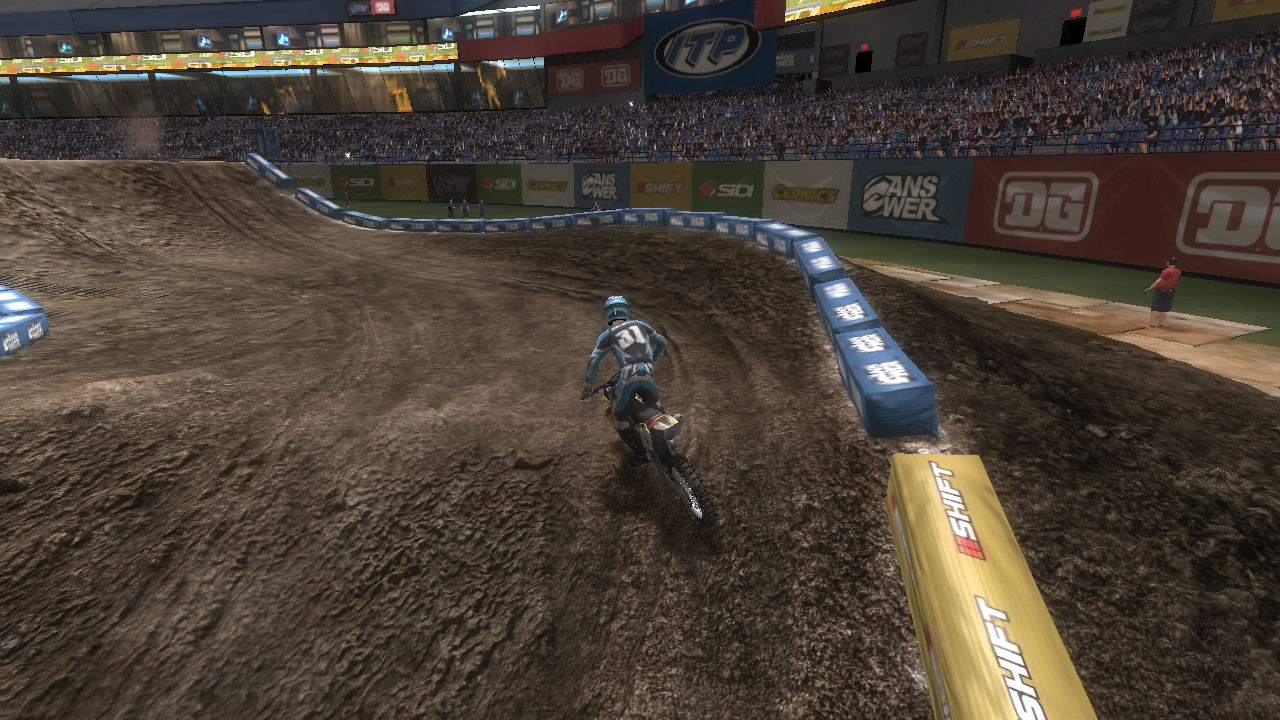
Turn 10
As you enter turn 10 there are two roller jumps. Depending on how you got here you are either going to double them or hop the single into turn 10. Either way I like to turn tight and head for the inside. You got it there is another half jump on the outside of this turn.
The inside line lets my jump over the table and setup for the small triple into turn 11.
|
|
|
|
|
Turn 11
Hopefully you have cleanly tripled or doubled into this turn so that you have a maximum run through the turn. You are going to need it, because immediately upon exit of turn 11 is a triple. This triple sets up your run to the finish line turn, so it's important. If you think you are not going to make it and will case, this triple does lend itself to backing off a little and just doubling. Jumping the last jump of the triple will jump you past the first roller after turn 12.
|
|
|
|
|
Turn 12
Turn 12 is about a 20 degree kink to the left down the stretch to the finish line turn. In the middle of the turn and exit of the turn is 4 small rollers. They are smaller on the left.
Depending on your speed through turn 12 you will want to go left or right. There is a jump on the edge of the start stretch that can be used to completely jump the starting line stretch. If you can't make that jump you are better of to stay to the left and then use the jump on the other side of the starting line to jump you into turn 13. If you do this then you will most likely need to slow down right before you jump so that you can make turn 13.
|
|
|
|
|
Turn 13
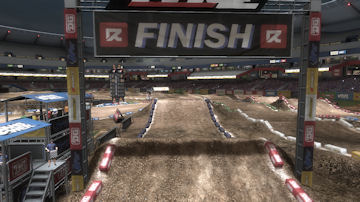
Turn 13 is a tight slightly more then 90 degree left hand turn, immediately followed by the finish line jump.
It is very easy to enter this turn too fast and hit the Tuff Blocks on the outside. It is also very easy to swing wide and take off on the far right side of the finish line jump. You do not want to do this.
|
|
|
|
|
Finish
You want plenty of speed out of turn 13 so that you make the finish line jump. Because the turn is more then 90 degrees and the takeoff is so close to the exit of turn 13 and it is so easy to swing wide on takeoff, caution is required here. The spline may call you back. It is easy to trip the spline on the far right edge, but because you jump so far to the landing area and you can fly back into safe territory, you will get called back. So don't tempt fate and make sure that you stay about a fifth of the way away from the right edge and make sure that you fly to the left a little after take off, so you land within the Tuff Blocks.
|
|

|
|
|
Turn 1 Again
You have made the finish line jump and you are heading back to turn 1. This time instead of a 90 degree turn it is a 45 degree turn. You still need to make sure that you are headed in the right direction before hitting them. This time you will have much more speed and will have a tougher time with turn 2. If you really have a head of steam you may actually have to slow down before leaving the whoops.
Now get ready to do it all over again.
|
|

|
 Scawn7's - Riding Tips for Fort Dodge Round 1 Scawn7's - Riding Tips for Fort Dodge Round 1
|
|
Turn 1 - Try to stay inside so that when you hit the first whoop it doesn't throw you off the track. Try to pull back and to the left on your reflex stick to maintain traction and hold your line as you enter the whoop section.
Turn 2 - You can take this turn high or low, it all depends on how you want to take the set of jumps coming up. I prefer to cut the corner early instead of going high so that I stay inside and miss the jump on the outter section of the turn. Again, there really isn't a right or wrong, just make sure you know how you're going to rhythm this section and plan accordingly.
Turn 3 - A slight turn to the right here. It all depends on how you exit turn 2 as to how you will take turn 3. My normal path has me jumping through this turn, actually making slight turns before and after turn 3 insteadof turning within the turn itself.
Turn 4 - Definitely stay high in turn 4 so that you hit the early jump to clear the bigger jump. Low to the ground is fast here, so you don't want too much air.
Turn 5 - Land the triple just perfect coming into turn 5 and line yourself up for the next section. Again, this turn doesn't have a right or wrong because the jumps are the same all the way accrossed the track.
Turn 6 - Turn 6 is the start of a sand section. Come in too fast and it's hard to have control and line up properly, so depending on how you take the jumps coming into this turn, you may need to get a little brake just to stay at a controllable speed.
Turn 7 - Take this turn to the inside so that you can stay on top of the jumps coming up. You'll maintain better speed than if you get down in the deeper sections which will of course launch you when you come out. Again, lower to the ground is faster.
Turn 8 - Here is another turn that you can take high or low. I prefer to cut it short (low) and get a run at the next jump. You can take it high, but sometimes it can be difficult to get lined up properly because there is a lip before you fully exit the turn.
Turn 9 - Taking turn 9 high seems to be a little faster and also lines you up for the path that doesn't launch you as high into the air going towards turn 10.
Turn 10 - Turn 10 is another where I like to cut the turn short and be inside the next straight. It's a little more dangerous if you have people close behind, but I like the way the jumps work on this line.
Turn 11 - You have to take turn 11 high in order to have the speed needed to clear the triple jump just afer the turn.
Turn 12 - Not much of a turn here, but the section of bumps just after have a different affect on how fast you get to turn 13. I prefer to stay outside through this slight turn, lining myself up for the big jump which puts me on the outside of 13.
Turn 13 - Taking this high is a better line in order to make the finish line jump without losing speed because of the big jump afterwards. If it's the last lap, it doesn't matter which line you take, just get to the finish line!
|
|
|